


64
RQT9088
Changing the unit’s settings
(All factory default settings are indicated with underlined text.)
Depending on the connected equipment, some items may be
shaded in grey on the display and cannot be selected, or you may
not be able to change the settings.
Connection
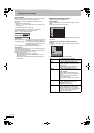
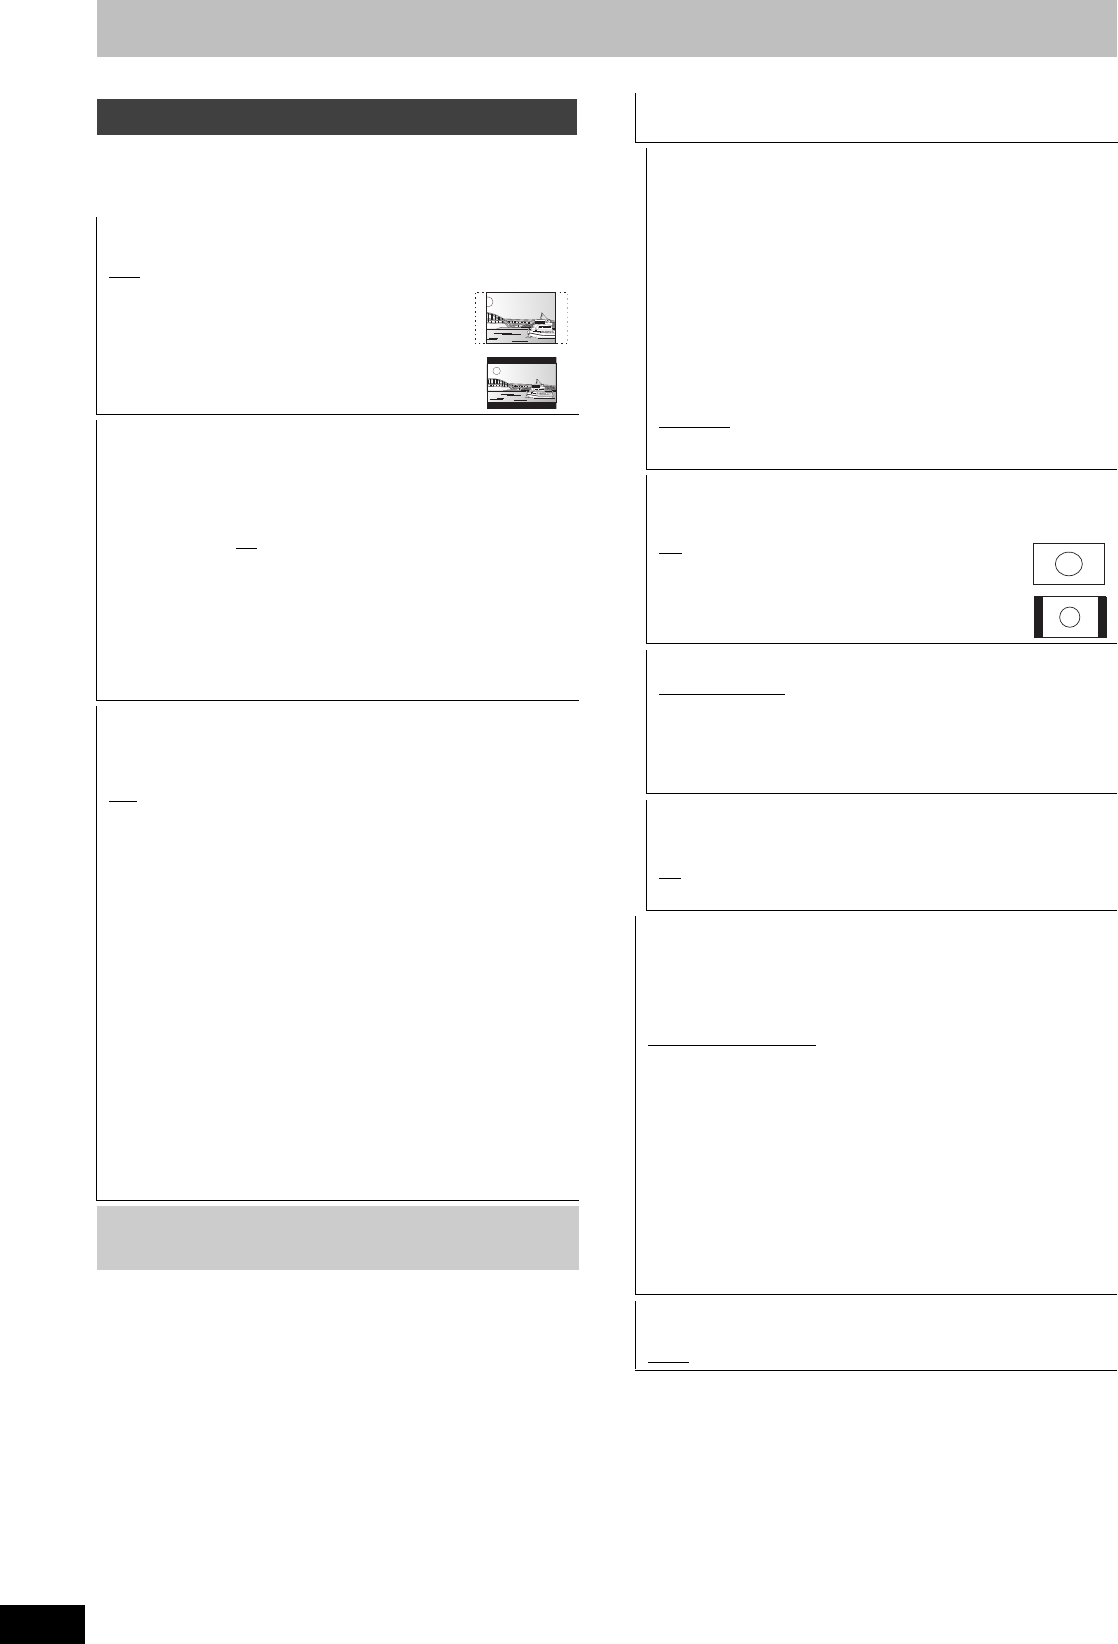
TV Aspect
Set to match the type of television connected.
[16:9
] When connected to a 16:9 widescreen television.
[Pan & Scan] When connected to a 4:3 aspect
television, side picture is trimmed
for 16:9 picture.
[Letterbox] When connected to a 4:3 aspect
television. 16:9 picture is shown in
the letterbox style.
Progressive
You can enjoy progressive video by connecting this unit’s
COMPONENT VIDEO OUT terminals to an LCD/plasma
television or LCD projector compatible with progressive scan.
This setting is fixed with “Off” if you set “AV1 Output” to “RGB 1
(without component)” or “RGB 2 (without component)”.
[On] [Off
]
[Note]
≥When connected to a regular television (CRT: Cathode ray tube)
or a multi system television using PAL mode, even if it is
progressive compatible, progressive output can cause some
flickering. Turn off “Progressive” if you are concerned about it
(➡ 54).
≥Picture will not be displayed correctly if connected to an
incompatible television.
TV System
Change the setting to match the equipment you are connecting
with, or to match the title when there are both PAL and NTSC titles
on the HDD.
[PAL
] ≥Select when connecting to a PAL or Multi-system
television. Titles recorded using NTSC are played as
PAL 60.
≥Select to record television programmes and PAL input
from other equipment.
≥[HDD] Select when playing a PAL input title recorded on
the HDD.
[NTSC] ≥Select when connecting to a NTSC television.
Television programmes cannot be recorded properly.
≥Select to record NTSC input from other equipment.
≥[HDD] Select when playing a NTSC input title recorded
on the HDD.
[Note]
≥This unit cannot record NTSC signals to discs that already have
PAL signal recordings. (However, both types of programmes can
be recorded onto the HDD.)
≥If “NTSC” has been selected, the TV Guide system cannot be
used.
≥A disc or title with different “TV System” may not be able to
playback while recording or on standby for the timer recording.
You will be able to playback by changing the “TV System”
settings in that case, but to prevent failure of the timer recording,
change back the settings before the recording starts.
To change the setting all at once (PAL!#NTSC)
While stopped, keep pressing [∫] and [< OPEN/CLOSE] on the
main unit at the same time for 5 or more seconds.
HDMI Settings
≥Press [OK] to show the following settings.
HDMI Video Format
You can only select items compatible with the connected
equipment. This setting normally does not need to be changed.
However if you are concerned about output picture quality, it may
be improved by changing the setting.
≥To enjoy High Quality Video up-converted to 1080p, you need
to connect the unit directly to 1080p compatible HDTV. If this
unit is connected to an HDTV through other equipment, it must
also be 1080p compatible.
[576i/480i] [576p/480p] [720p] [1080i]
[1080p] When outputting 1080p signal, we recommend
using High Speed HDMI Cables that have the
HDMI logo (as shown on the cover) and are less
than 5.0 meters to prevent video distortion etc.
[Automatic
] Automatically selects the output resolution best
suited to the connected television (1080p, 1080i,
720p, 576p/480p or 576i/480i).
Aspect for 4:3 Video
To play a 4:3 title when connected with an HDMI cable, set how
to show pictures on a 16:9 widescreen television.
[4:3
] Picture output expands left or right.
[16:9] Picture is output as original aspect with
side panels.
Digital Audio Output
[HDMI and Optical]
[Optical Only]
Select when this unit is connected to an
amplifier with an optical digital audio cable
and connected to a TV with an HDMI cable
and you want to enjoy the highest quality of
audio from discs (
➡
69).
VIERA Link
Set to use “HDAVI Control” function when connected with an
HDMI cable to a device that supports “HDAVI Control”.
[On
]
[Off] Select when you do not want to use “HDAVI Control”.
AV1 Output
Set according to the terminal of the connected TV.
Select “Video (with component)” or “S Video (with component)” for
component output (progressive output).
If this unit is connected with an HDMI cable, you cannot select
“RGB 1 (without component)” or “RGB 2 (without component)”.
[Video (with component)
]
Select when a TV is connected that can receive a composite signal.
[S Video (with component)]
Select when a TV is connected that can receive an S Video
signal.
[RGB 1 (without component)]
Select when a TV is connected that can receive an RGB signal.
If you always would like to view the picture from the unit in RGB
signal, select this mode. The TV screen will automatically switch
to display the picture from the unit when the unit is turned on.
[RGB 2 (without component)]
Select when a TV is connected that can receive an RGB signal.
If you would like to switch to display the picture from the unit only
when playback or viewing menus, select this mode.
AV2 Input
Set according to the output signal of the connected equipment.
[Video
] [S Video]
DMREX78&88GN-RQT9088-L_eng.book 64 ページ 2008年4月1日 火曜日 午後6時38分