37
RQT7237
Editing
0001
0001
0001
Press [2] to
select “Start” and
press [ENTER].
Format begins.
Once activated, material
cannot be returned to its
original form. Check
carefully before
proceeding.
Once activated, recorded
contents (including protected
still pictures and computer
data) will be completely erased.
Check carefully before
proceeding.
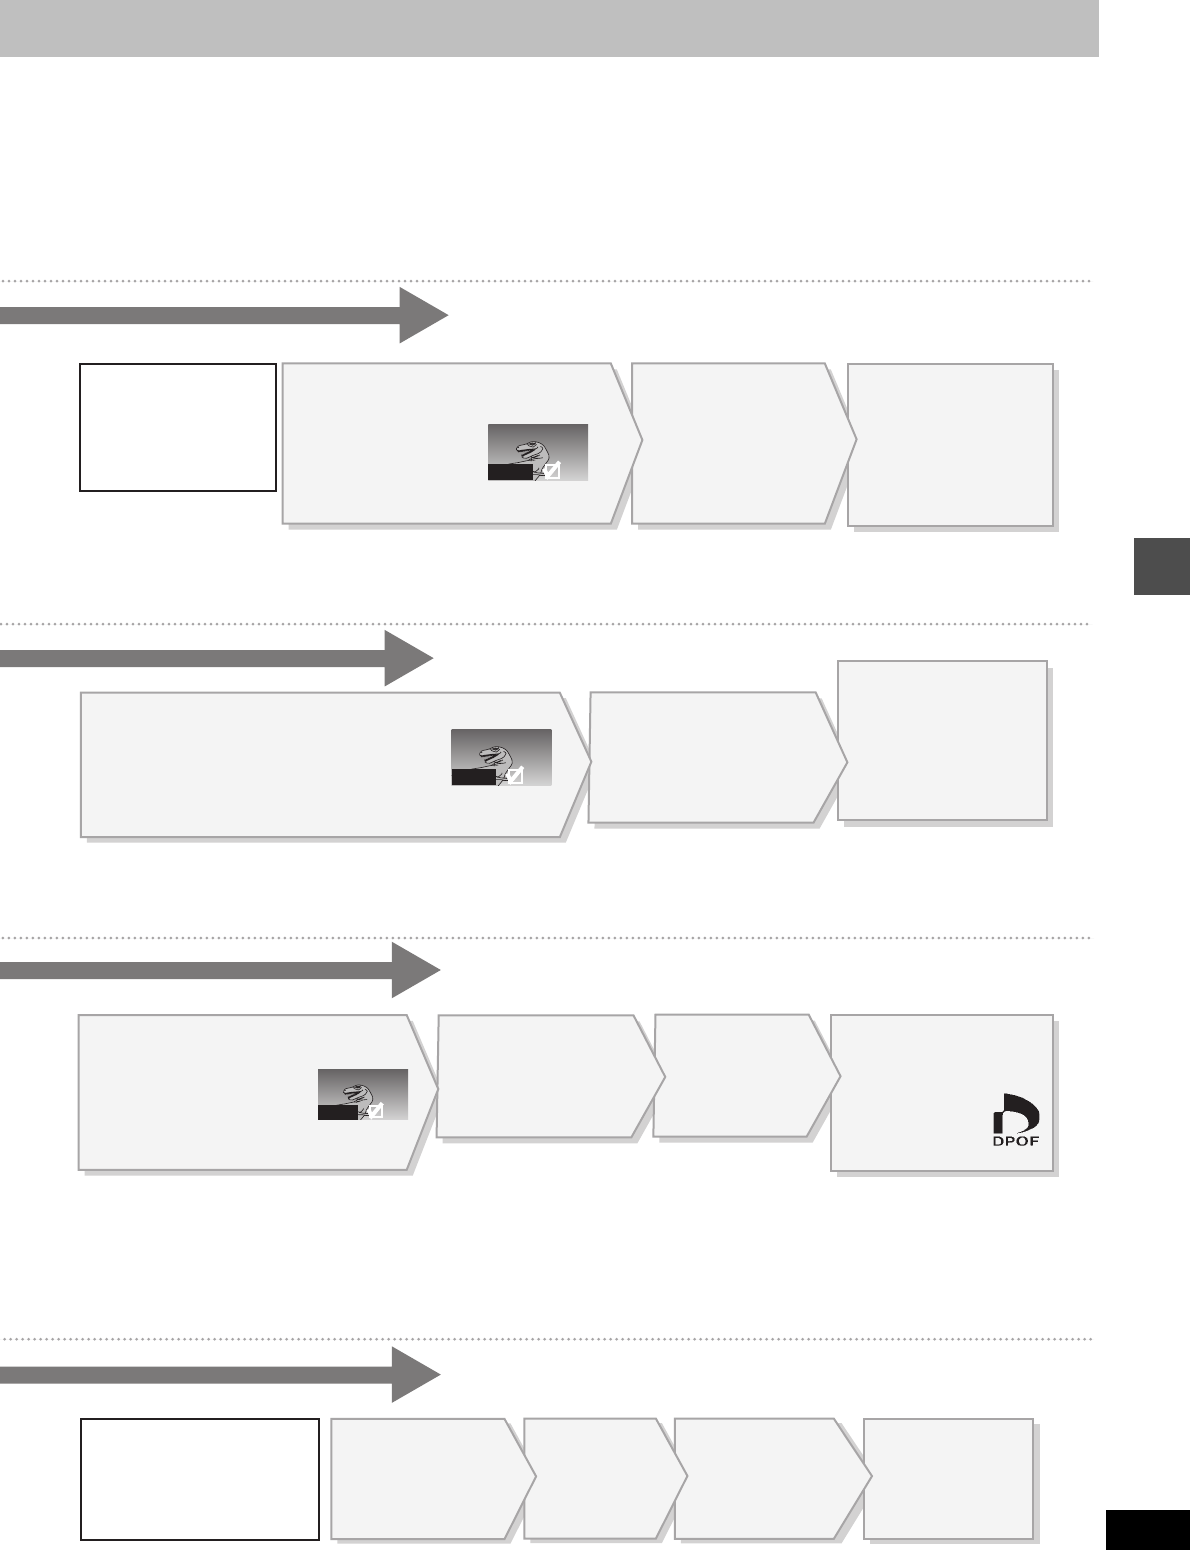
Press [3, 4, 2, 1] to select a
still picture and press [ENTER].
A check mark appears on
the still picture.
≥ Repeat this if you erase more than one still
picture.
Press [3, 4, 2, 1]
to select “Erase”
and press [ENTER]
.
A confirmation screen
appears.
Press [2] to select
“Erase” and press
[ENTER].
Selected still pictures are
erased, and the still
picture select screen
reappears.
To select all the still pictures in the folder
Press [3, 4, 2, 1] to select “Folder” and press [ENTER].
(A check mark appears on the folder’s name; check marks
inputted separately will be erased.)
To change print (DPOF) settings
1. Press [3, 4, 2, 1] to select “Whole” or a still picture with the DPOF
mark and press [ENTER].
2. Press [3, 4, 2, 1] to select “Set Up” and press [ENTER].
3. Press [2, 1] to change the print setting.
≥ The print setting will be canceled if you set the number of print to “0”.
4. Press [3, 4, 2, 1] to select “Set” and press [ENTER].
To erase check marks
Press [3, 4, 2, 1] to select the folder or still picture with the check
mark and press [ENTER].
To select all the still pictures in the folder
Press [3, 4, 2, 1] to select “Folder” and press [ENTER].
(A check mark appears on the folder’s name; check marks
inputted separately will be erased.)
To erase check marks
Press [3, 4, 2, 1] to select the folder or still picture with the check
mark and press [ENTER].
To select all the still pictures in the folder
Press [3, 4, 2, 1] to select “Whole” and press [ENTER].
(A check mark appears on the folder’s name; check marks
inputted separately will be erased.)
Press [3, 4, 2, 1] to select a still picture and
press [ENTER].
A check mark appears on the still picture.
≥ Repeat this if you set protection of more than one still picture.
Press [3, 4, 2, 1] to
select “Set Up” or
“Cancel” and press
[ENTER].
Press [2] to select
“Yes” and press
[ENTER].
The lock symbol appears
on the still picture when
the still picture is
protected.
Press [3, 4, 2, 1] to select a
still picture and press [ENTER].
A check mark appears on the
still picture.
≥ Repeat this if you print more than one still
picture.
Press [3, 4, 2, 1]
to select “Set Up”
and press [ENTER].
Press [2, 1] to
set number of
print (0 to 9).
Press [3, 4, 2, 1]
to select “Set” and
press [ENTER].
The DPOF mark
appears if you set
one or more
pictures to print.
Press [2] to
select “Yes”
and press
[ENTER].
Press [2, 1] to
select “SD card”
or “PC card” and
press [ENTER].
[Note]
The memory cards formatted on this unit
may not be usable on other equipment.
Press
[ENTER]
to complete
the procedure.


