


20 C2601M-A (6/06)
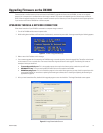
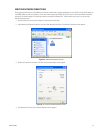
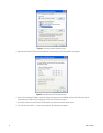
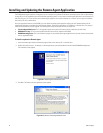
6. Update the information on the screen as follows, and then click the Download button.
• In the Target IP field, enter the IP address for the DX4000 that you noted in step 3.
• Check the box for Download Only Application Image.
• Click the Browse button next to the Image Path field, and then select the image file that you located in step 4.
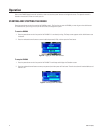
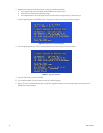
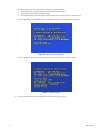
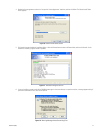
7. Track the upgrade process on the DX4000 monitor. A message at the bottom of the screen indicates the progress.
Figure 16. Upgrade In Progress Message
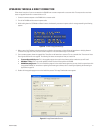
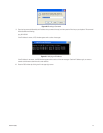
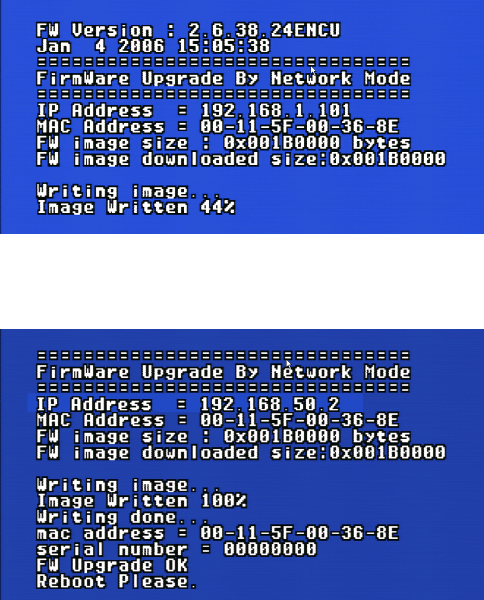
8. After the upgrade process has finished, a message appears on the screen asking you to restart the system.
Figure 17. Upgrade Complete
9. Press the Power button to restart the DX4000.
10. On the remote computer, click the Exit button to close the installation program.
11. Refer to To install or update the Remote Agent on page 26 to upgrade the software on the remote agent before you reconnect to the
DX4000 from a remote computer.