


CHANGE THE SETTINGS 21
English
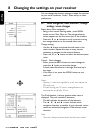
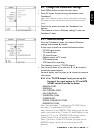
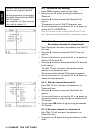
8.2 Change the installation settings
Press MENU button to open the main menu.
Press 9 button 4 times to bring the selection onto
"Installation".
Note: If the Parental control is active, you need to enter your
PIN code to access the relevant items of the selected menu
option.
Press the * button to access the "Installation" sub
options.
The selection is now on "Receiver settings" in the new
"Installation" menu.
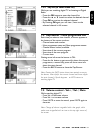
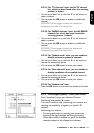
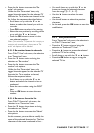
8.2.1 Receiver settings
From the "Installation" menu, you selected "Receiver
settings" and pressed * button.
A new menu is drawn to control the features below:
- TV/VCR signal output
- TV video format
- TV sound format
- Default volume of TV sound
- VCR sound format
- VCR control for recording
The selection is now on "TV/VCR output".
You can scroll down or up with the 9 or 8 button to
choose the wanted option.
For each option, you can press on * button to access its
sub options.
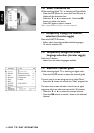
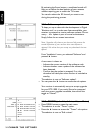
8.2.1.1 For "TV/VCR output" item, you set-up the
format of the signal output for TV and VCR
SCART sockets from the list below:
- RGB/PAL-CVBS
- RGB/SVHS
- PAL-CVBS/PAL-CVBS
- PAL-CVBS/SVHS
- SVIDEO/PAL-CVBS
- SVIDEO/SVHS
- SECAM-CVBS/SECAM-CVBS
- RGB/SECAM-CVBS
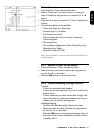
Note: First word before "/" is dedicated to TV SCART. Second
word after "/" is dedicated to VCR SCART
Note: We advise to use "RGB/PAL-CVBS" setting to get the best
quality of the video at the TV screen. If a Video Projector is used
instead of a TV set, the SVIDEO/PAL-CVBS setting is advised
(refer to chapter 5.4 for connection and installation).
Note: If you have a S-Video VCR Recorder you might use the
RGB/SVHS setting, consult the user manual of your VCR /
Recorder.