English
4 UNPACKING
2.1 Unpacking
Start by unpacking your receiver. You will
find the following cables and accessories:
- The digital terrestrial receiver
- The remote control and batteries (2 x
LR6 AA 1,5 V)
- One SCART lead
- One RF coaxial lead
- A mains cord
- A user manual
- A Guarantee card
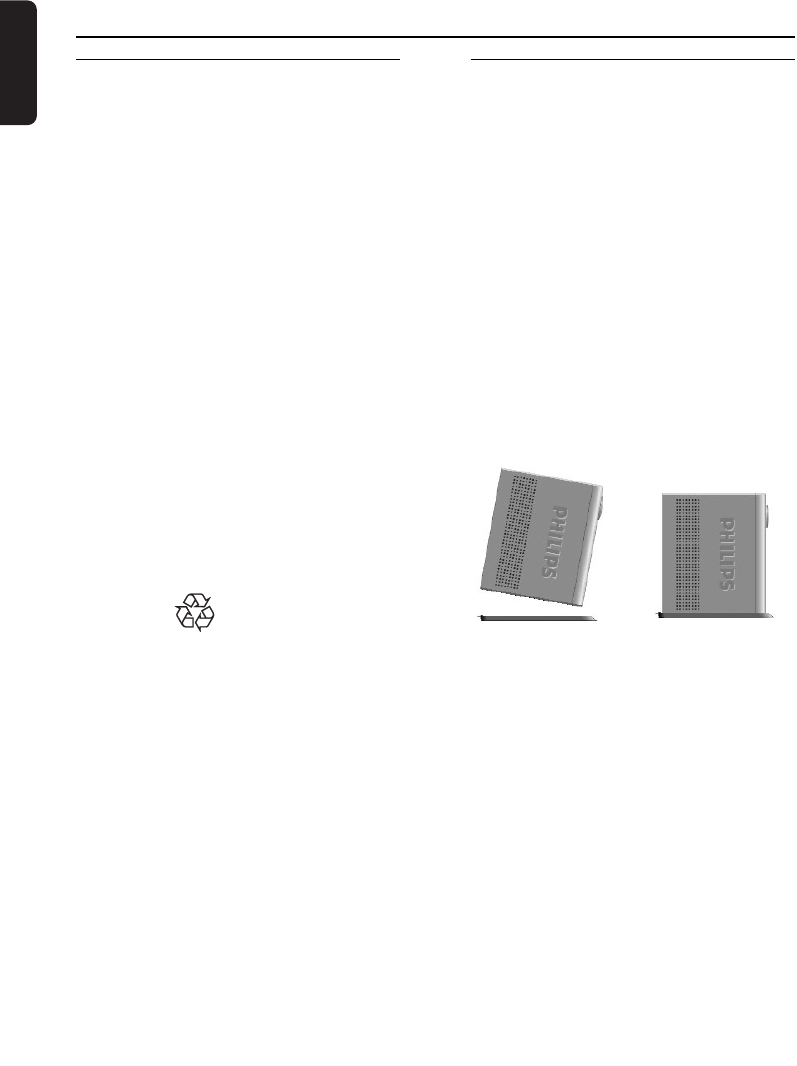
- A stand for using the receiver in the
upright position
Note: As advised in chapter 5 make use of the
Scart lead provided. It has been selected to get
the best picture quality and performance out of
your digital receiver .
Plastic bags can be dangerous. To avoid
suffocation keep the bag away from babies
and children.
The Symbol on the packaging
means that material is recyclable.
If the receiver will not be used for a long
time, unplug the mains cord from the wall
socket.
2.2 Putting the receiver in your
existing set up
- Your receiver can be integrated in
different ways within your existing Audio-
Video set up. The receiver can be used in
the horizontal or vertical position. If you
decide to use your receiver in the upright
position, follow the instructions below.
Unpack the stand, place it on a horizontal
surface with click fit side on the right and
lug side on the left.
- Take the receiver as shown below (rear
panel on the left side / coaxial connectors
on the bottom side).
- Insert the stand lug in the slot located on
the front of the receiver, close to the
Philips badge.
- Rock the receiver to insert the stand lug
fully in the slot until it is locked by the
click fit.
- From now on, your receiver can be used
in the upright position.
Note: Removing the stand can be done by first
unlocking the click fit at the rear side of the
stand, rocking and pulling back the receiver to
extract it from the stand lug.
2 Unpacking / Putting the receiver in your
existing set up


