


Using the Jukebox
11
111
En
Chapter 11
Using the Jukebox
The Jukebox feature allows you to use the
recorder’s HDD to store and playback music
from up to 999 of your CDs. You can also
transfer WMA/MP3 files stored on CD-R/-
RW/-ROM or USB device. Once on the HDD,
you can name albums, assign them a genre,
and set tracks that you don’t want to play to
Jump.
Copying music to the HDD
The first step is to copy some music to the
HDD. CD audio is copied in real-time, while
WMA and MP3 files are copied at high
speed. All tracks are copied from each CD
1
as an album.
WMA/MP3 album and track names are
copied along with the audio. CD album and
track names are not copied, but you can add
these later (see
Editing Jukebox albums
on
page 113).
Usually, the tracks are copied to the HDD in
the order they appear on the CD. When
copying CD audio, you can copy them in
some other order using the program play
mode. See
Program play
on page 80 for how
to do this.
Note that once copied to the HDD, audio
tracks cannot be copied to a recordable DVD
disc.
Important
• While copying CD audio, no other
recorder operation is possible.
• When copying CD audio, scheduled
timer recordings will not start until
copying is complete.
• Copy protected CDs may not copy
successfully.
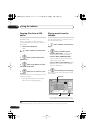
1 Load the CD you want to copy to the
HDD.
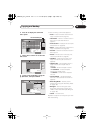
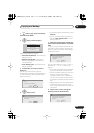
2 Select ‘Copy’ from the Home
Menu.
3 Select ‘DVD/CD to HDD’.
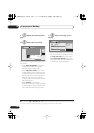
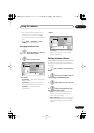
On pressing
ENTER
all tracks (or files) on the
CD are copied to the HDD.
• You can also start copying by starting
playback of the CD (including program
play) and then pressing
ONE TOUCH
COPY
.
• To cancel copying an audio CD, press
and hold
ONE TOUCH COPY
for more
than one second.
• To cancel copying a WMA/MP3 disc,
press
ENTER
.
• If the CD loaded contains both CD audio
tracks and WMA/MP3 files, the part
currently selected will play.
Note
1 The recorder can copy up to 999 CDs; a CD can contain up to 99 tracks. The recorded audio format is 256 kbps
Dolby Digital.
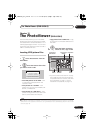
HOME MENU
ENTER
DVR645H_WY_EN.book 111 ページ 2006年7月5日 水曜日 午前10時25分