


10
EN
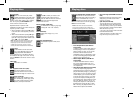
Display
9
EN
Initial setup
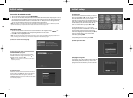
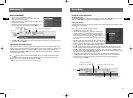
7) Time and date
The DVD recorder has an automatic clock, but it
may take awhile for it to find the correct channel
for the clock. You might want to set up the clock
manually here.
Use the number keys on the remote to enter year,
date and time. To change AM/PM setting when
entering the time, press .
Note: the clock automatically keeps time accurate. If
there is problem, simply turn off the auto clock function.
8) Interactive setup finished
Press OK to continue.
9) Return to main menu
Select one of the desired function.
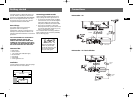
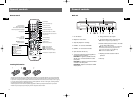
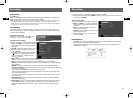
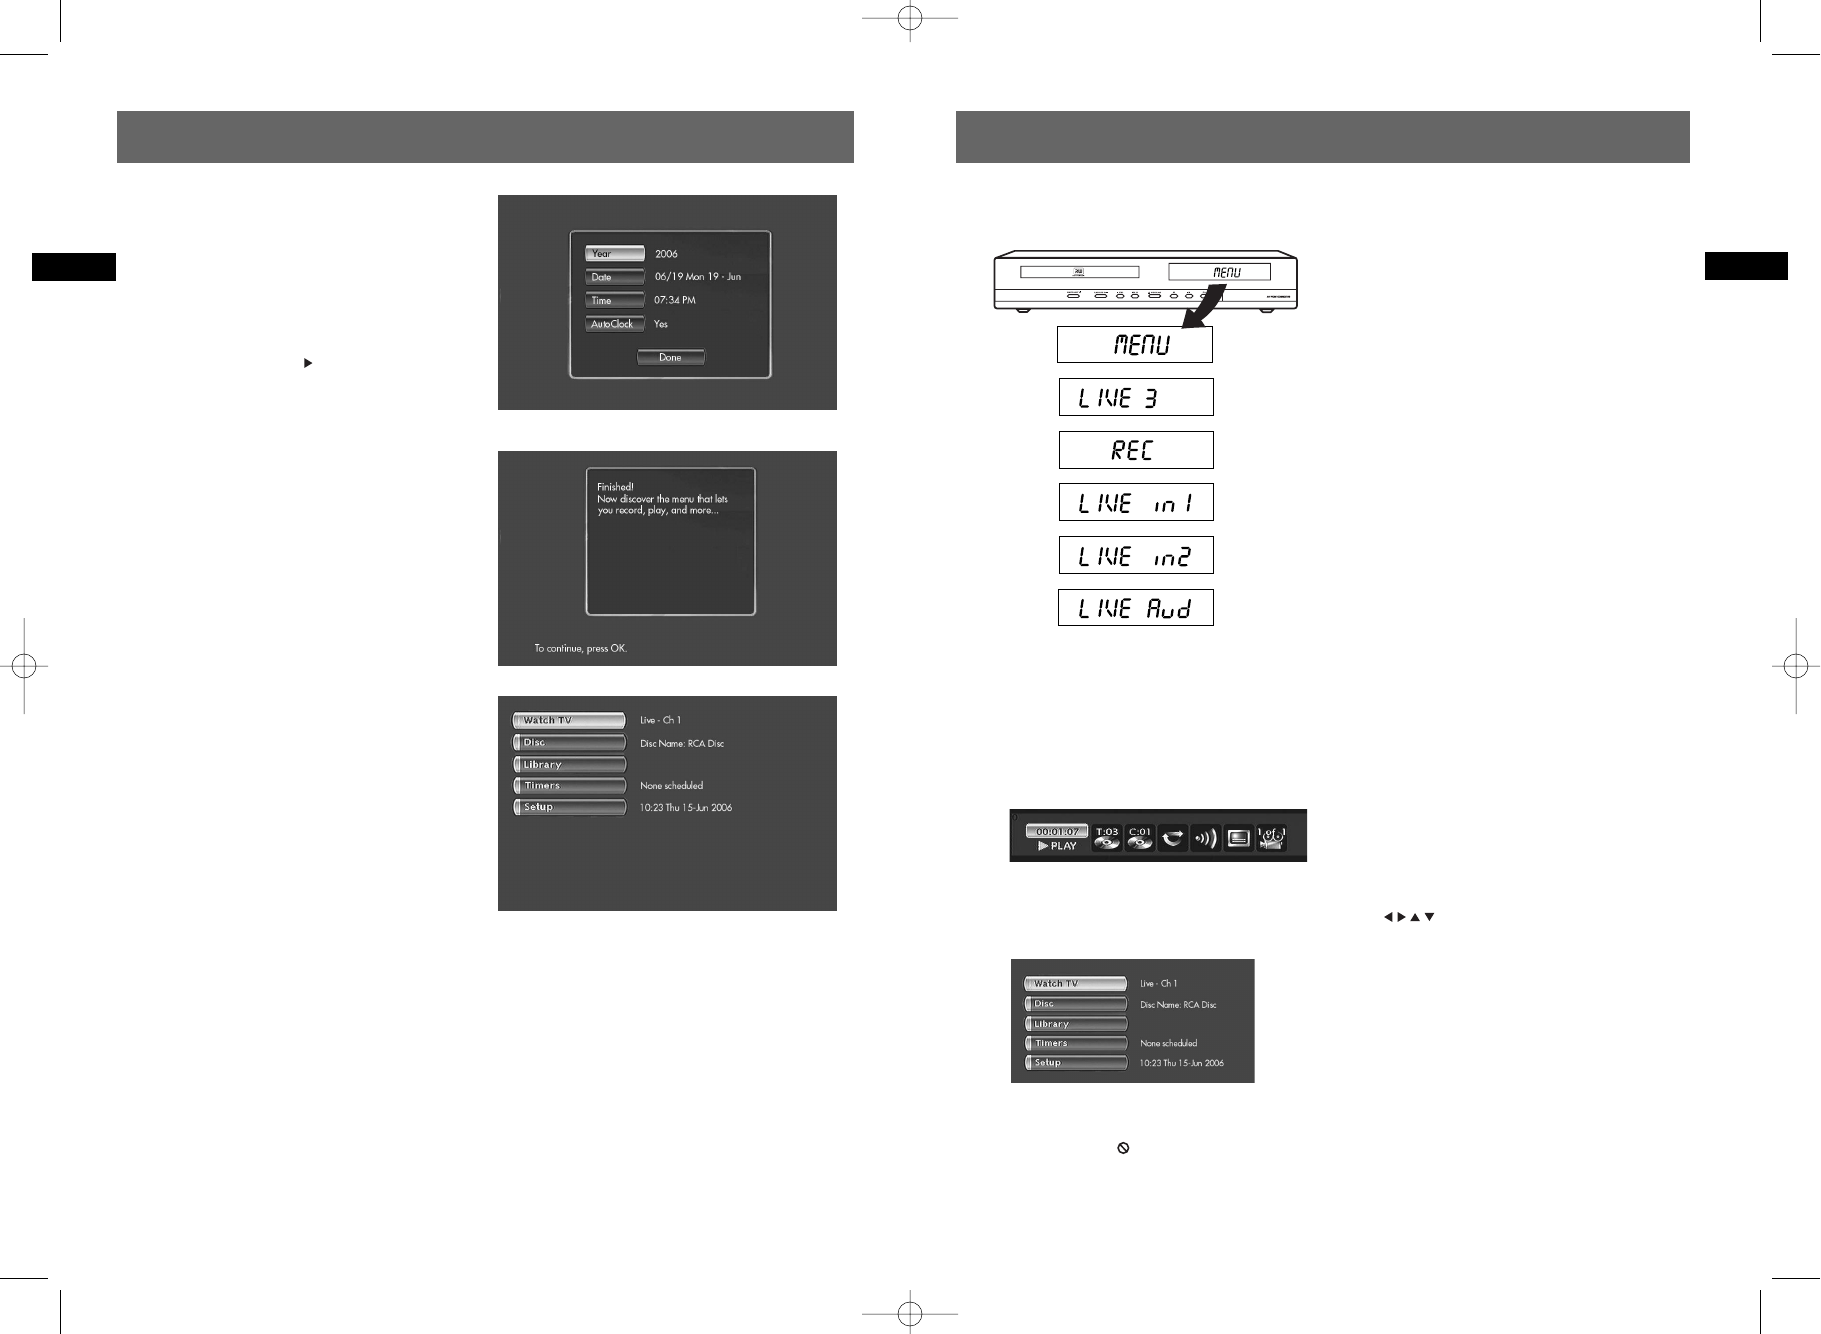
Main messages on the display
- Main menu of the recorder on the screen (device
stopped). No function selected.
- TV channel 3 being watched.
- Start of the recording.
- Images from a device connected to the INPUT 1
socket (rear panel).
- Images from a device connected to the INPUT 2
socket (front panel).
- Audio from a device connected to the AUDIO IN
socket (rear panel).
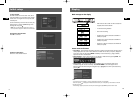
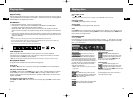
Screen menus and banners
• Disc menus – each DVD video disc offers menus for accessing more disc features. The disc menu is
usually displayed on the screen when a DVD disc is loaded. You can also, at any time, display the
main menu of the disc by pressing MENU. Availability of some functions (e.g. angle, subtitle)
depend on the disc’s manufacturer.
• Player banners – while a disc is playing you can display or hide banners by pressing INFO. The
banners appear as a list of icons at the top of the screen.
• Player menus – your DVD recorder has menus enabling you to use functions that are not
accessible using the remote control keys. Press SETUP / MENU to access the player menus.
Move around in the menus using the navigation keys ( ) and confirm your selections by
pressing OK.
Note:
- If a menu item or icon appears in “grey” it means that the function is not available.
- When this symbol is displayed, it indicates that the function you are requesting is not available or that the
key used is incorrect.
- If the RCA logo appears, the screen saver may have been triggered, press OK to quit screen saver mode.
DRC8030_EN 8/15/06 10:30 AM Page 16