12
Note:
• Makes sure there are no objects between
the remote control and its sensor.
• Don’t place the remote control near a heater
or in damp place.
• A strong blow to the remote control may
cause it not to operate.
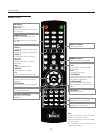
Remote Control
4 5
0
100
1 2 3
6
RGB
HD
TVDVI
SLEEP
MEMORY
DISPLAY
HOLD SUB PAGE CANCEL TEXT
REVEAL SIZE MIX INDEX
TIMER
OFF
MENU EXIT
ENTER
INPUT
1
7 8 9
ASPECT SIZE POSITION PIP
P.
MODE SWAP TV/AVS.SWAP
OFF ON
INPUT
2
INPUT
3
INPUT
4
CUST
ISF
NT
ISF
DAY
ANA 4X3
ASPECT RATIO
LET
BOX
VWIDE
CHANNEL DOWN
CHANNEL UP
VOL +
VOL -
FC1 FC2 FC3 FC4
S.MODE SURRND
MTS/SAP
MUTE
SOURCE
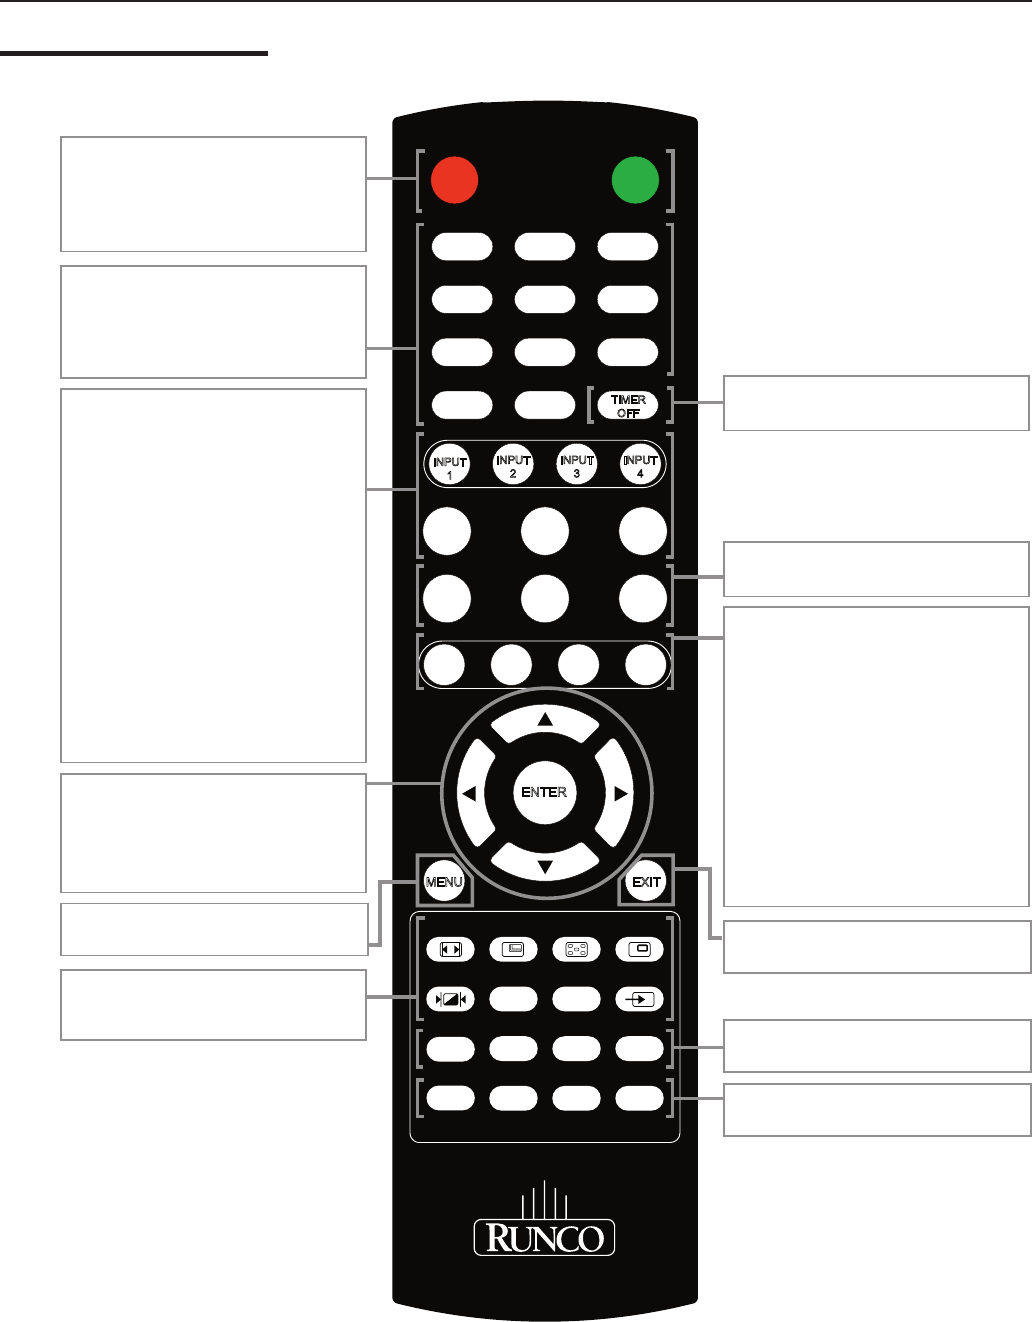
OFF Button
To turn off the unit.
ON Button
Hold down this button for one second to
turn on the unit.
NUMERIC Buttons
To select channel and to enter pass
codes.
The “100” button is to select channels
over 100.
TIMER OFF Button
To access sleep timer.
DISCRETE SOURCE SELECTION
• INPUT 1
For Composite video or S-Video signals.
• INPUT 2
For Composite video or S-Video signals.
• INPUT 3
For Component video or composite
video signals.
• INPUT 4
For Component video or composite
video signals.
• DVI
For Digital video input signals.
• RGB HD
For DTV RGBHV or PC signals.
• TV
For ant/cable signals. (CR-32HD only)
ASPECT RATIO Buttons
• ANA
For Anamorphic 16:9 or widescreen
enhanced DVD.
• 4X3
For standard video format.
• LETTERBOX
Image in letterbox format is enlarged to fit
16:9 full screen display and the upper/
lower portion are “blanked off”.
• VIRTUALWIDE
4:3 image is nonlinearly stretched in a
horizontal direction to fit 16:9 full screen
display.
MEMORY Buttons
To recall video memory sequentially.
ARROW Buttons
To select the menu or to make various
adjustments.
ENTER Button
To enter the setting of items in the menu.
MENU Button
To display the OSD menu.
EXIT Button
To clear the OSD menu.
PIP FUNCTION Buttons
See page 27-30 for Operation
instructions.
SOUND SELECTION Buttons
See page 20, 31 for menu diagram.
FAVORITE CHANNEL Buttons
See page 21 for menu diagram.
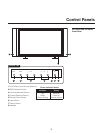
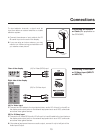
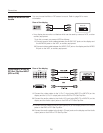
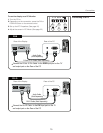
Control Panels


