


Runco VX-33i Installation/Operation Manual 55
PRE
L
IMINAR
Y
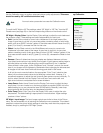
CalibrationUse the Calibration menu to perform advanced picture quality adjustments. This menu
should be used by ISF-certified technicians only.
To recall the ISF Night or ISF Day settings, select “ISF Night” or “ISF Day” from the ISF
Presets menu (see page 54) or use the corresponding buttons on the remote control.
ISF Night - Display Color: Use the Display Color settings to adjust the color balance at
the projector output. These settings are saved independently for each input.
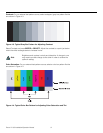
•Gain: Use the Gain controls to correct color imbalances in the bright areas of the
image. A good way to do this is to use a test pattern consisting mostly of solid white
areas, such as an 80 IRE “window” pattern. If the white areas contain traces of red (Pr),
green (Y) or blue (Pr), decrease the Gain for that color.
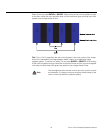
•Offset: Use the Offset controls in the White Balance sub-menu to correct color
imbalances in the dark areas of the image. A good way to do this is to use a test
pattern consisting mostly of dark gray areas, such as a 30 IRE “window” pattern. If the
gray areas contain traces of red (Pr), green (Y) or blue (Pr), decrease the Offset for that
color.
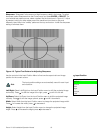
• Gamma: “Gamma” determines how gray shades are displayed between minimum
input (black) and maximum input (white) for all signals. A good gamma setting helps to
optimize blacks and whites while ensuring smooth transitions for the “in-between”
values utilized in other grays. Unlike “Brightness” and “Contrast” controls, the overall
tone of your images can be lightened or darkened without changing the extremes and
all images will be more vibrant while still showing good detail in dark areas.
In all but the most unusual situations, the appropriate “Color Temp” selection (see
below) will produce accurate colors and a satisfying contrast level. However, it is
sometimes necessary to adjust the red, blue and green gamma curves individually. To
do this, select Gamma from the Display Color sub-menu and use the left- and
right-arrow buttons to manipulate the on-screen slidebars.
•Lamp Power: Select Lamp Power from the Display Color menu to adjust the lamp
output level. You can choose to run the lamp as bright as possible (300W; this is the
default setting) or you can choose the lower (250W) setting. Generally, lower lamp
output prolongs the life of the lamp, but decreases brightness.
• Color Temp: Select Color Temp from the Display Color menu to adjust the color
temperature. The default setting is appropriate for most situations. Higher settings
produce a “bluer” picture.
ISF Night - Input Image: The Input Image controls are similar to those in the Picture
menu, but are accessible only by entering the Calibration menu passcode. This makes it
possible to restore the picture quality settings to what they were when the projector was
installed, simply by recalling the “ISF Night” preset.
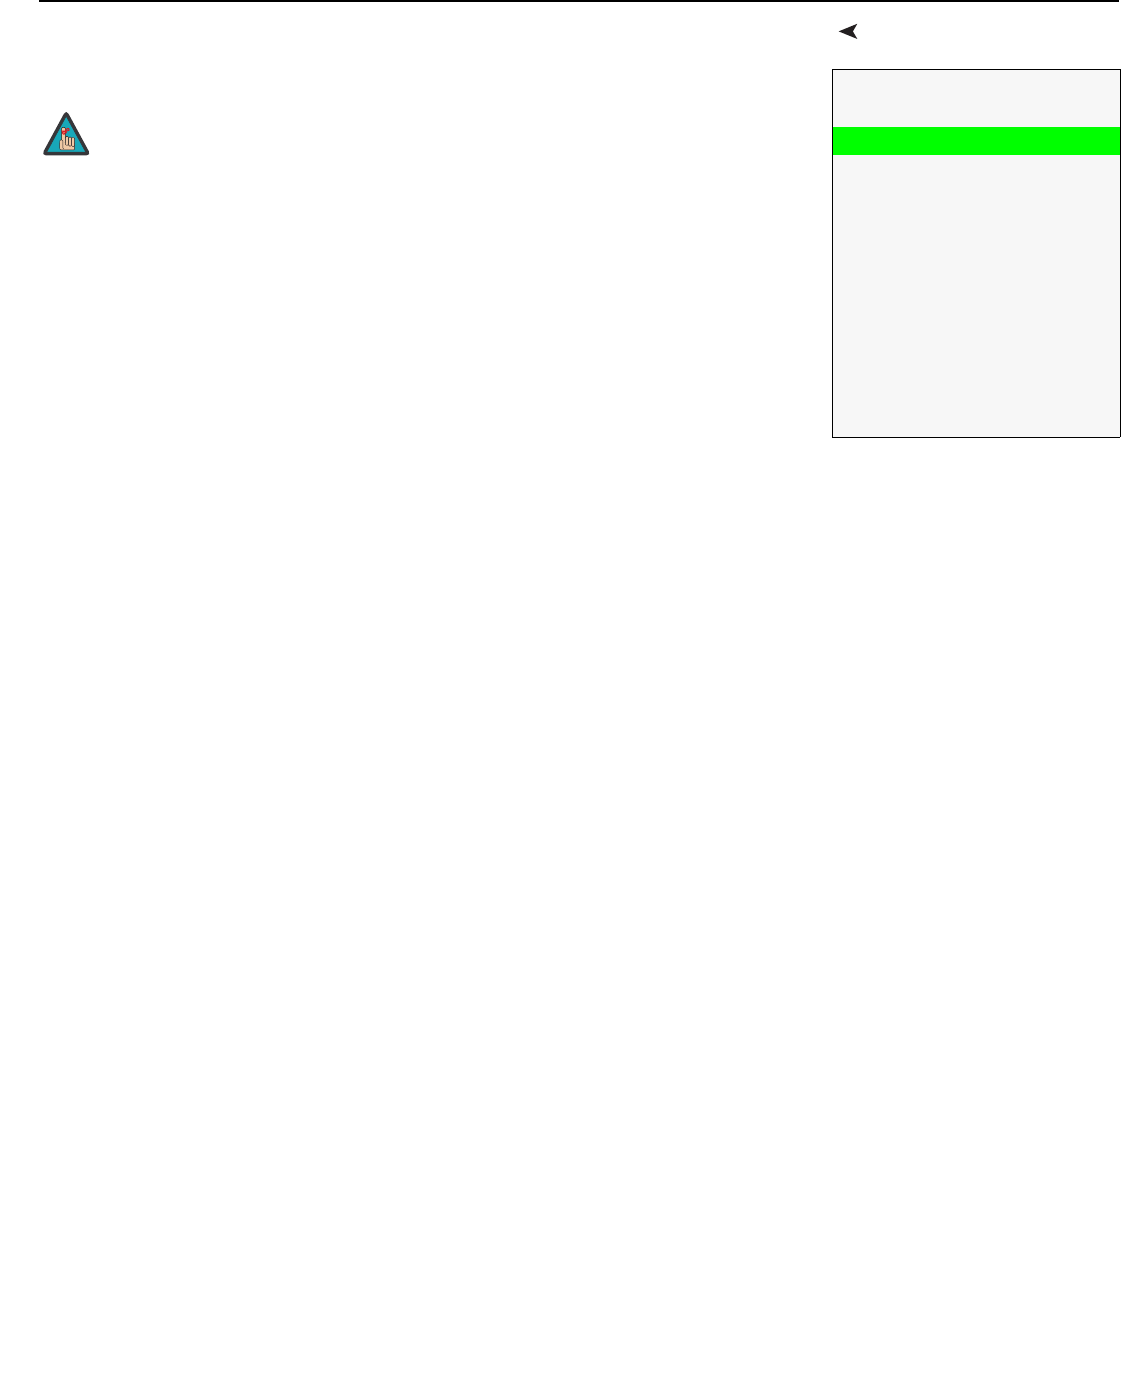
Calibration
ISF Night
Display Color
Input Image
Input Color
ISF Day
Display Color
Input Image
Input Color
Save ISF Settings
Output Shift
Splash Timer
OSD Position
You must enter a passcode to access the Calibration menu.
Note