Connecting the 8300HDC
To connect your 8300HDC to your entertainment devices, complete these steps.
Identify the additional
devices you will connect
to the 8300HDC and TV.
See pages 12 through
19 and the related user
guides for more
information.
VCR
DVD
D-VCR
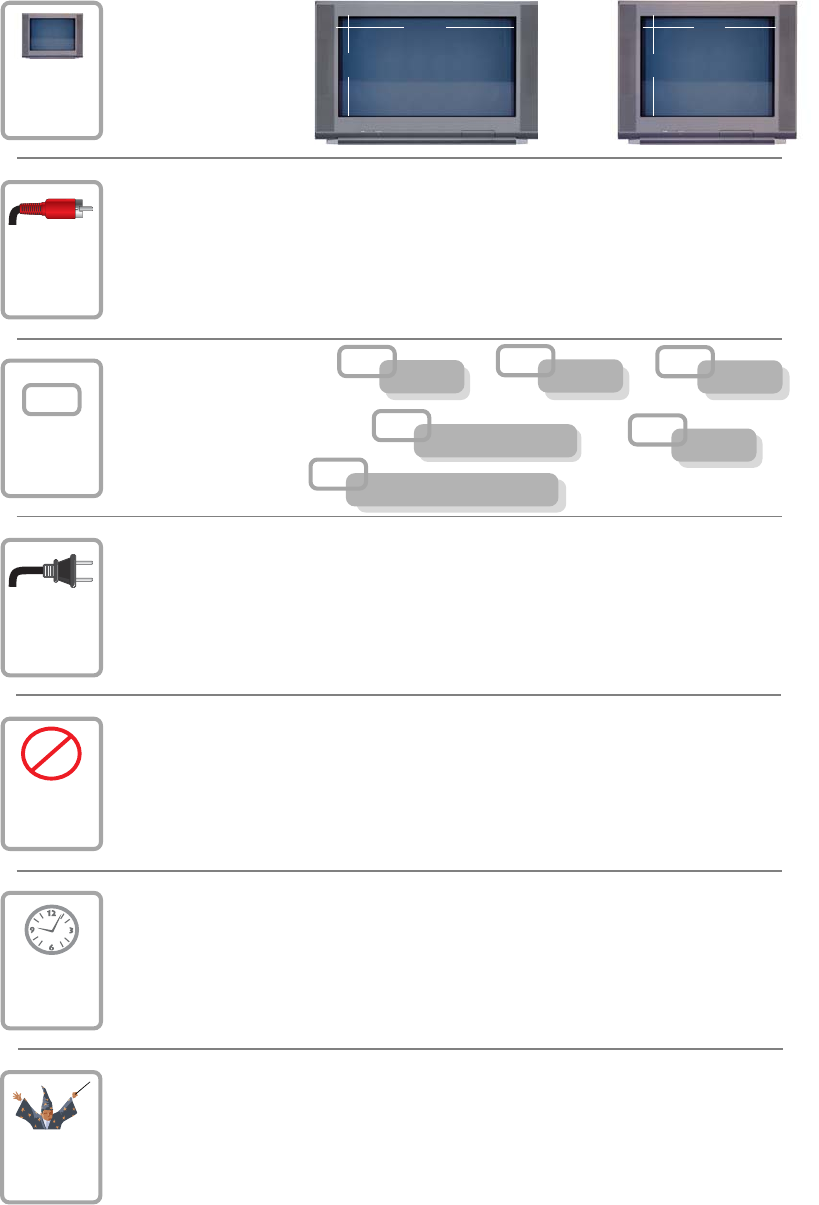
Determine if your TV
is HD or SD and
whether it is wide
screen (16:9) or
standard screen
(4:3). See page 11
for more information.
Home Theater
4
3
16
9
or
Make the connections for your TV and VCR as follows:
• If you are using an HDTV, see page 6 and the connection diagrams at the end
of this guide.
• If you are using an SDTV, see page 7 and the connection diagrams at the end
of this guide.
• If you want to archive some programs to VCR tape, see pages 6 and 7 and the
connection diagrams at the end of this guide.
D
3
1
2
4
Plug the 8300HDC and the TV into an AC power source that is not controlled
by a switch.
5
Do not turn on the 8300HDC or TV yet.
POWE
6
It may take several minutes for the 8300HDC to receive the latest software,
programming, and service information. Wait until you see one of the following displays
on the front panel of the 8300HDC that indicates that the update is complete:
• Current time • Four dashes (- - - -)
Note: If four dashes are displayed, you must call your cable service provider to get
the 8300HD authorized.
7
Set up your 8300HDC for HDTV or SDTV by completing the following steps:
• Make sure the 8300HDC is Off and the TV is On.
• On the front panel of the 8300HDC, press GUIDE and INFO at the same time.
• Follow the on-screen instructions to choose HD or SD mode and wide screen
(16:9) or standard screen (4:3) depending upon your TV type. See Page 10 for
more information on the scan rate.
• At the conclusion of the on-screen instructions, press POWER on the 8300HDC
to begin watching TV.
5
External SATA Drive
Other


