20
AV MODE
AV MODE gives you several viewing options to choose
from to best match the surrounding environment of the
TV, which can vary due to factors like room brightness,
type of program watched or the type of image input
from external equipment.
Press AV MODE. Current AV MODE displays.
•
Press AV MODE again before the mode displayed on the
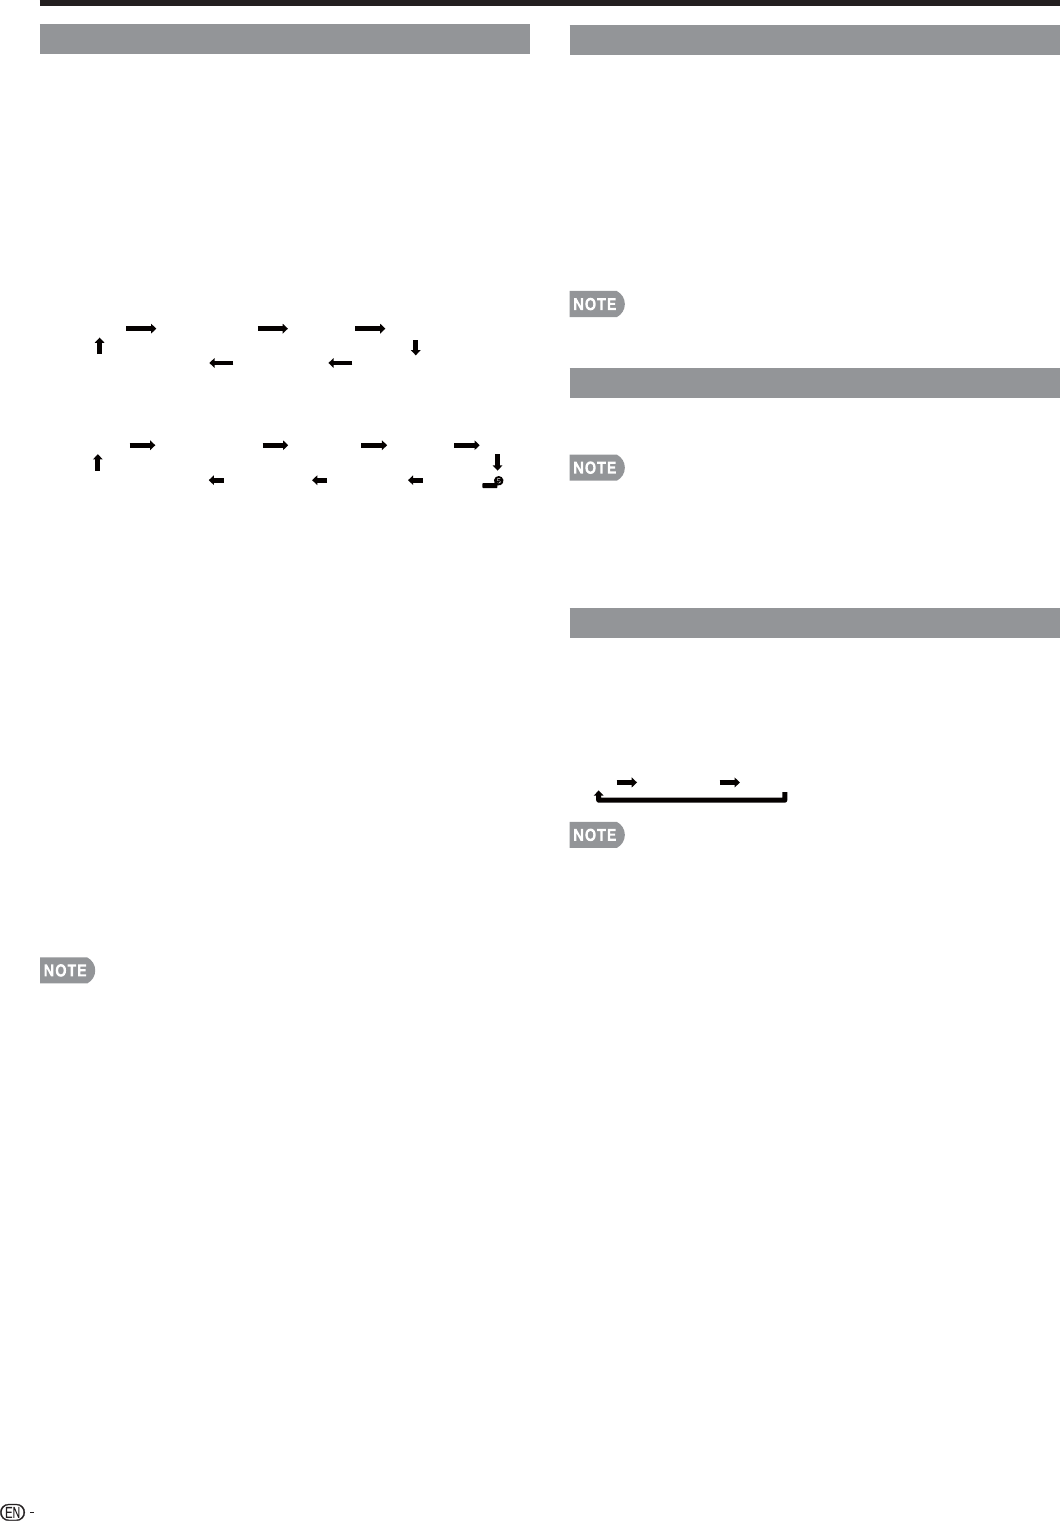
screen disappears. The mode changes as shown below:
Example:
When the input source is TV, COMPONENT or
VIDEO
DYNAMIC
DYNAMIC (Fixed)
AUTO STANDARD MOVIE GAME
USER [TV]
Example:
When the input source is PC IN or HDMI 1 to 4
STANDARD
MOVIE
GAME
PC
x.v.Color* USER[ ]
AUTO
DYNAMIC (Fixed) DYNAMIC
* "x.v.Color" can only be selected when an x.v.Color
signal is input using HDMI 1 to 4.
AUTO: Optimizes the image quality automatically based
on the room brightness and image signal.
STANDARD:
For a highly defi ned image in a normal
lighting.
MOVIE: For a movie.
GAME: Lowers image brightness for easier viewing.
PC: For PC.
USER: Allows the user to customize settings as desired.
You can set the mode for each input source.
x.v.Color: Supports the x.v.Color international standard
for wide color space. The x.v.Color signal allows you
to experience colors that conventional color signals
cannot reproduce.
DYNAMIC: For a clear-cut image emphasizing high
contrast, useful for sports viewing.
DYNAMIC (Fixed): Changes the image and sound
settings to the factory preset values. No adjustments
are allowed.
•
You can select a different AV MODE item for each input
mode. (For example, select STANDARD for TV input and
DYNAMIC for COMPONENT.)
•
When you play games, "GAME" is recommended for AV
MODE.
•
You cannot set "GAME" or "PC" when the TV is connected
to the Internet or when the input source is "USB".
• You can have the same settings by choosing "AV MODE"
on the menu items. (See page 24.)
Direct Button Operation
INPUT
To view external source images, select the input source by
pressing INPUT on the remote control unit or on the TV.
1
Press
INPUT.
The CH List screen displays.
2
Press
a
/
b
or press INPUT again to select the input
source.
An image from the selected source automatically displays.
Each time INPUT is pressed, the input source toggles.
If the corresponding input is not plugged in, you cannot change
the input. Be sure to connect the equipment beforehand.
•
See pages 12 to 16 and 43 for external equipment
connection.
APPS
Allows you to directly activate various types of
applications.
• See pages 37, 51 and 57 for details of viewable
applications.
• You can display the DOCK by choosing "DOCK" on the
menu items. (See page 28.)
• When this function is not available, "Can not operate this
function now" will display.
POWER SAVING
Allows you to set the Power Saving level in order to
decrease the power consumption and increase the
backlight lifespan.
Press POWER SAVING.
•
Each time you press POWER SAVING, the mode changes
as shown below.
Off
Standard
Advanced
•
You can have the same settings by choosing "Power
Saving" on the menu items. (See page 27.)
•
•
•
•


