


46
To view best quality images
If you have a Sony TV compatible with
“PhotoTV HD,” you can enjoy best quality
images by the following connection and
setting.
1 Connect the player to the TV using an
HDMI cable (not supplied).
2 Set the TV’s video setting to [VIDEO-A]
mode.
For details on [VIDEO-A], refer to the
instruction manual supplied with the TV.
b
You can enjoy “PhotoTV HD” only when “HDMI
Resolution” of the player is set to “Auto,” “1080i,”
or “1080p” in the “Output Video Format” under the
“Video Settings” setup (page 52).
You can play photo files on the connected
USB device.
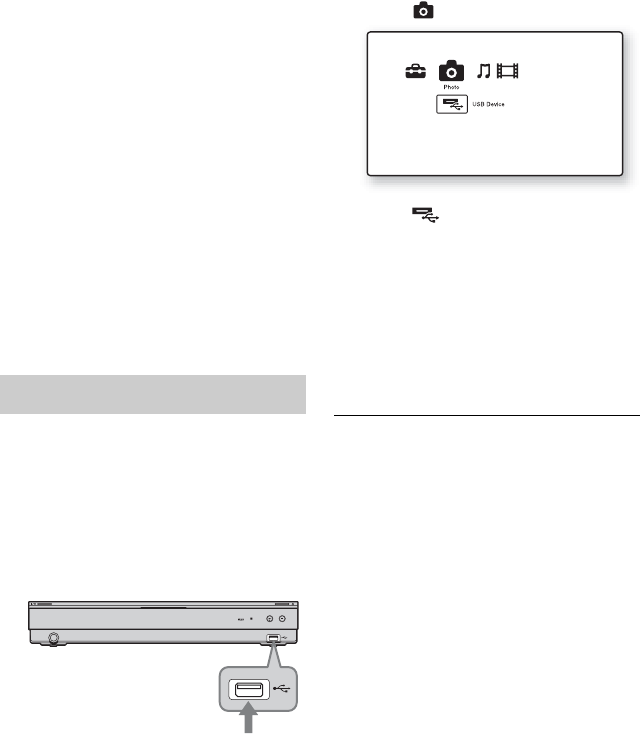
1 Connect the USB device to the USB
jack on the player.
Refer to the instruction manual supplied
with the USB device before connecting.
b
• Some USB devices may not work with this
player.
• The player can recognise:
– Mass Storage Class (MSC) devices that are
FAT-compatible and non-partitioned, and
– Still Image Capture Device (SICD) class
devices.
If the MSC devices are partitioned, the
player may not recognise the devices.
2 Press HOME.
3 Select (Photo) using </,.
4 Select (USB Device) using m, and
press ENTER.
The file list or folder list appears.
5 Select a file or folder using M/m, and
press ENTER.
When you select a folder, select a file in
the folder using M/m, and press ENTER.
The selected photo file is displayed.
• To play a slideshow, press N.
b
• Do not remove the USB device during operation.
Stop playback and turn off the file list and folder
list beforehand.
• The player cannot play photo files on a USB
device if it is connected to the USB jack on the
rear panel of the player.
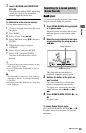
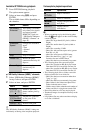
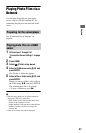
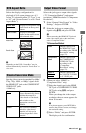
Playing from a USB device
USB device
Blu-ray Disc/DVD player
to USB jack