


67
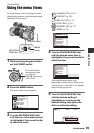
Using the Menu
After executing [SMTH SLW REC] with
an ASSIGN button, you can also cancel
[SMTH SLW REC] by pressing the
ASSIGN button again. See
page 41 for
details on how to use the ASSIGN buttons.
You can select the [SMTH SLW REC]
settings suitable for your recording.
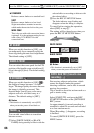
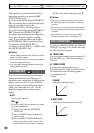
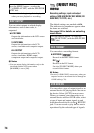
x TIMING
You can use this to select when recording
starts in relation to when the REC START/
STOP button is pressed.
* The default setting is [6sec AFTER].
x TRIG
When you set this function to [ON],
recording automatically starts in response
to a preset sound level instead of the REC
START/STOP button being pressed.
The [ TRIG] setting is canceled when
you turn the power off and back on.
x TRIG LEVEL
You can select the sound level at which
recording is triggered from [HIGH],
[MIDDLE] and [LOW] in [
TRIG
LEVEL]. The default setting is [HIGH].
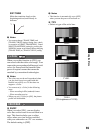
b Notes
• Sounds cannot be recorded.
• The recording time may be shorter than the set
time, depending on recording conditions.
• The image quality is lower than with the regular
recording.
z Tips
• When [ TRIG] is set to [ON], you can also
start recording by pressing the REC START/
STOP button.
• When you manually set the microphone volume
to a low level, [
TRIG] may not work
properly. We recommend that you set [
TRIG LEVEL] to [MIDDLE] or [LOW].
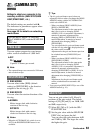
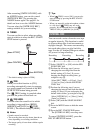
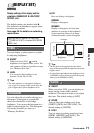
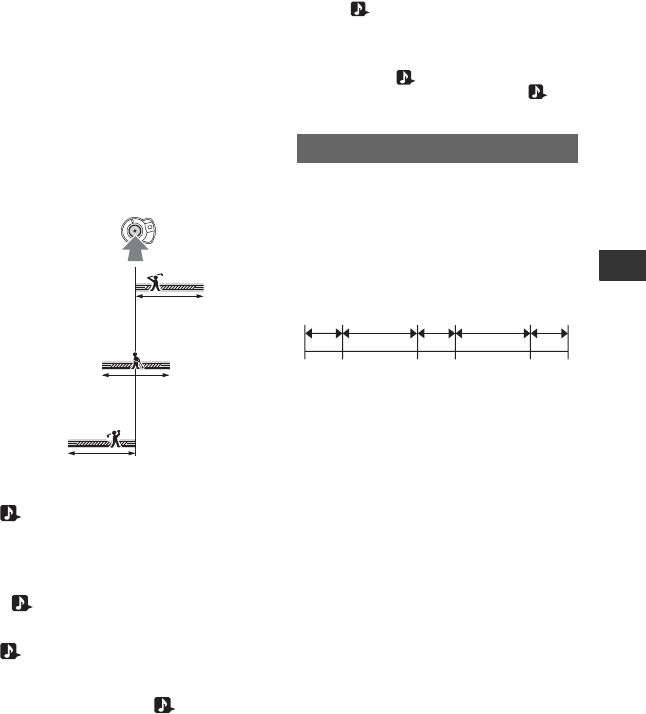
You can record a series of movies on a tape
at regular intervals. This function is useful
to observe things like cloud movements or
daylight changes. The scenes run smoothly
into each other when you play back the
tape. Use the AC Adapter/Charger to obtain
AC power for long recording.
1 Select [ON/OFF] t [ON] with the SEL/
PUSH EXEC dial.
2 Perform the following step if you are
changing the recording time from the
default setting of [0.5sec]. If you are
keeping the default recording time, go
straight to step 3.
Select [REC TIME] t [0.5sec], [1sec],
[1.5sec] or [2sec] with the SEL/PUSH
EXEC dial.
3 Perform the following step if you are
changing the interval time from the default
setting of [30sec]. If you are keeping the
default interval time, go straight to step 4.
Select [INTERVAL] t [30sec], [1min],
[5min] or [10min].
4 Select [OK] with the SEL/PUSH EXEC
dial.
5 Press the MENU button to hide the menu
screen.
6 Press the REC START/STOP button.
The [INTERVAL REC] recording starts.
To cancel [INTERVAL REC], press the
REC START/STOP button.
[6sec AFTER]*
[6sec BEFORE]
[6sec CENTER]
INTERVAL REC
interval
Recording
interval
Recording Recording
Continued ,Continued ,