12 (GB)
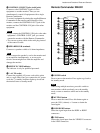
5 Y/C button
Selects the signal input from the Y/C IN jack in the
LINE connectors.
6 Number buttons
Press to select the index number.
7 ZOOM button
Each time you press this button, the image size
changes (in order) to double (×2), triple (×3),
quadruple (×4) and original size.
8 STILL button
This button does not operate with the monitor.
9 POWER ON switch
Press to turn on the monitor. When you use multiple
monitors, you can use this switch instead of the
POWER switch 1 so as not to affect another monitor
which may be already turned on.
0 POWER OFF switch
Press to turn the monitor to the standby mode. When
you use multiple monitors, you can use this switch
instead of the POWER switch 1 so as not to affect
another monitor which may be in the standby mode.
qa ID MODE (ON/SET/OFF) buttons
Press the ON button to make an index number appear
on the screen. Then press the index number of the
monitor you want to operate and press the SET button.
After you finish the operation, press the OFF button to
return to the normal mode.
qs DISPLAY button
Displays the input signal information and the time at
the top of the monitor screen. Press again to clear it.
qd YUV button
Selects the component signal input from the RGB1
connectors.
qf MTS/MPX button
This button does not operate with the monitor.
qg CH button
This button does not operate with the monitor.
qh DEGAUSS button
This button does not operate with the monitor.
qj SELECT +M/–m buttons
Press to move the cursor (B) to an item or to adjust a
value in a menu.
Location and Function of Parts and Controls
qk MENU button
Press to make the menu appear.
ql ENTER button
Press to select the desired item in a menu.
w; VOL +/– buttons
Press the + button to increase the volume, or the –
button to decrease the volume.
wa CH +/– buttons
This button does not operate with the monitor.
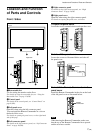
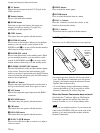
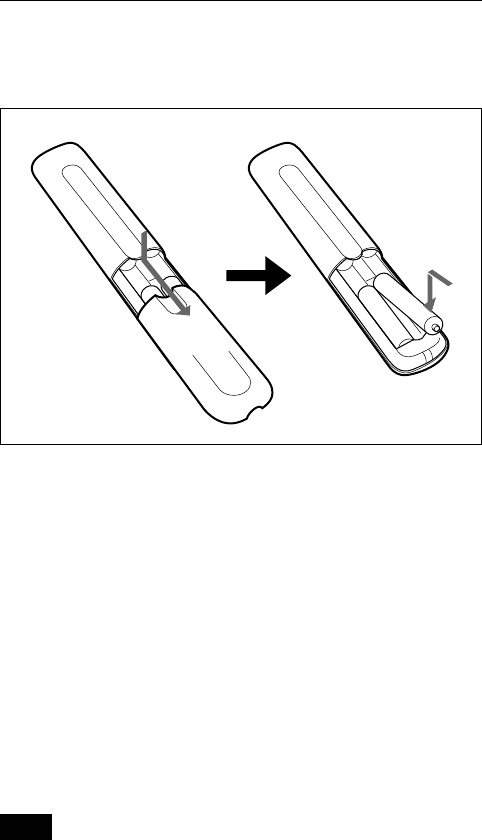
Installing batteries
Insert two size AA (R6) batteries in correct polarity.
e
E
E
e
• In normal operation, batteries will last up to half a
year. If the Remote Commander does not operate
properly, the batteries might be exhausted sooner.
Replace them with new ones.
• To avoid damage from possible battery leakage,
remove the batteries if you do not plan to use the
Remote Commander for a fairly long time.
When the Remote Commander does not work
Check that the 1 indicator lights up. The Remote
Commander operates the monitor only when the
monitor is turned on, or it is in the standby mode.
Note
When you use multiple monitors, if you connect the
cable to the CONTROL S IN jack on the side of the
monitor, you cannot operate the monitor with the
Remote Commander.
Be sure to
install the
negative <
–
end first.


