


D:\DVD
manual\Final\218839311_FM\01GB04BAS.fm
master page=right
RDR-GXD500
2-188-393-11(1)
23
Hookups and Settings
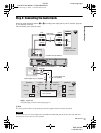
3 Switch the input selector on your TV so that
the signal from the recorder appears on
your TV screen.
“Initial settings necessary to operate the DVD
recorder will be made. You can change them
later using Setup.
Before you start, check that you have made all
necessary connections.
If you have preset any timer recordings they
will be erased.” appears.
• If this message does not appear, select “Easy
Setup” from “SETUP” in the System Menu
to run Easy Setup. For details, see “Settings
and Adjustments” (page 76).
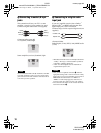
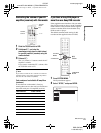
4 Select “Start,” and press ENTER.
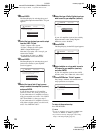
The Auto Tune display appears showing a
tuning progress bar and the number of
channels found.
When Auto Tune has ended, a completion
display appears indicating the number of TV
and Radio channels that have been found and
stored.
To set the channels manually, see page 80.
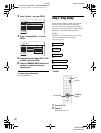
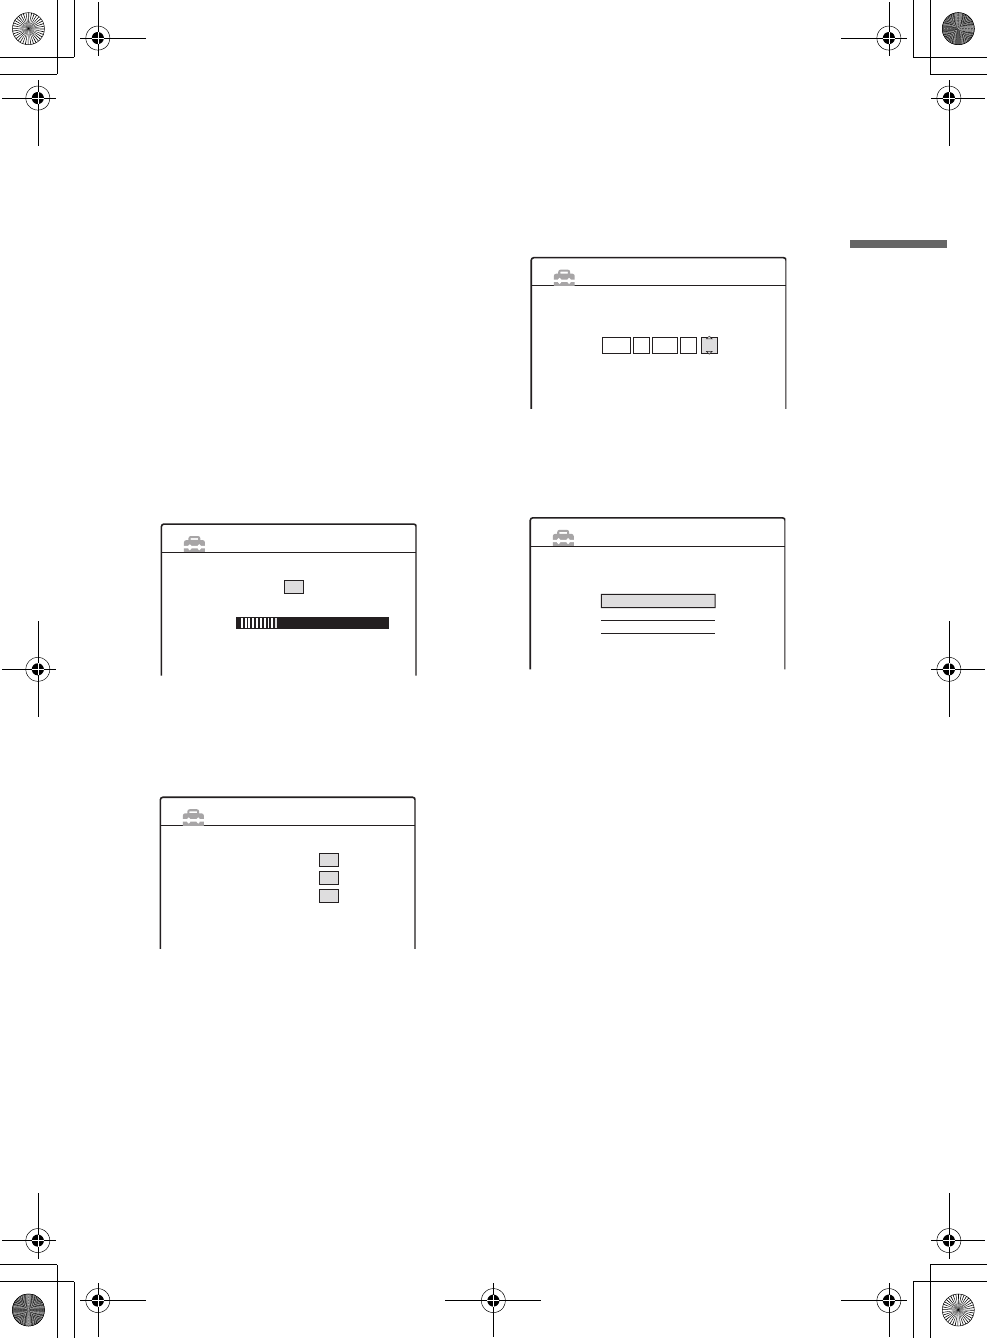
5 In case the current time and date could not
be set automatically thanks to your local
stations time signal broadcasts, the
display for setting the clock manually
appears.
Set the clock manually using </M/m/,.
6 Press ENTER.
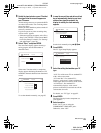
The TV Type Setup Display appears.
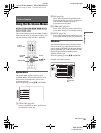
7 Select the setting that matches your TV
type.
“16:9”: For wide-screen TVs or standard TVs
with a wide screen mode.
“4:3 Letter Box”: For standard TVs.
Displays “wide screen” pictures with bands
on the upper and lower sections of the screen.
“4:3 Pan Scan”: For standard TVs.
Automatically displays “wide screen”
pictures on the entire screen and cuts off the
sections that do not fit.
For details, see “TV Type” on page 82.
8 Press ENTER.
The Setup Display for the component out
jacks appears.
9 Select an option.
Select “On” if you are using the
COMPONENT VIDEO OUT jacks.
Otherwise, select “Off.”
EASY SETUP Auto Tune 1/5
Number of channels found
Searching ...
32
EASY SETUP Auto Tune 1/5
Tuning has sucessfully completed
Number of channels found
50
Number of Radio Channels
20
Number of TV Channels
30
EASY SETUP Clock
The clock was not set automatically.
Set the time and date manually.
Tue 14 9 21 00:2004
EASY SETUP TV Type 2/5
Select your TV screen type.
16 : 9
4 : 3 Letter Box
4 : 3 Pan Scan
,continued
01GB01.book Page 23 Mardi, 7. septembre 2004 9:41 09