6
Preparations
Touch panel adjustment
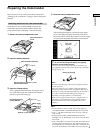
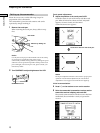
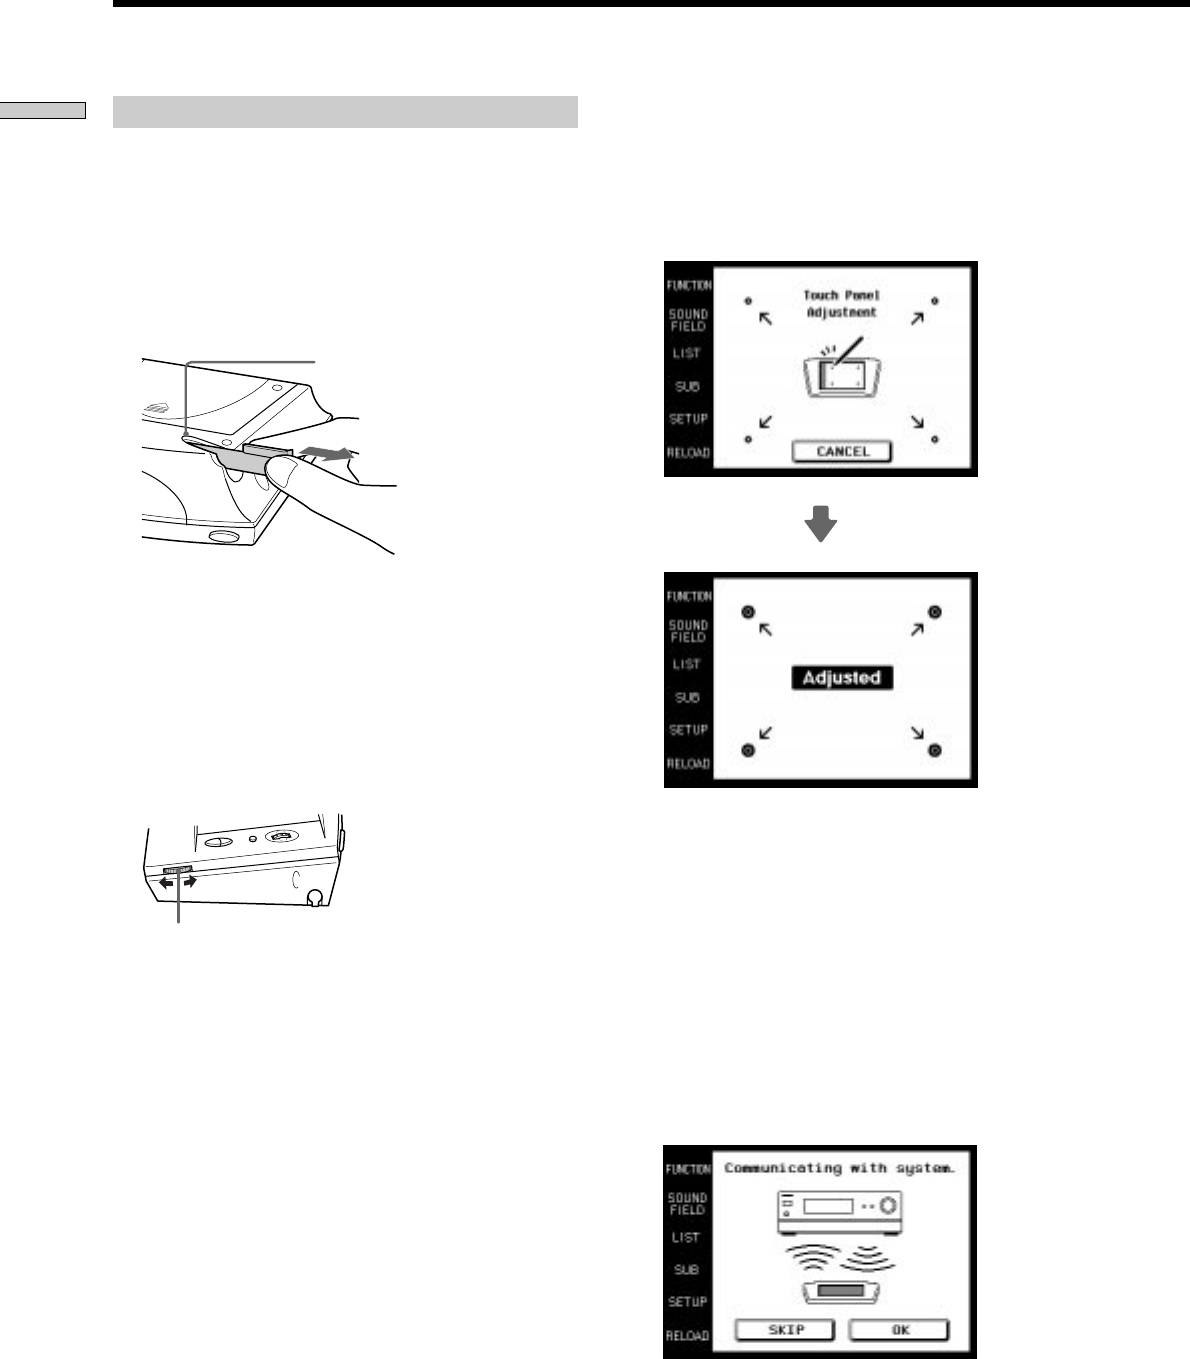
3 Adjust the position of the touch panel’s LCD.
Touch the center of each of the 4 dots with the touch
pen. When all 4 dots have been touched “Adjusted”
appears, a buzzer sounds, and the initial
communication screen appears.
Caution
Touch panel adjustment must be carried out for proper panel
operation. If used without adjustment, the ”Touch Panel
Adjustment” screen appears each time the LCD lights up.
Initial communication
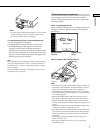
4 Press 1/u on the receiver to turn on the receiver.
5 Point the commander’s transmitter/receiver section
toward the receiver’s display, and touch OK.
Once initial communication with the receiver has been
established, the commander is ready to operate the
receiver.
Setting up the commander
Please be sure to carry out the following 5 steps for
preparation of the commander.
The commander’s panel is touch sensitive and can be
operated by simply touching it.
1 Remove the touch pen.
When returning the touch pen, always slide it in tip
first.
Caution
Use only the touch pen provided with this unit or the soft tip
of your finger to operate the touch panel. Using a
commercially available writing utensil may damage the panel
and make correct operation impossible. If the tip of the touch
pen is damaged, or the touch pen is lost, please consult your
nearest Sony dealer.
2 Turn CONTRAST to adjust brightness of the LCD.
Touch the 4 dots with the touch pen.
Preparing the Commander
Pen holder
Remove by sliding out
CONTRAST control


