


49EN 49EN
Disc
Management
Recording
PlaybackIntroduction Connections Basic Setup Editing Function Setup VCR Function Others
DV DUBBING
Note for DV dubbing
• If you press [PAUSE F] at step 5 in “DVC to DVD Dubbing” on page 48, the tape will rewind to the point a few
seconds preceding the paused point. When you press [ENTER] at step 6 in “DVC to DVD Dubbing” on page 48,
then, it will start dubbing when it comes to the paused point.
• The unit does not send out the output signal to DVC.
• For the proper operation, connect DVC to the unit directly. Do not connect this unit and DVC via any other unit.
• Do not connect more than 1 DVC.
• The unit can only accept DVC. Other DV device such as cable/satellite box or D-VHS VCR cannot be recognized.
• If no video signal is detected from the DVC during DVC to DVD dubbing, the recording will be paused and “I” will
flash on the TV screen. The recording will resume when the unit detects the video signal again.
• When the DVC is in camera mode, refer to “Guide to DV and On-Screen Display” on page 47.
• You cannot dub from DVC during timer standby mode.
• You cannot dub from DVC to the both DVD and VCR at the same time.
• You cannot change the output mode during DVC to VCR dubbing. If you want to switch to the DVD mode, stop
the VCR first.
• During DVC to VCR dubbing, you cannot change channels while paused.
• When output is in DVD mode while playing back a DVD using L3(DV-IN), you cannot switch to the VCR mode.
• If you are using anything other than L3(DV-IN) to playback DVD, you can switch to the VCR mode, but cannot
select L3(DV-IN) channel. (You can select L3(DV-IN)) after switching to the DVD mode during VCR playback.)
• During timer standby of either component, you cannot select L3(DV-IN) even on the component which is not in
timer standby.
• Date / time and cassette memory data will not be recorded.
• Pictures with a copy-guard signal cannot be recorded.
• A DV terminal is a terminal that can use the transmission mode conforming to the IEEE 1394 standards called “Fire
Wire”. It serves as the interface that connects the PC and peripheral device such as “i.LINK” (registered trademark
of SONY). It enables digital dubbing between DV devices with little degradation.
DVC to VCR Dubbing
Before recording from DVC, refer to page 45 for
connection instructions.
This DVC to VCR dubbing is available only for audio /
video out connection and not available for S-video,
component or HDMI connection. (Refer to
“Information on VCR Functions” on page 100).
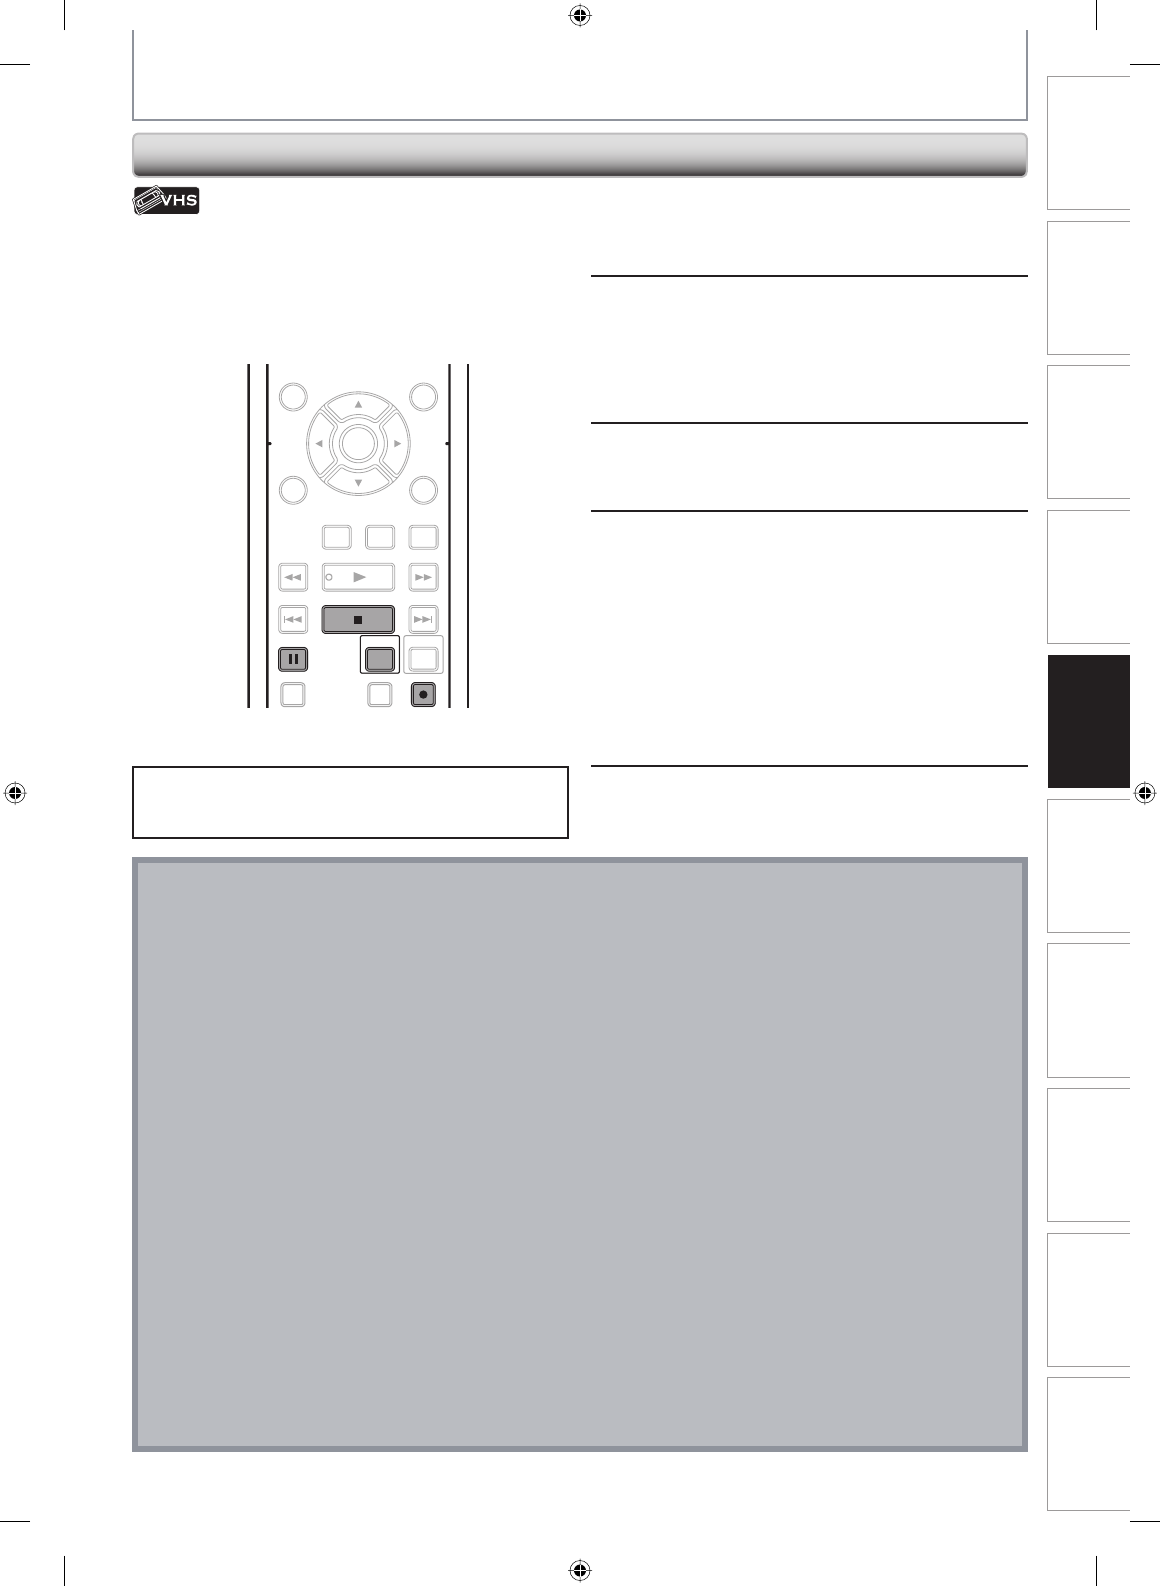
1
Repeat the steps 1 and 2 on page 48.
2
Press the PLAY button on your DVC
to find where you wish to start
dubbing. Then, press the PAUSE
button on the DV camcorder when
you come to the desired start point.
3
Press [REC I] to start recording.
4
Press the PLAY button or the PAUSE
button on your DVC to resume the
playback.
The dubbing will start.
To pause the recording:
Press [PAUSE F] once.
“I” will flash.
To resume recording:
Press [REC I] or press [PAUSE F] again.
“I” will reappear.
5
To stop recording, press [STOP C].
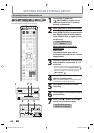
Press [VCR] first.
Preparing for DV to VCR dubbing:
• Insert a recordable cassette tape and make sure your
DVC is in video mode.
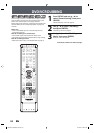
DISC MENU
CLEAR RETURN
TOP MENU
ENTER
INSTANT
SKIP
PLAY
DVDVCR
PAUSE
REV
SKIP
STOP
SKIP
FWD
1.3x/0.8x
PLAY
TIME SLIP
RECREC MODEDUBBING
PAU SE
REC
STOP
VCR
E9PKBUD_DKVR60KU_EN.indd 49E9PKBUD_DKVR60KU_EN.indd 49 8/11/2009 4:00:46 PM8/11/2009 4:00:46 PM