


34
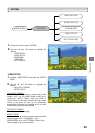
QUICK SCAN (For Australia Only)
The “QUICK SCAN” feature allows you to scan all predefined digital TV and Radio channel signals in Australia.
1.
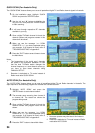
On the installation page, highlight “QUICK
SCAN” and press the “ENTER” button.
2.
Use the “
Ÿ
” and “
ź
” buttons to highlight the
city you live in and press the “ENTER” button
to start scanning.
3.
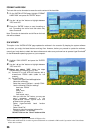
It will scan through respective RF channels
available in your city.
4.
Once a digital TV/Radio channel is found, the
channel number and programs names in this
channel will be shown.
5.
When you see the message “>>> SCAN
COMPLETE <<<”, you have completed tuning
your recorder. If no channel is found, refer to
“TROUBLESHOOTING” in Appendix 2.
6.
Press the “EXIT” button several times to leave
the Main Menu.
Notes:
1.
The frequencies of the “quick scan” channels
are preset in the recorder’s database. In case
that the local TV/Radio station changes the
channel frequency or a new channel comes up,
you have to scan these channels using
“MANUAL SETUP”.
2. Recorder is defaulted to TV mode instead of
Radio mode after QUICK SCAN.
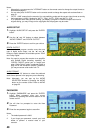
AUTO SCAN (For Australia Only)
The “AUTO SCAN” feature allows you to scan all predefined digital TV and Radio channels in Australia. The
steps required to automatically program the recorder are outlined as below:
1.
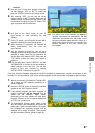
Highlight “AUTO SCAN” and press the
“ENTER” button to start channel search.
2.
The recorder starts scanning from channel 2
to channel 69. The status bar shows the
progress being made.
3.
Once a digital TV/Radio channel is found, the
channel number and program name will be
shown.
4.
When you see the message “>>> SCAN
COMPLETE <<<”, you have completed tuning
your recorder. If no channel is found, refer to
“TROUBLESHOOTING” in Appendix 2.
5.
Press the “EXIT” button to leave Main Menu.
Notes:
1. Auto scan process may take about 18 minutes to
complete.
2. Recorder is defaulted to TV mode instead of Radio
mode after AUTO SCAN.