Troubleshooting
11‑2
Clearing Jams
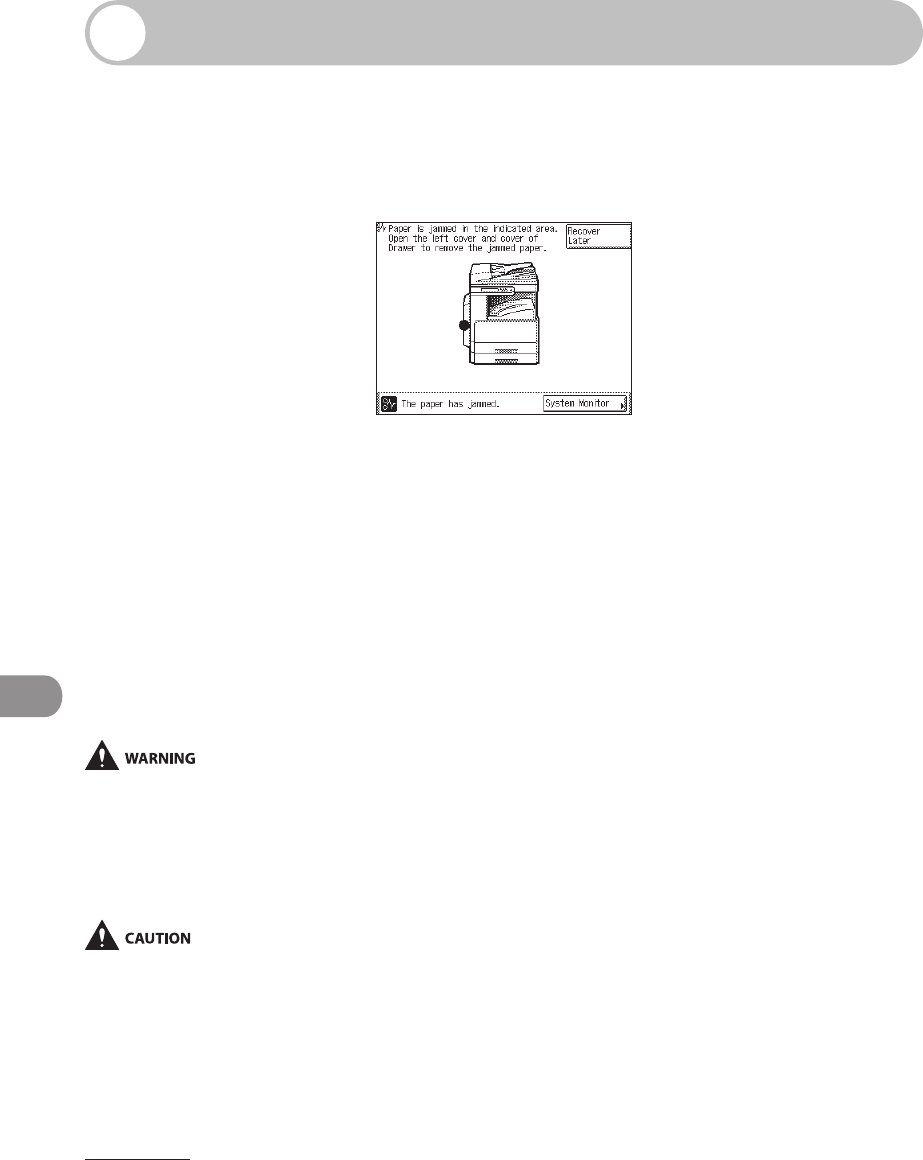
If a paper jam occurs, the screen indicating the location of the paper jam and
instructions on how to clear the paper jam appears on the touch panel display. This
screen repeatedly appears on the touch panel display until the paper jam is entirely
cleared. A black circle on the screen indicates the location of the paper jam.
When you press [Recover Later], you can continue operations, such as setting modes
and scanning originals, without removing the jammed paper immediately.
Check the following if you experience repeated paper jams:
Fan and tap the paper stack on a flat surface before loading it in the machine.
Check that the paper you are using meets the requirements for use. (See “Paper
Requirements,” on p. 2-11.)
Make sure you have removed any scraps of paper from the inside of the machine.
Make sure that the paper-size detecting lever located on the left side of a paper
drawer matches the size of the paper loaded in the paper drawer. (See “Set Up the
Machine,” in the Starter Guide.)
There are some areas inside the machine which are subject to high‑voltages. When removing jammed paper
or when inspecting the inside of the machine, do not allow necklaces, bracelets, or other metal objects to
touch the inside of the machine, as this may result in burns or electrical shock.
The fixing unit, the duplex unit, and their surroundings inside the machine may become hot during use.
When removing jammed paper or when inspecting the inside of the machine, do not touch the fixing unit,
the duplex unit, and their surroundings, as doing so may result in burns.
When removing jammed originals or paper, take care not to cut your hands on the edges of the originals or
paper.
When removing paper which has become jammed inside the machine, take care not to cut your hands or
injure yourself on the parts on the inside of the machine. If you cannot remove the paper, please contact
Canon Authorized Service Facilities or the Canon Customer Care Center.
–
–
–
–
–
–
–
–
