Using the Menu
16
4
Press the M or m key to select “LANGUAGE”, then
press the , or ENTER key.
The selected item is displayed in yellow.
5
Press the M or m key to select a language, then press
the ENTER key.
The menu changes to the selected language.
To clear the menu
Press the MENU key.
The menu disappears automatically if a key is not
pressed for one minute.
Using the Menu
The unit is equipped with an on-screen menu for making
various adjustments and settings such as picture control,
input setting, set setting change, etc. You can also
change the menu language displayed in the on-screen
menu.
To change the menu language, see “Selecting the Menu
Language” on page 15.
The current settings are displayed in place of the x
marks on the illustrations of the menu screen.
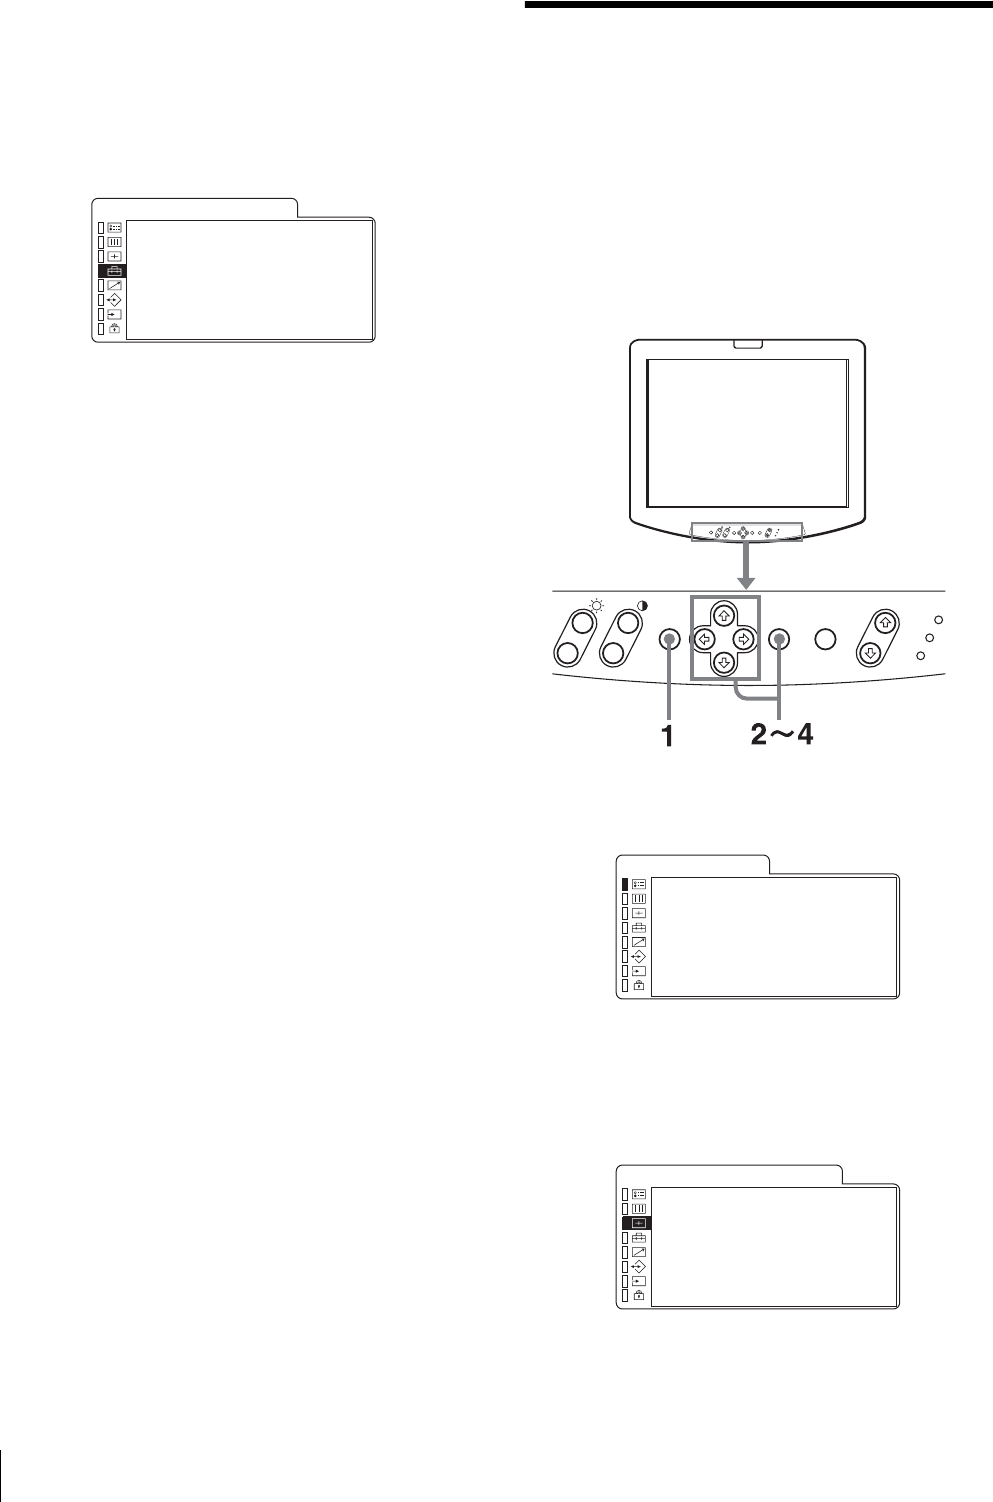
1
Press the MENU key.
The menu appears.
2
Use the M or m key to select a menu, then press the
, or ENTER key.
The menu icon presently selected is shown in
yellow and setting items are displayed.
· SYNC xxx
xLANGUAGE xxxxxxx
· POWER SAVING xxx
· COMPUTER DETECT···
AUTO CHROMA/PHASE
· AUTO ADJ VALUE xxx
· START···
USER CONFIG (1/2) Rr
+
–
+
–
MENU ENTER INPUT
R
USER MEMORY
+
–
+
–
-
FORMAT xxxxxxxxx
xxxxxxxx
COLOR TEMP xxx
GAMMA x
COMP LEVEL xxxxx
NTSC SETUP x
STATUS (1/2) Rr
xCHROMA xx
· PHASE xx
· APERTURE xxx
· GAMMA x
· ASPECT xxx
· SCAN xxxxxx
· PIC DELAY MIN xxx
USER CONTROL


