


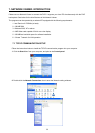
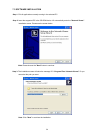
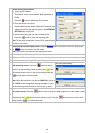
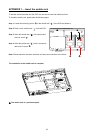

Set the working environment:
(1) Type a new IP address.
The Network Viewer can memorize 25 IP addresses of
DVRs.
Press the
button to delete the IP information.
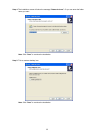
(2) Enter the values of the ports.
Please make sure the values of Data and Command ports
which you enter are the same as given in the NETWORK
SETTING page of the DVR.
3.
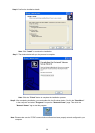
(3) Select the recoding path you want for backup file.
Press the
button to select the recording path.
Note: To add more connections of other DVRs, please repeat
the above instructions.
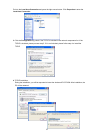
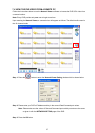
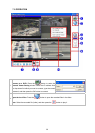
Convert the NTSC/PAL display mode: Press the
button to convert to the NTSC mode; press
the
4.
button to convert to the PAL mode.
Note: This function only effects in the playing back mode.
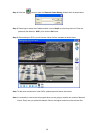
Screen divisions: Choose any of the buttons you want.
5.
Multi-screen: The videos of all the cameras are displayed here.
6.
Scroll bar and function keys: Click each of these buttons to execute its functions.
7.
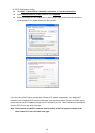
Click Yes to start recording:
DVR recording control: Press the
button to start to
record or to stop recording. While recording, the
icon
will become yellow in color. In the non-recording mode, the
Click Yes to stop recording:
8.
icon will return to the blue color.
Note: When the hard disk is full and the DISK FULL option is
set to STOP, there will appear a warning message of “Can’t
get the recording status! Please re-connect and try again.”
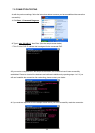
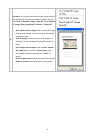
Save video stream: Press the
button to start to save the “Live” images into a video stream (*.dvr).
While saving, the
9.
icon will become yellow in color. Press the button one more time to stop
saving, and the
icon will become blue.
40