12
2.1.3 Set up the System Date and Time
Before starting record video, adjust the date and time first.
1. Press to call up the OSD menu and then use
▲
and
▼
to go up and
down and select Submenu. And then, press to confirm the selection.
2. In Submenu, select the Date and press again to make a selection. And then,
use
▲
and
▼
to adjust the date and use
▼
and
▼
buttons to move
the selection to the left and right.
3. To adjust Time, follow the above step 2 and 3.
4. Press to go back to main menu after adjustment.
2.2 Surveillance Screen
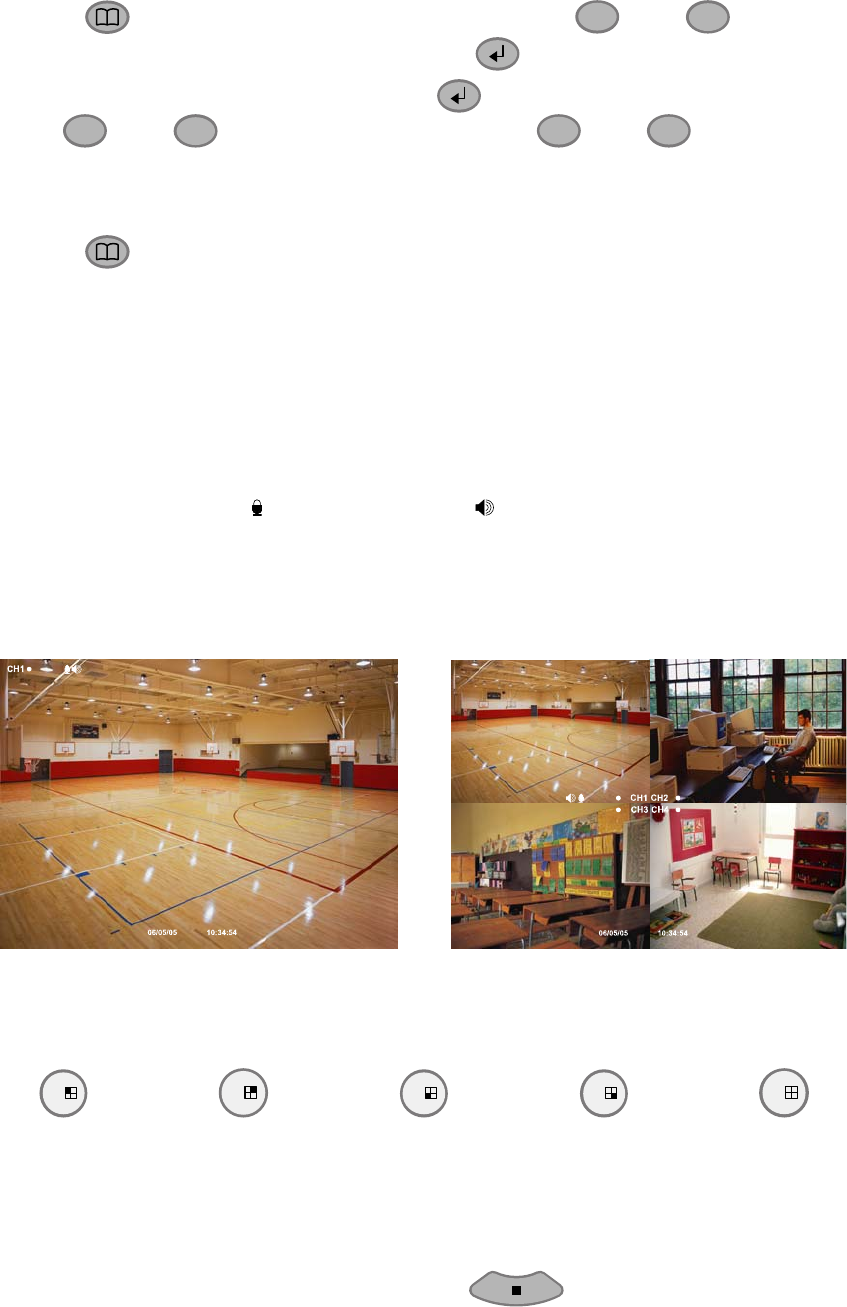
User can switch to display each channel in full screen or 4 channels at the same time
in D1 or CIF record mode.
To know if the channel is being recorded, the “ ” record symbol would appear beside
the channel number. The (microphone) and (speaker) indicate the availability of
audio. The information below the screen shows the current date and time, recording
mode (record schedule setting), hard disk drive (Master/Slave) and the percentage of
the used hard disk space.
D1 (A) HDD 29%
Full screen Preview
CIF(A) HDD 29%
Quad Screen Preview
When you are in full screen preview, press the following buttons on the remote control
and control panel to switch to different channel, or preview all 4 channels:
1
CH1: Camera 1
3
CH2: Camera 2
7
CH3: Camera 3
9
CH4: Camera 4
5
QUAD:4-Channel
2.3 Playback the Video
If the unit is recording the video, you may have to stop video recording in order to do
video playback. To stop video recording, press .


