


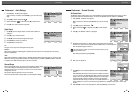
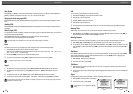
This feature enables you to search for Index marks or specific times on your
VHS tapes.
1
While ‘Preferences‘ is selected, press [†] to move to the second level.
2
Use […/†] to select ‘VCR‘.
3
Press [ENTER] to display the submenu.
4
Select ‘Index+’, ‘Index–’ or ‘Go to Zero’.
5
If you select ‘Index+’ (or ‘Index–’) and press [ENTER], your DVD
Recorder+VCR will locate your index mark and begin playback.
6
If you select ‘Go-To Search’ and press [ENTER], your DVD
Recorder+VCR will wind to the position 0:00:00 and stop.
You can change the modulator out channel using the [0-9] buttons.
SETUP
27
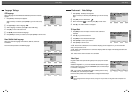
VPS/PDC
VPS/PDC is a service provided by some stations to enable you to perform
timer recordings precisely even if the broadcaster delays the start time of
the programme slightly. The time you enter is the VPS/PDC time so this
must be correct. Not all stations offer VPS/PDC, in which case the player
will start at the time you enter and not the actual start time of the
programme.
If you wish to start recording at a specific time without it being adjusted by
the VPS/PDC system in the event of a delay, switch VPS/PDC off otherwise
the player will not record.
Follow the same procedure as ‘Auto Clock Set’ to set the ‘VPS/PDC’ status.
26
Initial Setup Initial Setup
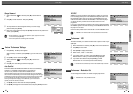
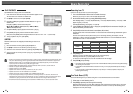
Change Password
1
While ‘Preferences ‘ is selected, press [†] to select ‘Parental
Ctrl‘.
2
Press [√] to select ‘Password‘. Then press [ENTER].
3
The ‘Input Password’ submenu appears. Enter your current 4-digit
password then press [ENTER].
4
Enter a new 4-digit password, then press [ENTER]. Re-enter the new password to
confirm, press [ENTER].
•
Master Password :
If you forget your password, press 3,3,0,8 on the remote
control and then press [ENTER].
• Set the new password to something other than '0000'.
Preferences
Choose OK Exit
ENTER SETUP
œ √
…
†
Video
Audio
Parental Ctrl Parental
Auto Settings • Password Change
VCR
Modulator Out
Input Password
Old Password
New Password
Confirm PWD
Input digits
Select OK
OK Cancel
ENTER
0-9
œ √
…
†
1
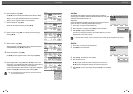
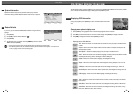
Press [SETUP]. The Setup menu appears.
While ‘Init Setup‘ is selected, press [ENTER] to go to the initial setup
page.
2
Use [œ/√] to select ‘Preferences ‘.
3
While ‘Preferences ‘ is selected, press [†] to select ‘Auto
Settings‘.
4
Press [√]. The ‘Auto Settings‘ submenu is displayed.
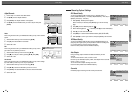
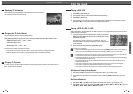
Auto Clock Set
Auto Clock enables the DVD Recorder+VCR to set the clock automatically
whenever it is in Standby mode (plugged in but powered off).
Auto Clock is only available for models with the VPS/PDC function.
Some broadcasting stations may send the time and date along with the VPS/PDC
data. The video will automatically use this time and date during the initial setting up
procedure during normal use, and every time you switch the video off at the mains.
If you find that this time and date is incorrect you can remove this feature by
following the steps below changing it to the OFF mode, you will then have to
manually set the time and date, see above.
1
Use […/†] to select 'Auto Clock Set' and press [ENTER].
2
Use […/†] to change the 'Auto Clock Set' status, and press [ENTER] to confirm.
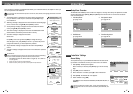
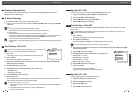
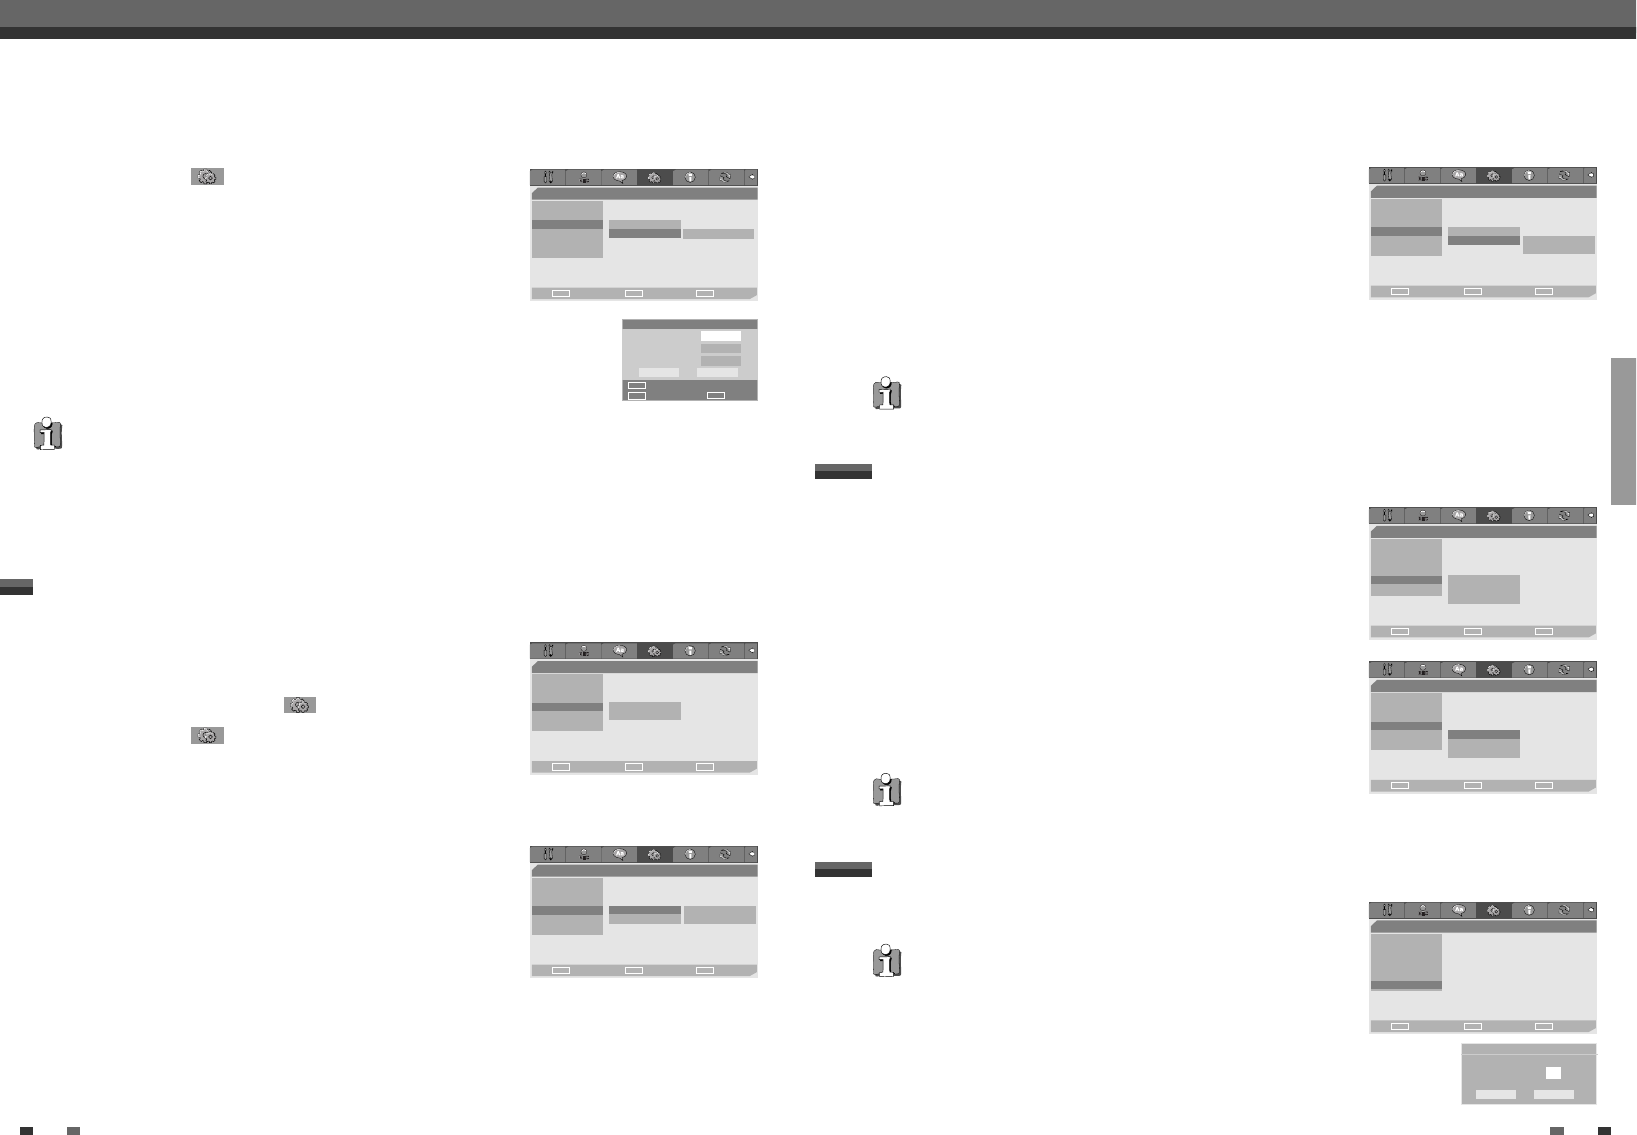
Various ‘Preferences’ Settings
Preferences
Video
Audio
Parental Ctrl
•Auto Settings Auto Clock Set Off
VCR VPS/PDC Off
Modulator Out
Choose OK Exit
ENTER SETUP
œ √
…
†
Preferences
Video
Audio
Parental Ctrl
Auto Settings •Auto Clock Set On
VCR VPS/PDC Off
Modulator Out
Choose OK Exit
ENTER SETUP
œ √
…
†
Preferences
Video
Audio
Parental Ctrl
Auto Settings Auto Clock Set
VCR • VPS/PDC On
Modulator Out Off
Choose OK Exit
ENTER SETUP
œ √
…
†
Preferences
Video
Audio
Parental Ctrl
Auto Settings
VCR • Index+
Modulator Out Index-
Go to Zero
Choose OK Exit
ENTER SETUP
œ √
…
†
• "VPS/PDC" and "Auto Clock Set" are not provided for some countries.
• "Modulator Out" is not provided for france.
Preferences / VCR
Preferences / Modulator Out
• The VCR menu is activated only when a video cassette tape is inserted.
Preferences
Video
Audio
Parental Ctrl
Auto Settings
•VCR Index+
Modulator Out Index-
Go to Zero
Choose OK Exit
ENTER SETUP
œ √
…
†
Preferences
Video
Audio
Parental Ctrl
Auto Settings
VCR
•Modulator Out
Choose OK Exit
ENTER SETUP
œ √
…
†
Modulator Out
Channel œ 52 √
OK Cancel