


Other Settings
10
69
En
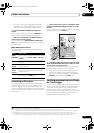
Multi Channel Input Setup
You can adjust the level of the subwoofer for a multi-
channel input. Also, when the multi-channel input is
selected as an input source, you can display the video
images of other input sources. In the Multi Channel Input
Setup, you can assign a video input to the multi-channel
input.
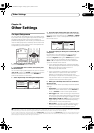
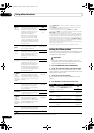
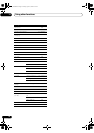
1 Select ‘
Multi Ch In Setup
’ from the Other Setup
menu.
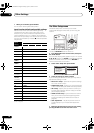
2 Select the ‘
SW Input Gain
’ setting you want.
• 0dB – Outputs sound of the subwoofer at the level
originally recorded on the source.
• +10dB – Outputs sound of the subwoofer at the level
increased by 10 dB.
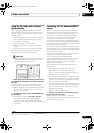
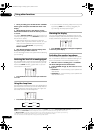
3 Select the ‘
Video Input
’ setting you want.
When the multi-channel input is selected as an input
source, you can display the video images of other input
sources. The video input can be selected from the
following: DVD/LD, BD, TV/SAT, DVR/VCR1, DVR/
VCR2, VIDEO/GAME1, VIDEO/GAME2.
4 When you’re finished, press
RETURN
.
You will return to the Other Setup menu.
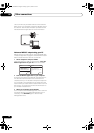
ZONE Audio Setup
If you’ve made MULTI-ZONE connections (see MULTI-
ZONE listening on page 59) you may need to specify your
volume setting.
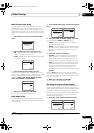
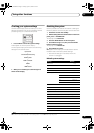
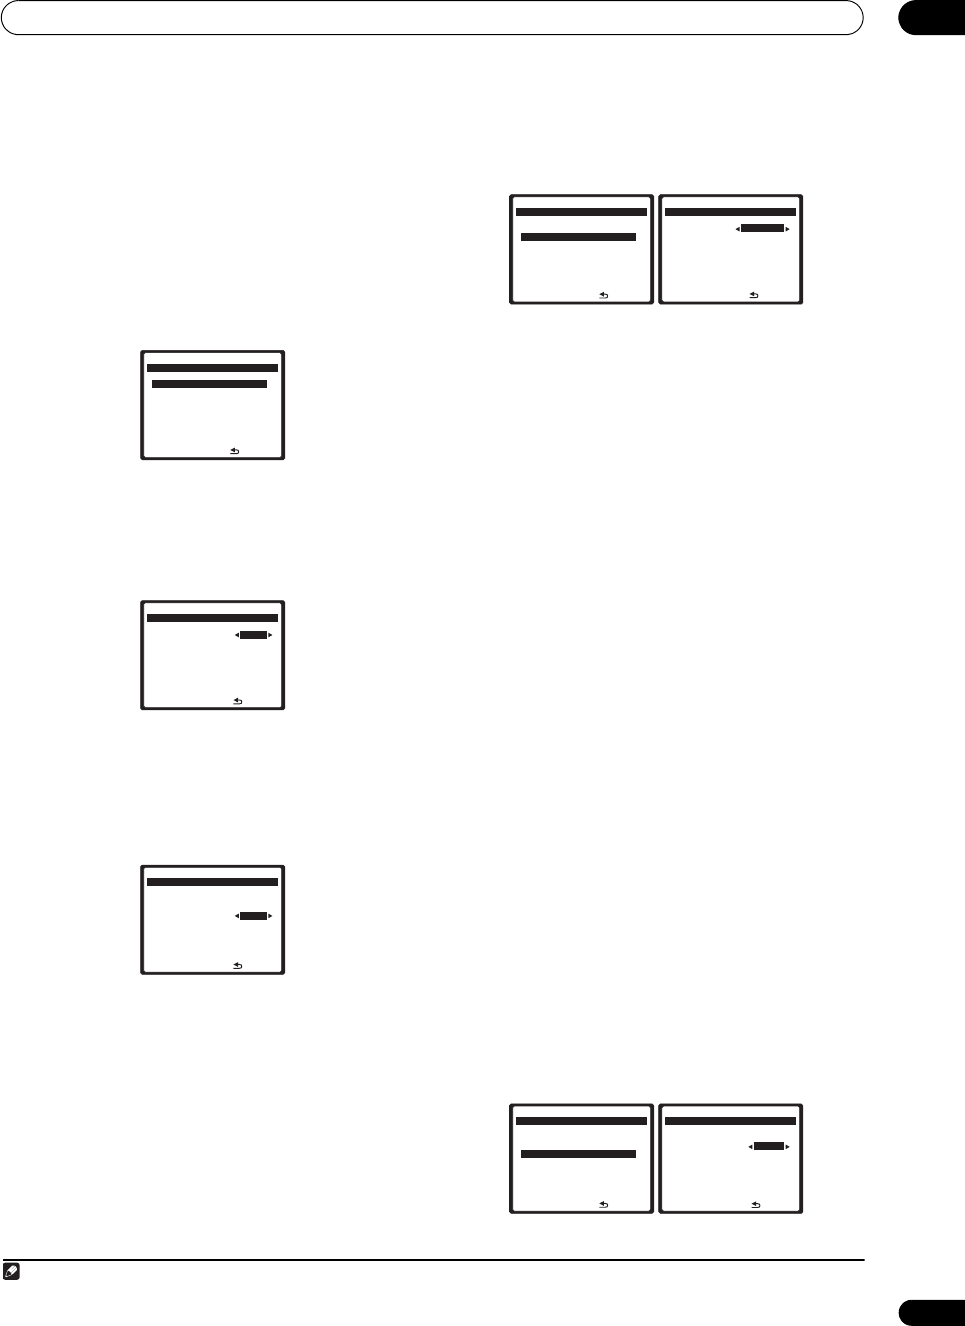
1 Select ‘ZONE Audio Setup’ from the Other Setup
menu.
2 Select the ‘ZONE 2 / RECSEL Setting’ you want.
You can select the ZONE 2 or RECSEL setting.
• ZONE 2 – Sound is output from MULTI ZONE &
SOURCE ZONE2 OUT jack.
• RECSEL – Sound is output from the CD-R/TAPE OUT,
DVR/VCR1 OUT or DVR/VCR2 OUT jack. For details,
see Playing a different source when recording on
page 73.
3 Select the volume level setting.
1
• Variable – Use this setting if you’ve connected a
power amplifier in the sub room (this receiver is
simply being used as a pre-amp) and you will be
using this receiver’s controls to adjust the volume.
• Fixed – Use this setting if you’ve connected a fully
integrated amplifier (such as another Pioneer VSX
receiver) in the sub room and want to use that
receiver’s volume controls. (This setting is not
available if the surround back system setting is set to
ZONE 2.)
With the Fixed setting, the source is sent from this
receiver at maximum volume, so make sure the volume is
quite low in the sub zone at first and then experiment to
find the correct level.
4 When you're finished, press RETURN.
You will return to the Other Setup menu.
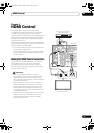
SR+ Setup for Pioneer plasma displays
Make the following settings if you have connected a
Pioneer plasma display to this receiver using an SR+
cable. Note that the number of function settings available
will depend on the plasma display you’ve connected.
See also Using this receiver with a Pioneer plasma display
on page 62 and Using the SR+ mode with a Pioneer
plasma display on page 63.
1 Select ‘SR+ Setup’ from the Other Setup menu.
:Return
a. Multi Ch In Setup
b. ZONE Audio Setup
c. SR+ Setup
d. HDMI Control Setup
e. OSD Adjustment
8. Other Setup
DVD/LD
-
55.0
dB
:Finish
SW Input Gain 0dB
Video Input [ DVD ]
8a. Multi Ch In Setup
DVD/LD
-
55.0
dB
:Finish
SW Input Gain [ 0dB ]
Video Input BD
8a. Multi Ch In Setup
DVD/LD
-
55.0
dB
Note
1 If you selected ZONE 2 in the Surround back speaker setting on page 39, you won’t be able to change the volume level.
:Return
a. Multi Ch In Setup
b. ZONE Audio Setup
c. SR+ Setup
d. HDMI Control Setup
e. OSD Adjustment
8. Other Setup
DVD/LD
-
55.0
dB
:Finish
ZONE 2 / RECSEL Setting
RECSEL
ZONE 2 Volume Level
[ Variable ]
8b. ZONE Audio Setup
DVD/LD
-
55.0
dB
:Return
a. Multi Ch In Setup
b. ZONE Audio Setup
c. SR+ Setup
d. HDMI Control Setup
e. OSD Adjustment
8. Other Setup
DVD/LD
-
55.0
dB
:Finish
PDP Volume Control
OFF
Monitor Out Connect
[ OFF ]
8c. SR+ Setup
DVD/LD
-
55.0
dB
VSX_94TXH.book Page 69 Friday, April 27, 2007 8:21 PM