


6
TV/DVD combo componentsDX-26LD150A11/DX-32LD150A11
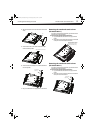
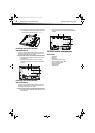
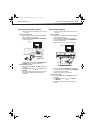
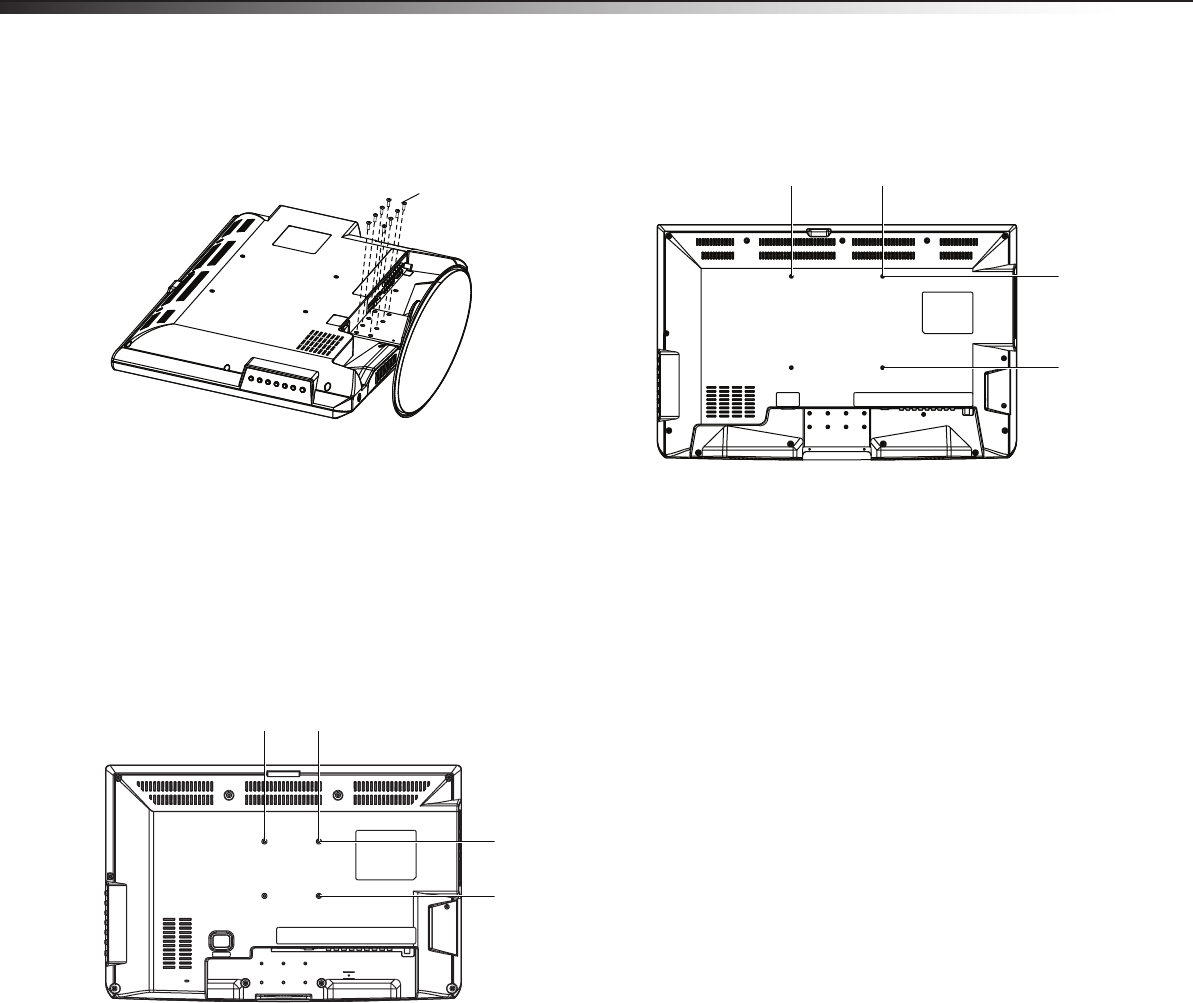
3 Remove the eight screws and washers securing the stand column
to the TV/DVD combo, then remove the stand and stand column.
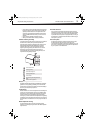
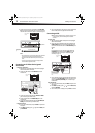
Installing a wall-mount bracket
(DX-26LD150A11)
If you want to attach the TV/DVD combo to a wall-mount bracket (not
provided), you should first remove the stand and stand column. See
“Removing the stand and stand column” above.
To attach your TV/DVD combo to a wall-mount bracket (DX-26LD150A11):
1 Remove the five screws holding the TV/DVD combo to its stand,
as described above.
2 Secure the wall-mount bracket to the back of your TV/DVD
combo using the four M4*10 screws and washers provided with
the bracket.
Installing a wall-mount bracket
(DX-32LD150A11)
If you want to attach the TV/DVD combo to a wall-mount bracket (not
provided), you should first remove the stand and stand column. See
“Removing the stand and stand column” above.
To attach your TV/DVD combo to a wall-mount bracket (DX-32LD150A11):
1 Remove the eight screws holding the TV/DVD combo to its stand,
as described above.
2 Secure the wall-mount bracket to the back of your TV/DVD
combo using the four M4*10 screws with washers provided with
the bracket.
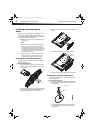
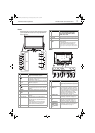
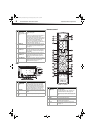
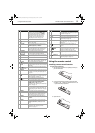
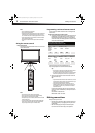
TV/DVD combo components
Accessories
•TV/DVD combo
•Power cord
• Pedestal stand
• Stand cover (DX-32LD150A11 only)
• Remote control with batteries (2 AAA)
• Screws for attaching the stand
• Component video cable
• Analog audio cable
•Quick Setup Guide
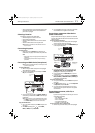
Stand screws (M4*10) with washers. Note: These screws can also be used
to secure the wall-mount bracket to the TV/DVD combo.
3.94”
100mm
3.94”
100mm
7.87”
200mm
7.87”
200mm
DX-26LD-36LD_09-1090.book Page 6 Wednesday, January 27, 2010 8:33 AM