English-60
Adding a Reservation
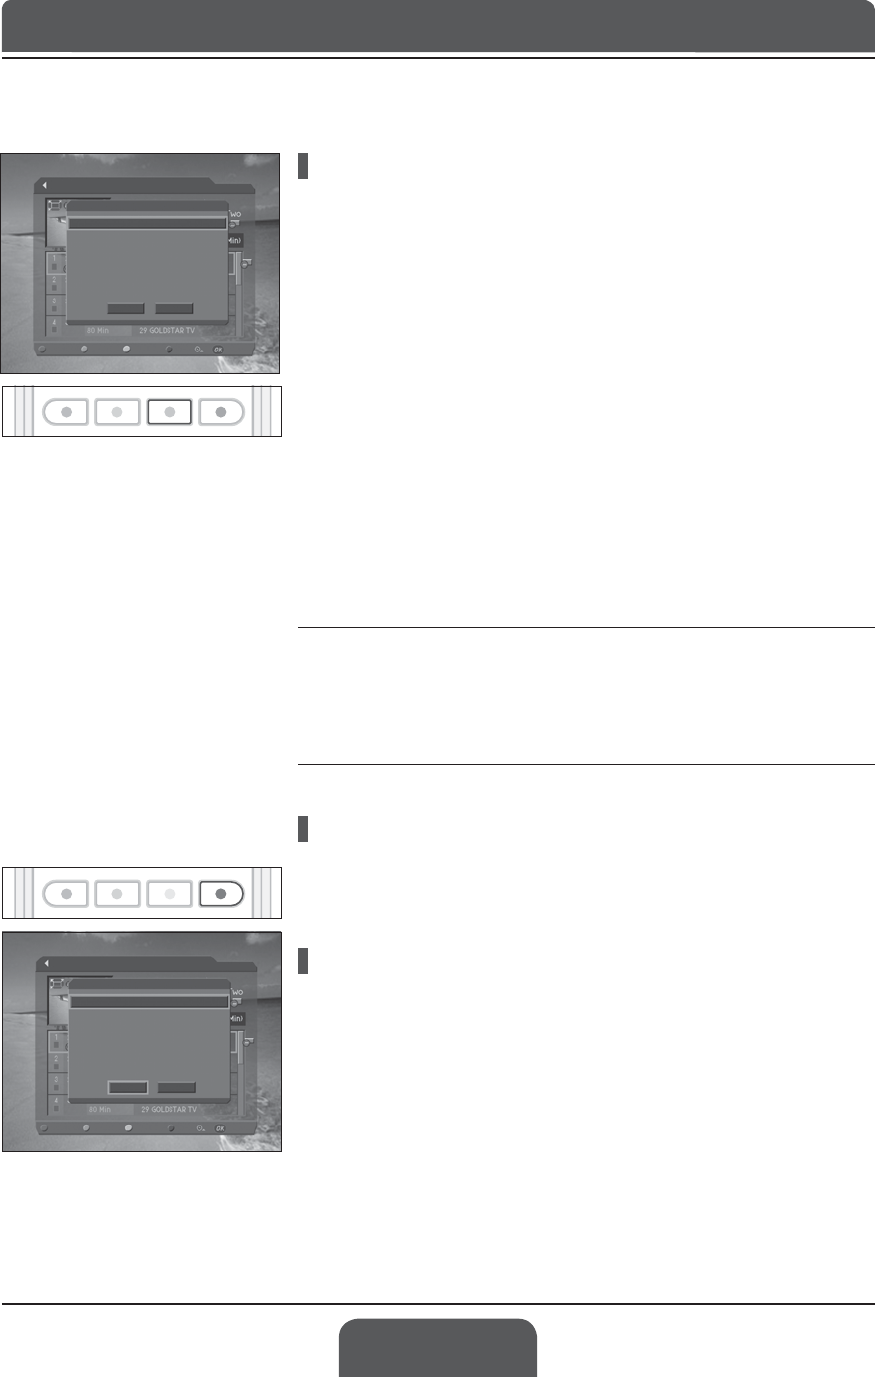
1 Press the YELLOW button to add a new reservation.
2 Select Channel and Date.3UHVVWKHŹEXWWRQWRGLVSOD\FKDQQHODQGGDWH
OLVWVDQGVHOHFWDQLWHPXVLQJWKHŸźEXWWRQDQGOK button. You can also
select a channel using the NUMBER(0-9) buttons.
3 Select Start/End TimeXVLQJWKHŸźEXWWRQDQGSUHVVWKHŻŹEXWWRQWR
move back 1 minute or move 1 minute ahead. To change the time using the
NUMBER(0-9)
buttons, press the OK button.
4 Select Repeat mode among ONCE, DAILY, WEEKLY,
WEEKDAY (Mon-Fri) and WEEKENDXVLQJWKHŻŹEXWWRQ
5 Select LockPRGHXVLQJWKHŻŹEXWWRQ
6 Select Save and press the OK button to save the changes.
7 Select Cancel and press the OK button to cancel the reservation.
8 If the channel is locked, you will be prompted to enter the password to
complete the reservation.
Notes:
1.
The recording schedule can’t be overlapped with two or more other
programmes.
2.
The Power On/Off time can overlap the recording schedule.
3.
The default password is 0000. If you have forgotten the password, please
contact your local product distributor.
Sorting by Time/Name
Each time you press the BLUE button, the sorting order of the reserved
programmes change in the following sequence: by descending time, by
ascending time, by name.
Editing a Reserved Programme
1 Select a programme you want to edit and press the OK button.
2 For more information about how to edit the information, refer to
Chapter 11. Recording and Playback > Recording Schedule > Adding a
Reservation.
Chapter 11 >> Recording and Playback
Recording Schedule
Delete Select Reserve Sort
Edit
Add Reservation
Save Cancel
Channel
Date
Start Time
End Time
Repeat
Lock
¿YH
Ź
24/05(Wed)
00 : 05
02 : 05
ONCE
Disable
Recording Schedule
Delete Select Reserve Sort
Edit
Add Reservation
Save Cancel
Channel
Date
Start Time
End Time
Repeat
Lock
¿YH
Ź
24/05(Wed)
00 : 05
02 : 05
ONCE
Disable
