


22 EN
123
456
7
89
0
2
4
1
3
T W
DV VHS
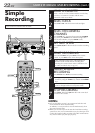
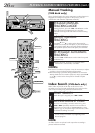
Simple
Recording
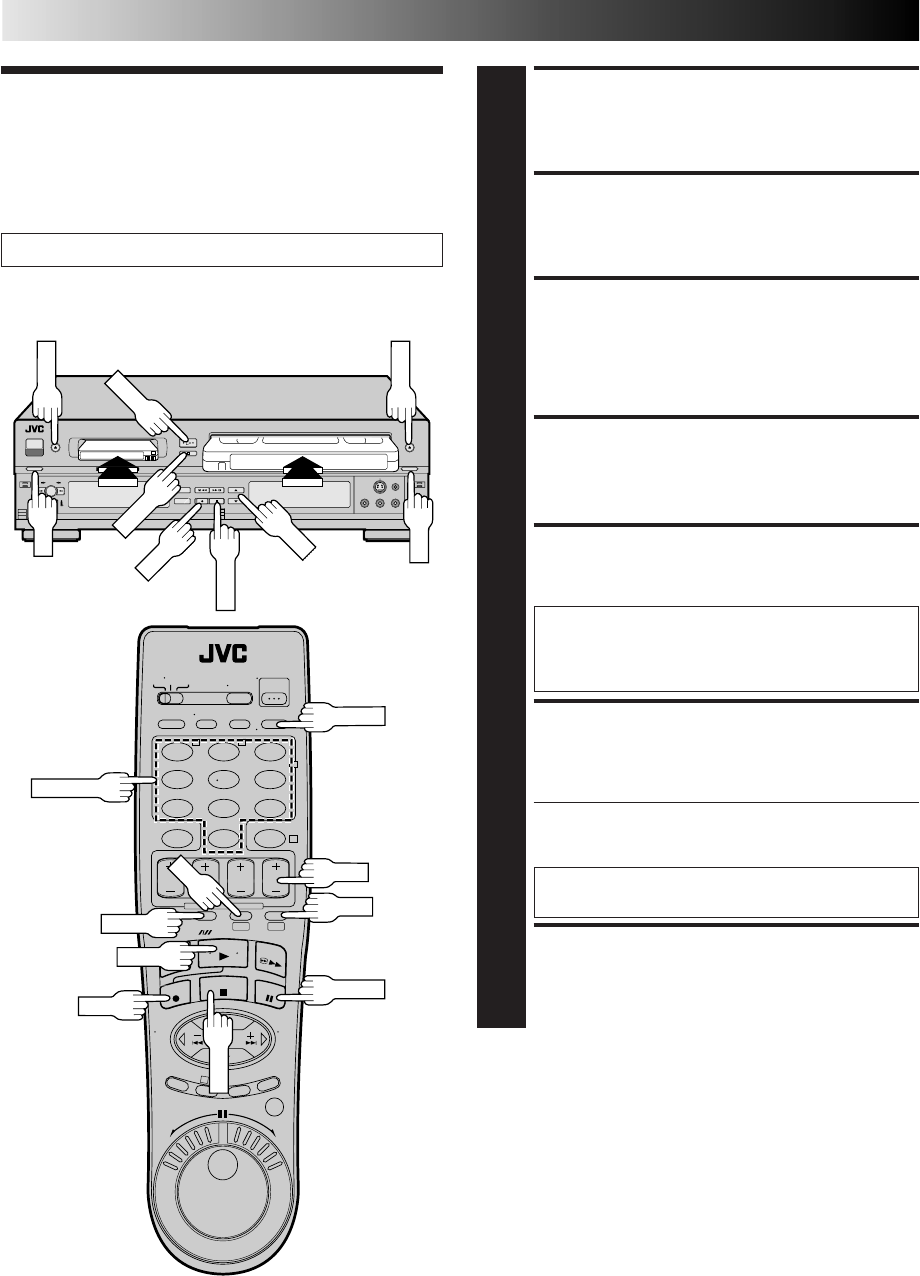
LOAD A CASSETTE
1
Insert a VHS (or S-VHS) cassette with the record safety
tab intact, or a Mini DV cassette with the erase
protection switch set to "REC".
SELECT DECK
2
Press VHS or DV. The VHS or DV indicator lights.
SELECT RECORDING
CHANNEL
3
Press CH5∞ (+/–). Or press the appropriate NUMBER
keys, then press ENTER. (The channel changes after a
few seconds whether you press ENTER or not.)
SET TAPE SPEED
4
Press SP/EP (SP/LP for the DV deck) to set the recording
speed.
START RECORDING
5
Press and hold REC and press PLAY on the remote
control, or press REC on the VCR's front panel.
Video Calibration takes place at the beginning of
both the first SP and the first EP recording after
inserting the cassette (when Video Calibration is set
to "ON" (VHS deck only) ੬ pg. 34).
PAUSE/RESUME
RECORDING
6
Press PAUSE. Press PLAY to resume recording.
● During record pause, you can change the recording
channel by using the CH5∞ (+/–) buttons or NUMBER
keys.
Video Calibration will not take place if the tape
speed is changed while in record pause mode.
STOP RECORDING
7
Press STOP. Then press EJECT on the VHS or DV deck
to remove the cassette.
REC
PAUSE
STOP
REC
PLAY
CH
ENTER
NUMBER
SIMPLE PLAYBACK AND RECORDING (cont.)
Turn on the TV and select the AV mode.
EJECT
EJECT
PLAY
STOP
DV
VHS
VHS
PAUSE
CH
DV
SP/EP
NOTES:
●
It is not possible to record a TV program on both the VHS
deck and the DV deck simultaneously.
In addition, it is not possible to record simultaneously from
the same external input.
●
When you record a tape on the DV deck with the recording
speed set to "LP", we recommend that you play that tape back
on this deck. Digital video recorder from other manufacturers
may not be able to play the tape properly.