26
206-4096
Channel Banks Overview
Channel Banks Note: Disable all Aux sources in the Installer Menu that will not be made available to the end user.
Channel banks enable institution administrators to control access to
patient in-room TV programming. A channel bank can be enabled for a
patient for a pre-determined fee. For Channel Banks 1, 2, and 3, the insti-
tution can create programming levels. Each level offers a custom channel
lineup. The top tier generally contains the most programming (premium,
etc.), 2nd tier = lesser programming, 3rd tier = basic programming, etc. If
an Inactive TV display (described on the following page) has been created
on Channel Bank 4, an “Inactive TV Call Attendant” message appears
when the TV is turned On. An administrator can then activate Channel
Bank 1, 2, or 3 depending on the programming tier selected by the patient.
When the patient leaves the hospital, the administrator can then select
Channel Bank 4 to reinstate the “Inactive TV” message.
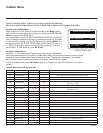
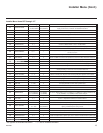
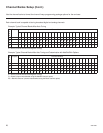
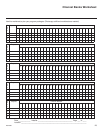
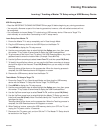
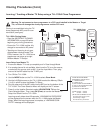
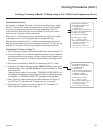
Channels Available Charts
All channels found in the channel search are included in each of the chan-
nel banks. The default is for all channels to be active in Channel Banks 1,
2, 3, and 4. Create channel banks charts similar to the examples on the
following pages. On the channel bank charts, show the status for each
channel in all channel banks. This then becomes the patient entertainment
programming offerings plan.
Setting Up Channel Banks
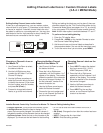
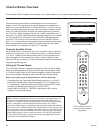
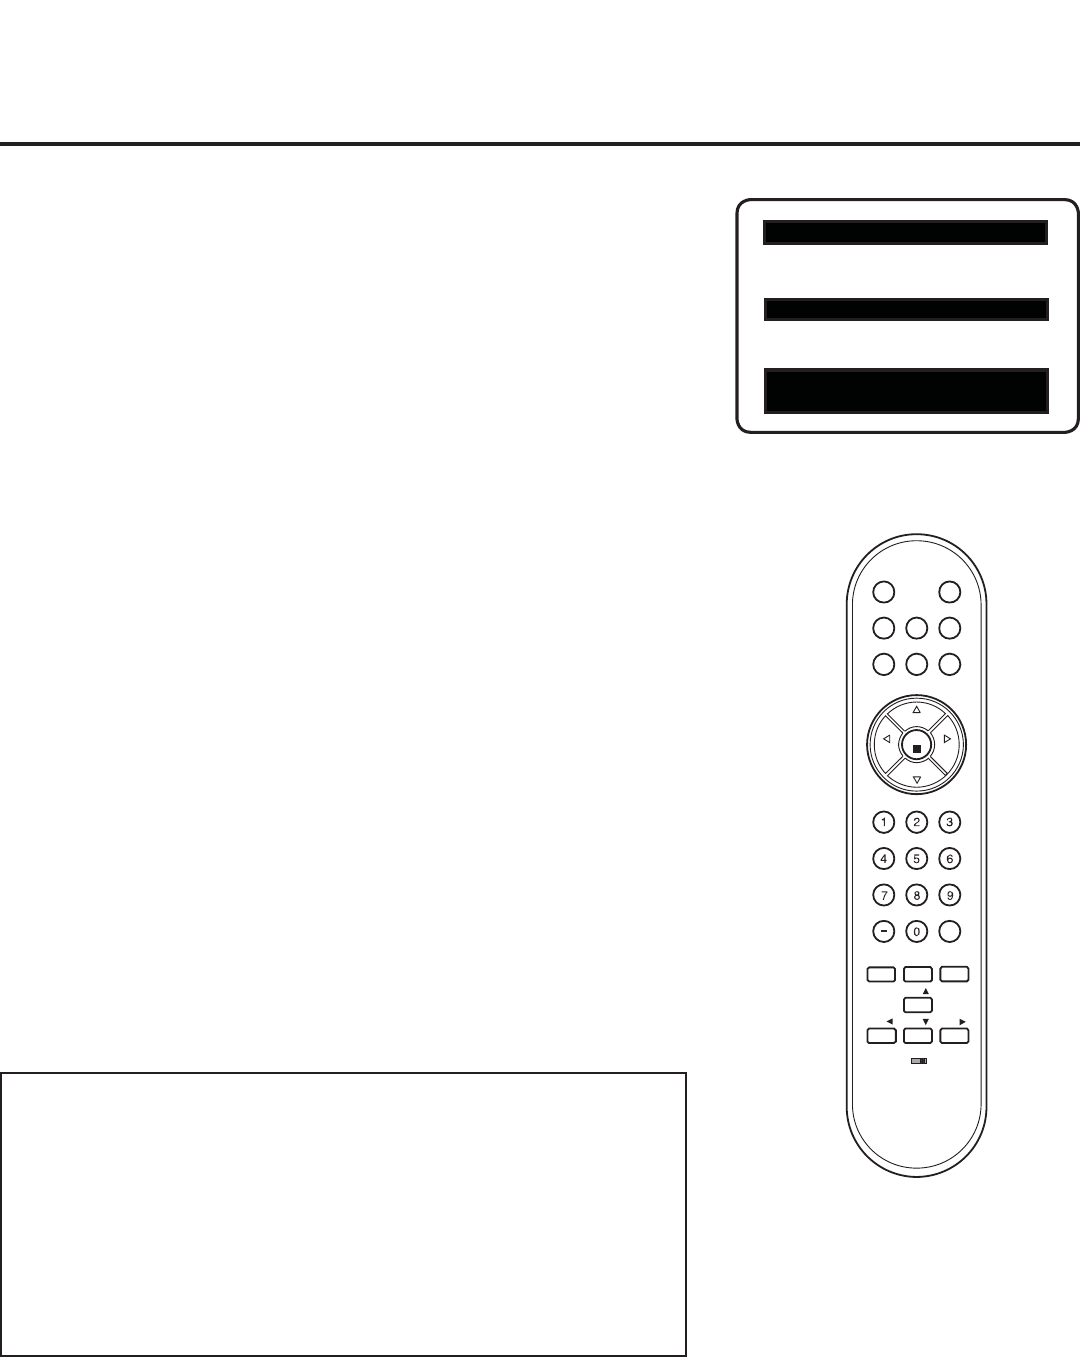
The LG Installer Remote is required to access the Channel Banks Setup
Menu (see example above at right) and administer channel banks. Refer
to “Channel Banks Setup” on the following pages for detailed information
on using the Installer Remote to setup and administer channel banks.
Before you begin to set up channel banks, note the following:
• Complete either the Commercial Mode Setup procedure or run the Ex-
press Script Installer Menu Wizard (see pages 14 to 15 or pages 16 to
17, respectively). Channel banks can only be set up after the TV setup
has been transferred to the internal TV controller (PTC).
• Installer Menu item 028 CH. OVERIDE must be set to 001 to allow
access for channel banks setup.
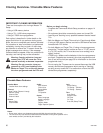
Channel Banks Setup Menu
CHANNEL PREVIEW - BANK 1
CH 011-001 NORMAL-ADDED
Enter -> Change
CC -> VCHIP Menu, Ch. Preview -> Exit
MUTE
POWER
BANK
GUIDE
CH
PREVIEW
SAP
INFO
CC
OK
VOL
CH
CH
VOL
FLASHBK
TIMER
ALARM
MENU
ADJ
ADJ ADJ
ADJ
BED1
BED2
Use the Installer Remote to
access the Channel Banks
Setup Menu.
Note: The default setting for Aux sources is to be active in the Installer Menu. The
Aux sources will appear between the highest analog and lowest digital channel
number in the channel scan with Channel Up/Down. If the Aux sources will not be
used, it is advisable to set them to 000 (Off) before running 2-5-5 + MENU
(Commercial Mode Setup) or completing the Express Script Installer Menu Wizard.
After running 2-5-5 + MENU/completing the Express Script, the only way to turn the
Aux sources off so they will not appear in the channel scan, is to go to the Channel
Banks Setup Menu and select NORMAL-DELETED. If performing the Commercial
Mode Setup procedure, refer to Installer Menu items: 034, 035, 038, 039 and 087.
If running the Express Script, customize the Aux inputs as appropriate in the Aux
Input screen of the Installer Menu Wizard.


