33
Loop Out setting
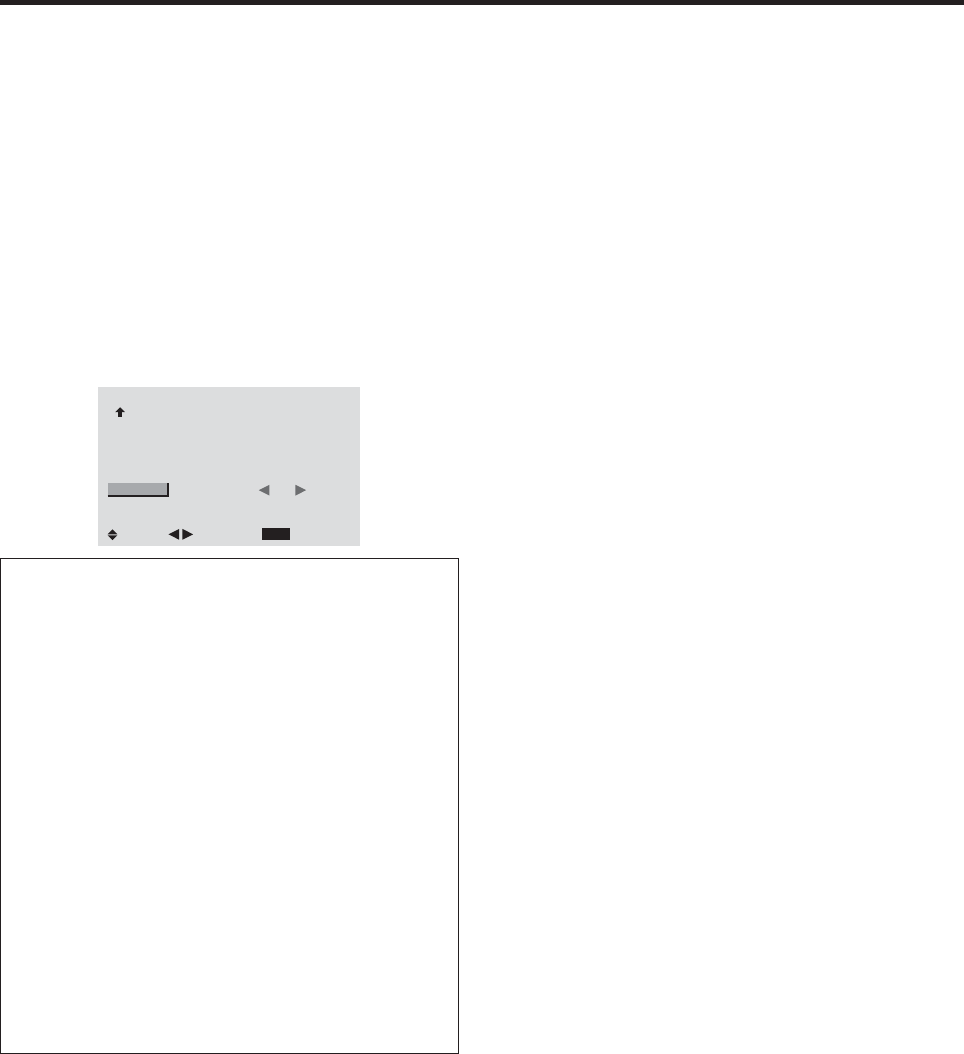
When this feature is set to ON, the received signal will be
looped out.
Example: Setting “ON”
1. On the MAIN MENU, select “OPTION3”, then press
the MENU/ENTER button.
The “OPTION3” screen appears.
2. Use the ▲ and ▼ buttons to select “LOOP OUT”.
3. To set the LOOP OUT to “ON”...
Use the
ᮤ
and
ᮣ
buttons to select “ON”.
The mode switches as follows each time the
ᮤ
or
ᮣ
button is pressed:
OFF
↔
ON
OPTION3
3 / 3
EXIT
PREVIOUS PAGE
TIMER
PWR. ON MODE
BUTTON LOCK
IR REMOTE
LOOP OUT
: LAST
: OFF
: ON
: ON
SEL.
RETURN
ADJ.
Information
Ⅵ LOOP OUT settings
ON...... The received signal will be looped out via PC1
terminal or VIDEO1 terminal.
OFF .... The received signal will not loop out.
* Even if LOOP OUT is ON, signals won’t be sent out if
POWER is being turned off.
Ⅵ To connect another display...
See page 10.
Ⅵ If the RGB/PC1 signal is present at the time
the power switched on...
The RGB/PC1 input will be displayed regardless of the
setting of LOOP OUT.
Ⅵ Restoring the factory default settings
Select “ALL RESET” under the OPTION1 menu. Note
that this also restores other settings to the factory
defaults.


