41
RQT9075
[HDD]
Preparation
Press [DRIVE SELECT] to select the HDD drive.
1 Press [DIRECT NAVIGATOR].
When “MUSIC” is not selected, press the “Yellow” button to
select “MUSIC”.
2 Press [3, 4] to select “Play CD on
HDD” or “Play MP3 on HDD” and
press [OK].
3 Editing an album/group
Press [3, 4] to select the album/
group and press [OPTION].
Editing a track
4 Press [3, 4] to select the operation
and press [OK].
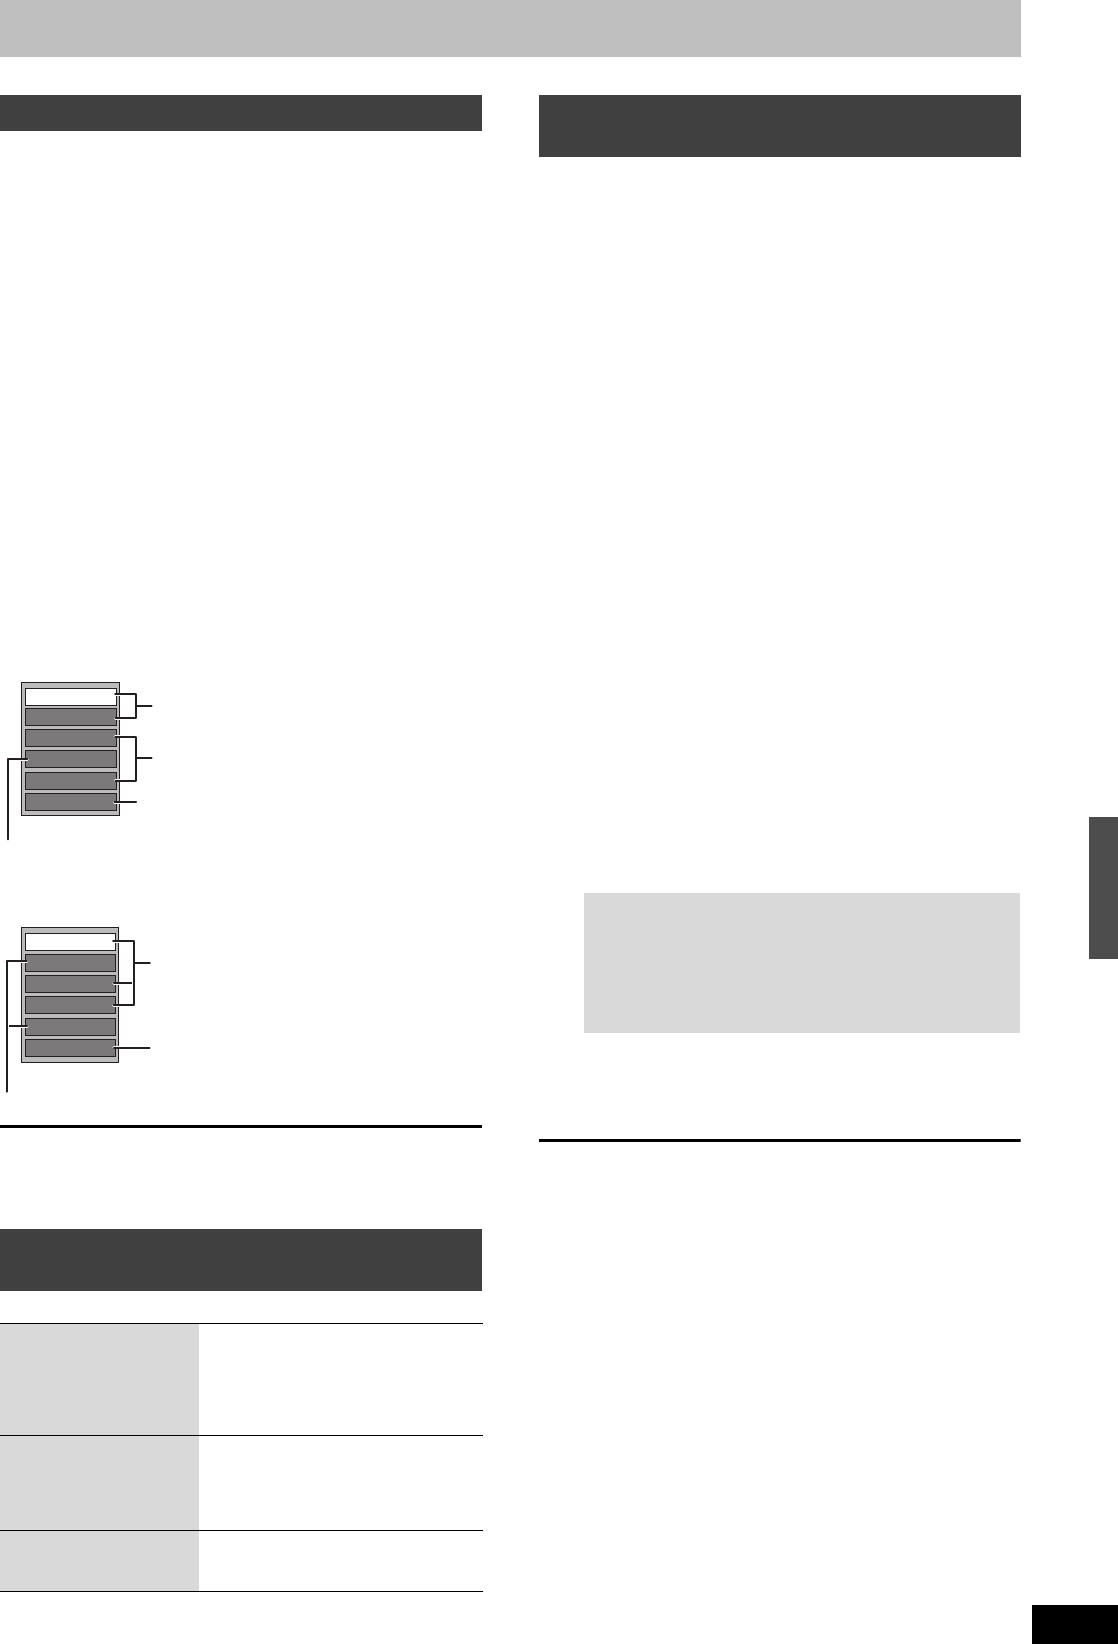
∫ To edit the album (CD)/group (MP3)
e.g., Album View (CD)
➡ below
∫ To edit the track (CD/MP3)
e.g., Track View (MP3)
Useful functions during music play (➡ 32)
To return to the previous screen
Press [RETURN].
To exit the screen
Press [DIRECT NAVIGATOR].
After performing step 1-4 (➡ above)
[Note]
≥Timer recordings do not start while editing music.
[HDD] [RAM] [SD]
1 While stopped
Press [FUNCTION MENU].
2 Press [3, 4] to select “Delete” and
press [OK].
3 [HDD] [RAM]
Press the colour button to select
“PICTURE” or “MUSIC”.
[HDD] If you pressed the “Yellow” button, press [3, 4] to
select “Delete CD on HDD” or “Delete MP3 on HDD” and
press [OK].
4 Deleting an album (still picture), album (CD) or group
(MP3)
Press [3, 4, 2, 1] to select the item
and press [DELETE ¢].
Deleting a still picture or track (MP3)
You can confirm the item that you have selected using the
option menu.
≥Refer to option menu operations for the “Album View” (➡ 40,
step 3).
≥Refer to option menu operations for the “Picture (JPEG)
View” (➡ 40, step 3).
≥Refer to option menu operations for the “Album View (CD)”
(➡ left, step 4).
≥Refer to option menu operations for the “Track View (MP3)”
(➡ left, step 4).
5 Press [2, 1] to select “Delete” and
press [OK].
The item is deleted.
To return to the previous screen
Press [RETURN].
To exit the screen
Press [EXIT].
[Note]
You cannot delete a track (CD) individually.
Editing music
1 Press [3, 4] to select the album/group and
press [OK].
2 Press [3, 4] to select the track and press
[OPTION].
Album (CD)/group (MP3) and track (CD/
MP3) operation
Delete Album (CD)
Delete Group (MP3)
Delete Track (MP3)
Press [2, 1] to select “Delete”
and press [OK].
≥Once deleted, the recorded
contents are lost and cannot be
restored. Make certain before
proceeding.
Enter Album Name (CD)
Enter Group Name
(MP3)
Enter Track Name (CD/
MP3)
You can give names to albums/groups
and tracks.
(➡ 42, Entering text)
Enter Artist Name (CD/
MP3)
You can edit the artist name of the
track.
(➡ 42, Entering text)
Enter Album Name
Repeat Play Setting
Sort
VIDEO/PICTURE
Track View
Delete Album
≥Selecting recorded programmes (titles) to
play—Direct Navigator (➡ 27)
≥Playing still pictures (➡ 30)
Album (CD)/group (MP3) and track (CD/MP3)
operation (➡ below)
Useful functions during music play (➡ 32)
Properties
Enter Track Name
Repeat Play Setting
Group View
Enter Artist Name
Delete Track
You can go back to Album View (CD)/Group
View (MP3)
Album (CD)/group (MP3) and track (CD/MP3)
operation (➡ below)
Deleting still pictures and music using
DELETE Navigator
1 Press [3, 4, 2, 1] to select the album or
group which contains the still picture or
track to delete and press [OK].
2 Press [3, 4, 2, 1] to select the still
picture or track and press [OK].
To show other pages [Album (still picture) and still
picture only]
Press [:, 9] to show other pages.
Multiple deleting [Album (still picture) and still picture
only]
Select with [3, 4, 2, 1] and press [;]. (Repeat.)
A check mark appears. Press [;] again to cancel.
Editing still pictures and music
DMREH58&68GN_RQT9075-L_eng.book 41 ページ 2008年2月29日 金曜日 午前11時40分
