


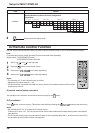
4444
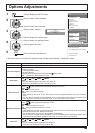
Item Adjustments
Button lock
Off
On MENU&ENTER
Off: All the buttons on main unit can be used.
MENU&ENTER: Locks
MENU
and
ENTER/
buttons on main unit.
On: Locks all the button on main unit except the Power switch.
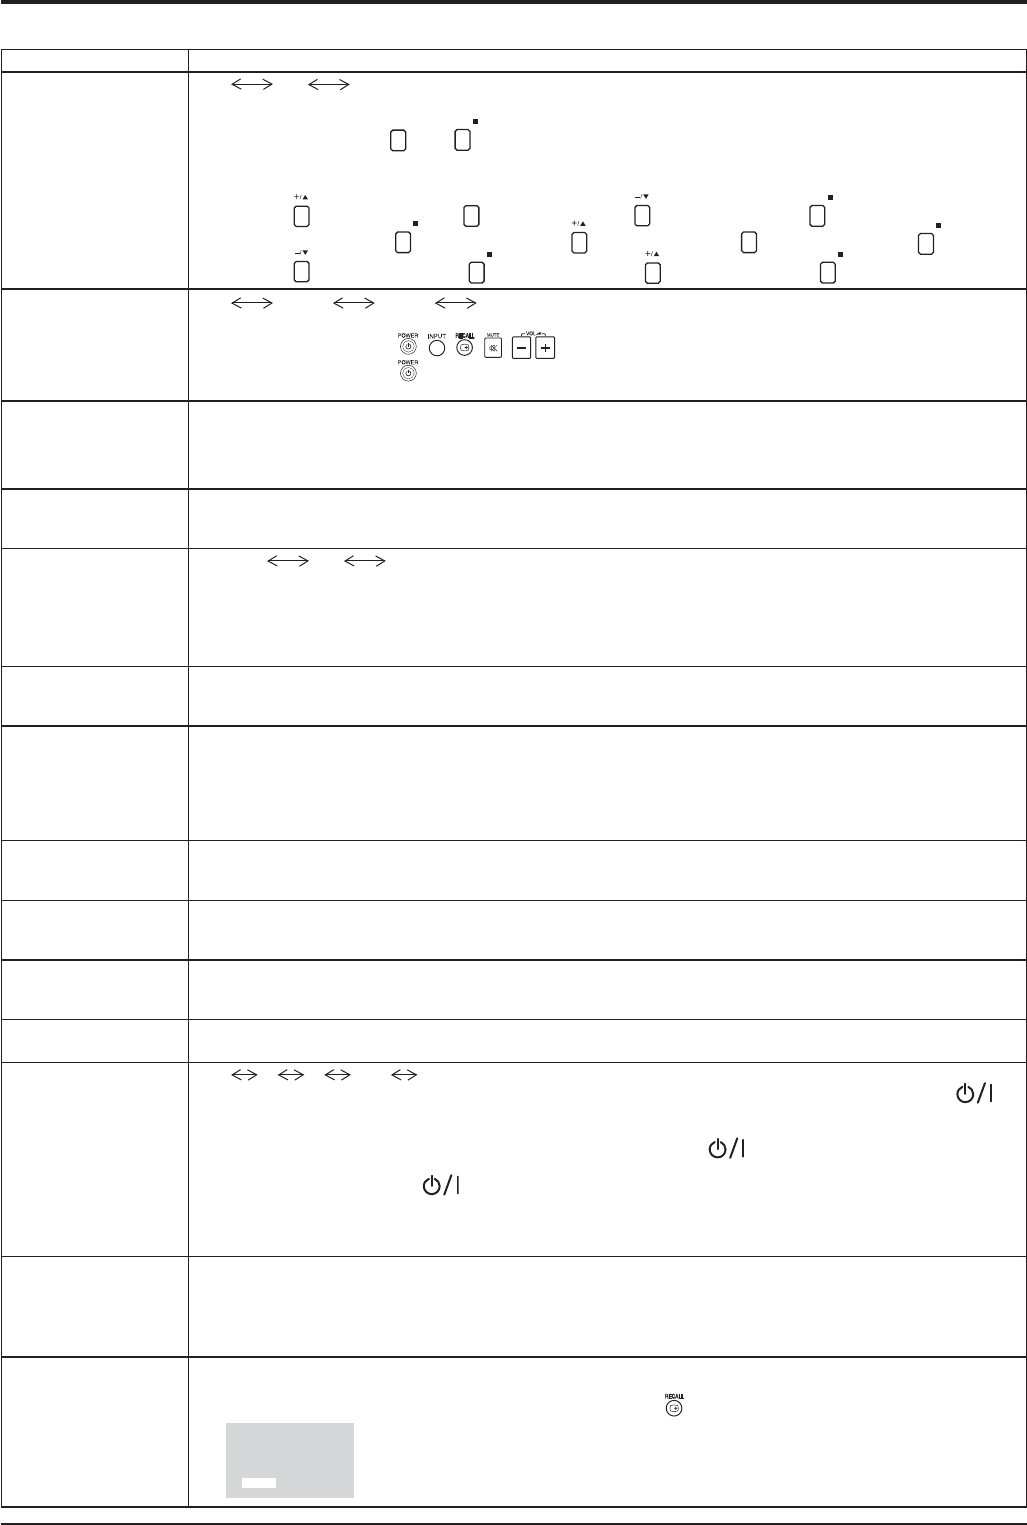
Sets Button lock with the unit buttons in the following procedure.
Off: Press
four timesĺPress
INPUT
four timesĺPress four timesĺPress
ENTER/
MENU&ENTER: Press
ENTER/
four timesĺPress four timesĺPress
INPUT
four timesĺPress
ENTER/
On: Press four timesĺPress
ENTER/
four timesĺPress four timesĺPress
ENTER/
Remocon User level
Off
User1 User2 User3
Off: You can use all of the buttons on the remote control.
User1:
You can only use , , , , buttons on the remote control.
User2: You can only use
button on the remote control.
User3:
Locks all the buttons on remote control.
5V Charge
(CHARGE terminal
power supply
setting)
Sets the power supply from the CHARGE terminal.
On: Supplies power when the power of the display is on.
Off: Supplies no power.
Note: Power will not be supplied in standby mode even if “5V Charge” is set to “On”.
Off-timer function
Enable: Enables the “Off-timer function”.
Disable: Disables the “Off-timer function”.
Note: When “Disable” is set, the Off-timer is cancelled.
Initial Power Mode
Normal
On Standby
Sets the power mode of the unit for when the power recovers from failure or after plugging off and in again.
Normal: Power returns in as the same state as before the power interruption.
Standby: Power returns in standby mode. (Power Indicator : red/orange)
On: Power returns in power On. (Power Indicator : green)
Note:
When using multiple displays, “Standby” is preferred to be set in order to reduce a power load.
ID select
Sets panel ID number when panel is used in “Remote ID” or “Serial ID”.
Set value range: 0 - 100
(Standard value: 0)
Remote ID
The setting of this menu is valid only when using ID remote control.
Off: Disables ID remote control functions. You can use normal remote control operations.
On: Enable ID remote control functions.
Note: To use the ID remote control function, it is necessary to set each ID number of remote control and
display unit. About the setting method, please refer to “ID Remote Control Function” (see page
36) and “ID select” (above-mentioned).
Serial ID
Sets the panel ID Control.
Off: Disables external control by the ID.
On: Enables the external control by the ID.
Studio W/B
Off: Nullify all the settings adjusted.
On: Sets the colour temperature for TV studio.
Note: Valid only when the “Warm” is set as “White balance” in Picture menu.
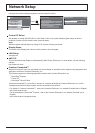
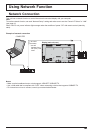
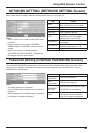
LAN Control
Protocol
Select the LAN control protocol.
Protocol 1: Control with the Panasonic Display sequence.
Protocol 2: Control with the sequence that compatible with Panasonic Projector.
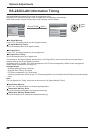
RS-232C/LAN
Information Timing
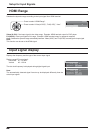
Set up the informing manner if error warning occurred. (see page 46)
Power ON Screen
Delay
Off
1 2 3.... 30
You can set the power-on delay time of the displays to reduce the power load, when you press
to
turn on the multiple displays that are set together, for example, on MULTI DISPLAY system.
Set each display’s setting individually.
Off: The display will be turned on at the same time as
is pressed.
1 to 30 (sec.)
: Set the power-on delay time (second).
After pressing
, the display will be powered on with time delay depending on this setting.
Notes:
• During this function is working, the power indicator is blinking green.
•
This function also works when the power recovers from failure or after plugging off and in again the power cord.
Power On Message
(No activity power
off)
Whether to show/hide No activity power off Precautions at the time of power ON is set.
On: The warning precautions are shown at the time of power ON.
Off: The warning precautions are not shown at the time of power ON.
Note:
This setting is enabled only if “No activity power off” is “Enable” (see page 31).
Clock Display
Off: Not display the clock.
On: Display the clock.
The clock is displayed at the lower left of the screen when
button is pressed.
Note: When “PRESENT TIME Setup” is not set, the clock is not displayed even
if “Clock Display” is “On”. (see page 27)
Options Adjustments
10:00