60 C2602M-A (6/06)
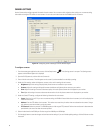
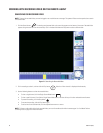
To review system information
1. From the remote agent application main screen, click the Setup button if the Settings screen is not open. The Settings screen
appears and the Remote Agent tab is displayed.
2. Open the DVR System tab, and then click the System tab.
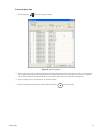
3. Review the following general system information:
• S/W Version: This is the version number of the firmware installed on the DX4000.
• H/W Version: This is the version number of the motherboard installed on the DX4000.
• Video Signal Type: This is the type of video signal that you are recording from the cameras. Video signal types can be NTSC or PAL.
• Disk Size: This is the size of the hard disk drive. If two hard disk drives are installed on the DX4000, this number is the size of the
primary hard disk drive.
• Number of HDD: This is the number of hard disk drives installed on the DX4000. A maximum of two hard disk drives may be installed
on the unit.
• IP Address: This is the IP address of the DX4000. Use this address when connecting to the DX4000 from the remote agent application
or the web client.
• MAC Address: This is the MAC address of the DX4000. Use this address to connect to the DX4000 from the remote agent application
if your network uses a DDNS to derive IP addresses.
4. Click the OK button to close the screen.
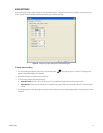
To configure buzzer sounds
1. From the remote agent application main screen, click the Setup button if the Settings screen is not open. The Settings screen
appears and the Remote Agent tab is displayed.
2. Open the DVR System tab, and then click the System tab.
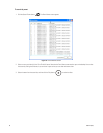
3. Under Buzzer, configure the following settings:
• Alarm Input: Set this to On if you want to hear a buzzer sound any time an alarm occurs.
• Video Loss: Set this to On if you want to hear a buzzer sound any time the DX4000 detects that the video signal is lost while recording.
• Disk Full: Set this to On if you want to hear a buzzer sound when the hard disk drive is almost full.
• Disk Error: Set this to On if you want to hear a buzzer sound any time the DX4000 detects an error on a hard disk drive.
• Key Input: Set this to On if you want to hear a buzzer sound any time a button is pressed on the front panel of the DX4000.
4. Click the Apply button to save the changes and continue to other settings. If you are finished updating settings, click the OK button to close
the screen.
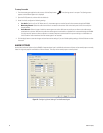
To modify passwords
1. From the remote agent application main screen, click the Setup button if the Settings screen is not open. The Settings screen
appears and the Remote Agent tab is displayed.
2. Open the DVR System tab, and then click the System tab.
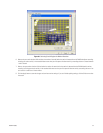
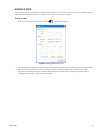
3. Under Password, select a user profile from the list, and then click the Set Password button. The Set Password screen appears.
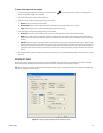
Figure 74. Set Password Screen


