


16 C2639M-B (8/09)
INSTALLING WINDOWS AND DX8100 APPLICATION SOFTWARE
1. Insert the DX8100 Recovery disc in the DX8100 CD/DVD drive.
2. Press Ctrl + Alt + Delete to restart the DX8100.
3. The DX8100 will restart and prompt you by displaying “Press any key to boot from CD.”
NOTE: This prompt is displayed for only a few seconds. If missed, the unit will not boot from the
DX8100 Recovery disc.
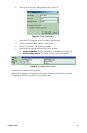
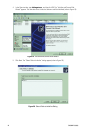
4. Press the Space bar. When the loading process completes, the End User License Agreement dialog
box opens.
5. Do one of the following:
• Click Accept to accept the licensing terms. The Warning screen is displayed.
• Click Cancel.
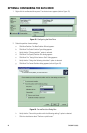
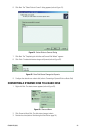
6. Type Yes in the text box to agree to the recovery procedure, and then click Proceed.
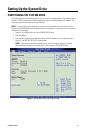
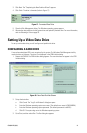
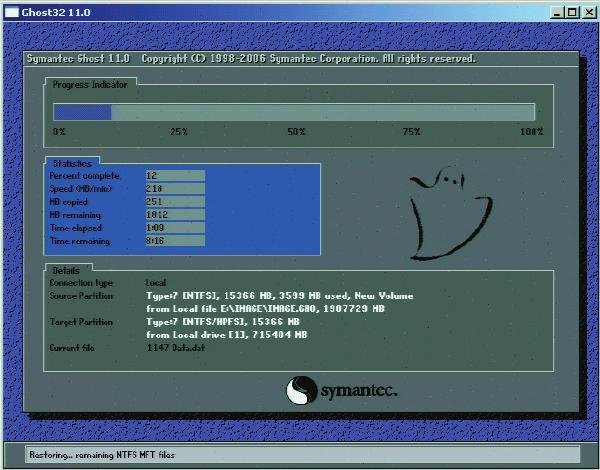
The Partition Size Verification dialog box appears and a progress bar reports the system software
installation (refer to Figure 9). The DX8100 recovery procedure will replace the contents of your
primary drive C partition with a hard disk image of the Windows and DX8100 application software.
The imaging process may take up to 20 minutes. Do not press any keys or restart your HVR/DVR during
the installation procedure.
Figure 9. Partition Size Verification Dialog Box