


C2639M-B (8/09) 27
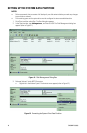
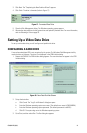
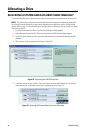
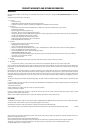
6. Repeat steps 4 and 5 to convert other data drives (refer to Figure 28).
Figure 28. Configuring HDDs for Allocation
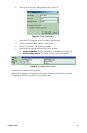
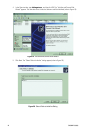
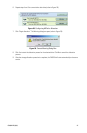
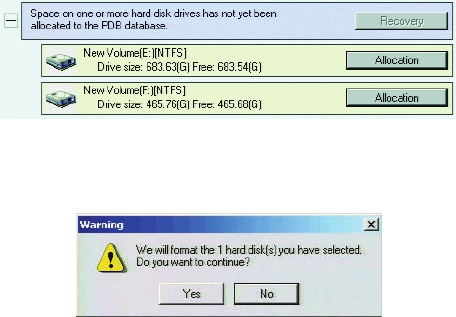
7. Click “Begin allocation.” The Warning dialog box opens (refer to Figure 29).
Figure 29. Format Warning Dialog Box
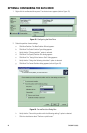
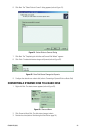
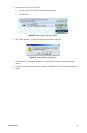
8. Click Yes to start the allocation process for the selected drive. Click No to cancel the allocation
process.
9. After the storage allocation procedure is complete, the DX8100 will start automatically and resume
service.