


English
10
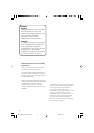
Mounting the Set
For full details on how to use the Mounting kit,
please refer to the printed instructions in the
Quick Start Guide and Template.
IMPORTANT!
–Never plug in the AC power cord to
the power outlet before installation is
completed.
– Install the unit near the AC outlet and
where the AC power plug can be easily
reached.
– Do not use a converter or extension
cord.
– Install the set as far as possible from
sources of interference, such as a
refrigerator, microwave oven, fluorescent
lamp, etc.
– There should be at least 2.5" distance
between the unit and the wall.
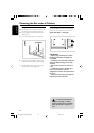
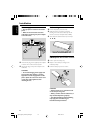
Mounting the Set under a Cabinet
Preparation
● Ask a friend to help out. An extra hand to hold
the set makes mounting easier and quicker.
● You may install the unit in the kitchen with or
without spacers.
a Find a mounting location near a wall outlet.
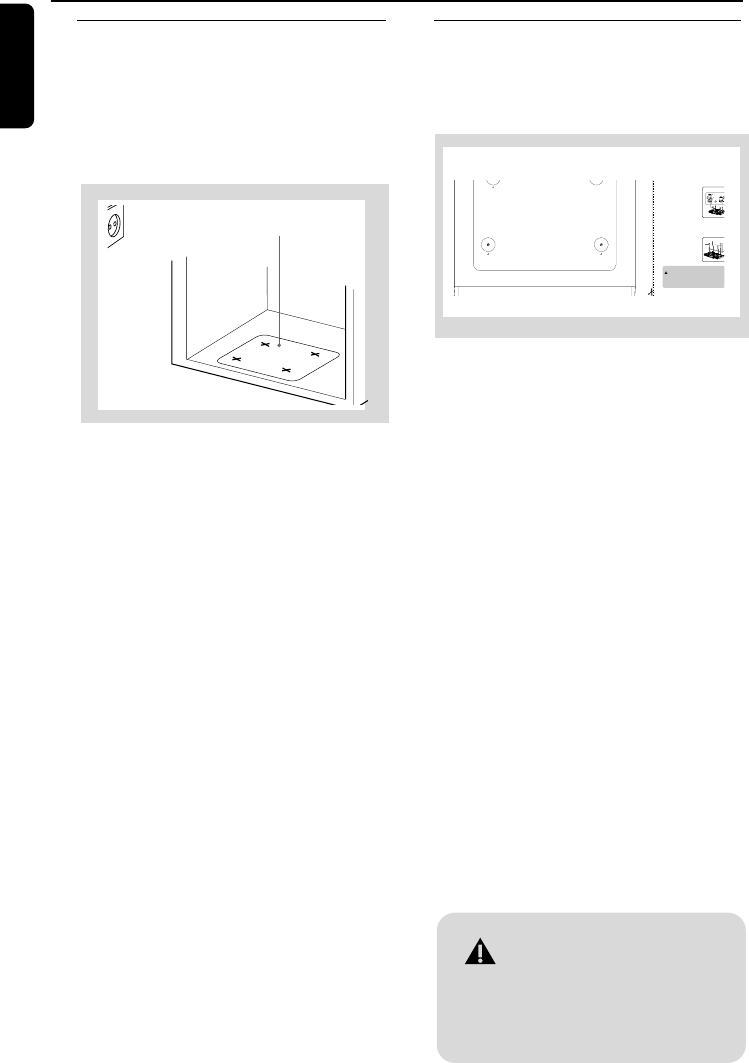
b Use the mounting template to test the design
and thickness of your kitchen cabinet bottom.
c Decide whether you want to connect the set
with other audio/ video equipment.
– To reduce the risk of fire, do
not place any heating or cooking
appliance beneath the set, especially
while the LCD screen is open or on
view.
a
Template
b
B
Using the spacers
On the spacers, there are 4 pairs of notch length
options.Depending on the thickness of you cabi-
net bottom (with/ without an overhang),these
notch lengths correspond to the 4 notch height in
the space holders, and allow you to adjust to the
best height to help you mount the unit.
•
Measure the height of the cabinet bottom
and/overhang.
•
Turn the spacer counterclockwise to determine
which of the 4 heights is most suitable:High ••
Low
•
Insert the spacers accordingly.
C
•
Manually fasten the 4 screws down into the
spacer holder holes to mount your set.If the
overhang is more than 1 1/4 inch,use longer
screws (not included).
Tip
To prevent damage to your set, do not use an electric drill
to secure screws when mounting!
– Hold the unit horizontally when installing it,since the CD tray may
open if the unit is shaken.
– Use the cable manager to manage excess power cord length.
H
L
Spacer
L (Low)
L••H (4 height
s
Arrow
B
C
pg001-pg017_DCD778_37-EngA 9/2/07, 18:5010