


35
En
05
• Prog.Motion is disabled when Pure Cinema is set to
On.
• Black Setup has the effect only for pictures outp ut
from the VIDEO output terminals, and for NTSC
signals output.
• YNR, CNR, BNR and MNR have no effect on 1080/24p
video signals output from the HDMI OUT terminal.
Closing the Video Adjust screen
Press HOME MENU.
About Pure Cinema
There are two types of video signals:
• Video material – Video signals recorded at 25 or 30
frames/second
• Film material – Video signals recorded at 24 frames/
second
“Pure Cinema” uses signal processing suited for “film
material” when converting 576i/480i or 1080i interlaced
video signals into progressive video signals, resulting in
clear picture reproduction without losing the quality of
the material.
is displayed on the disc information screen when
playing the “film material” pictures of BD-ROM, BD-R/-RE
and DVD-Video discs (page 26).
Adjusting the audio
Adjusting the Audio DRC
Audio DRC (Dynamic Range Control) has the effect of
playing loud sounds softly and soft sounds loudly. Adjust
the setting for example when viewing movies late at night
and the dialogs are difficult to hear.
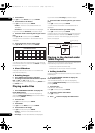
1 During playback, display the TOOLS menu.
Press TOOLS.
2 Select and set Audio Adjust.
Use / to select, then press ENTER.
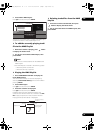
3 Select and set Audio DRC.
Use / to select, then press ENTER.
4 Adjust the setting.
Use / to switch between Off, Low, Medium, High
and Auto.
Closing the Audio DRC screen
Press ENTER or HOME MENU.
Note
• This only affects the Dolby TrueHD, Dolby Digital Plus
and Dolby Digital audio signals of BDs, DVDs and
video files.
• When Auto is selected, the setting has the same
effect as High or Off for Dolby TrueHD signals,
depending on the content. For Dolby Digital Plus and
Dolby Digital, the setting has the same effect as Off.
• Audio DRC affects the audio signals output from the
following audio output terminals:
– Analog audio signals output from the AUDIO OUT
terminals.
–Linear PCM audio signals output from the DIGITAL
OUT terminal or HDMI OUT terminal.
• The effect may be weak for some discs.
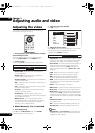
Adjusting the audio delay
(Lip Sync)
Adjust the audio delay for the selected video output
terminal if the video and audio are not synchronized.
1 During playback, display the TOOLS menu.
Press TOOLS.
2 Select and set Audio Adjust.
Use / to select, then press ENTER.
3 Select and set Lip Sync.
Use / to select, then press ENTER.
4 Select Auto or Manual.
Use / to select.
•Auto – The player automatically adjusts the timing of
the video and audio when connected to a device
equipped with the HDMI Auto Lipsync Correction
feature using an HDMI cable.
•Manual – Adjust manually while viewing the video.
If you have selected Manual, proceed to step 5.
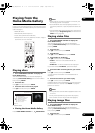
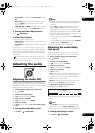
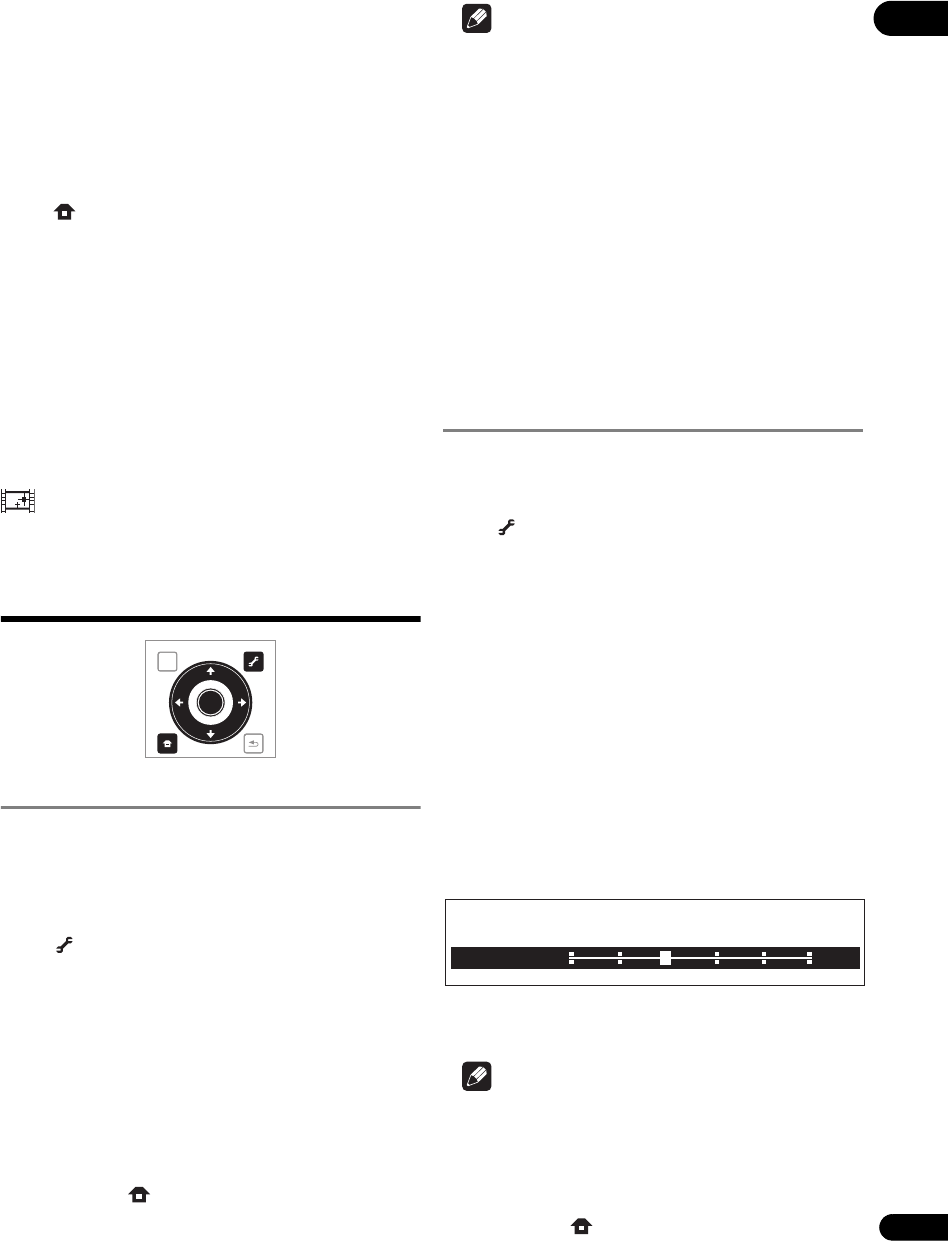
5 Adjusting the amount of audio delay.
Press , then use / to adjust.
The audio delay can be adjusted from 0 to 250 ms in steps
of 5 ms.
Note
•The Lip Sync adjustment is only applicable to the
output terminal set at Output Terminal (page 43).
• The sound may be interrupte
d while setting the
delay.
Closing the Lip Sync screen
Press ENTER or HOME MENU.
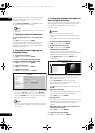
TOP MENU
TOOLS
HOME
MENU
RETURN
ENTER
Lip Sync
Manual
100 ms
0 50 150100 200 250
320_VXJ5_IBD_EN.book 35 ページ 2009年2月25日 水曜日 午前10時57分