


17
En
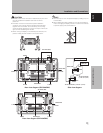
System Settings
English
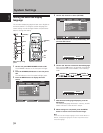
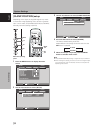
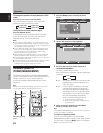
3 Use the 5/∞ buttons to select [SIGNAL FORMAT],
then press the SET button.
:
V
GA
:
:
SIGNAL FORMAT
CLAMP POSITION
:
AUTO
POWER MANAGEMENT
OFF
MENU INPUT1
PICTURE SCREEN SETUP OPTION
4 Use the 2/3 buttons to select the display mode.
SET EXIT
:
SIGNAL FORMAT
VGA
1 When the input signal has a refresh rate of 31.5
kHz horizontal / 60 Hz vertical, pressing 2/3 will
cause the display mode to change alternately as
follows:
2 When the input signal has a refresh rate of 48.4
kHz horizontal / 60 Hz vertical, or 56.1 kHz
horizontal / 70 Hz vertical, pressing 2/3 will cause
the display mode to change alternately as follows:
3 When the input signal has a refresh rate of 64 kHz
horizontal / 60 Hz vertical, 80 kHz horizontal / 75 Hz
vertical, or 91.2 kHz horizontal / 85 Hz vertical,
pressing 2/3 will cause the display mode to
change alternately as follows:
If the [PC AUTO] setting is selected when using the
above PC input signals, screen resolution will
automatically switch between [XGA] and [WXGA].
Notes
÷ The [PC AUTO] setting supports automatic signal selection
only when using RGB separate SYNC inputs.
÷ When G ON SYNC or Composite SYNC signals are input,
selecting [PC AUTO] will cause the screen resolution to be set
to [XGA] only.
÷ When using G ON SYNC or Composite SYNC with WXGA
inputs, set [SIGNAL FORMAT] manually to [WXGA].
5 Press the SET button.
The setting is stored in memory and the screen
returns to that shown in step 3.
6 When the setup is completed, press the MENU
button to exit the menu screen.
Note
Make [SIGNAL FORMAT] setting for each input (INPUT1 and
INPUT2).
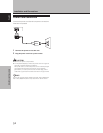
Settings after connections
After components have been connected to INPUT1 or
INPUT2, on-screen setup is necessary.
Follow the procedure described below and make settings
as they apply to the type of components connected.
[SIGNAL FORMAT] setup
Note
These settings are required only when using the following input
signal refresh rates: 1 31.5 kHz horizontal / 60 Hz vertical; 2
48.4 kHz horizontal / 60 Hz vertical, or 56.1 kHz horizontal / 70 Hz
vertical; 3 64 kHz horizontal / 60 Hz vertical, 80 kHz horizontal /
75 Hz vertical, or 91.2 kHz horizontal / 85 Hz vertical. No manual
setup is necessary for signals with other refresh rates, since
adjustments are performed automatically (the [SIGNAL FORMAT]
item will not be displayed).
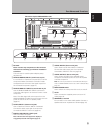
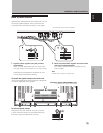
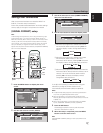
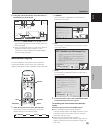
1 Press the MENU button to display the menu
screen.
MENU INPUT1
ENTER
SET
EXIT
MENU
PICTURE SCREEN SETUP OPTION
:
0
:
0
:
0
:
0
:
0
:
0
CONTRAST
:
0
BRIGHTNESS
R.LEVEL
G.LEVEL
B.LEVEL
H.ENHANCE
V.ENHANCE
PICTURE RESET
2 Use the 2/3 buttons to select [SETUP].
:
V
GA
:
:
SIGNAL FORMAT
CLAMP POSITION
:
AUTO
POWER MANAGEMENT
OFF
MENU INPUT1
PICTURE SCREEN SETUP OPTION
System Settings
3
WVGA
2
3
VGA
2
3
PC AUTO
2
3
WXGA
2
3
XGA
2
3
SXGA
2 3
SXGA+
2
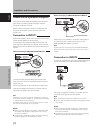
MENU
2/3
5/∞
SET
MENU
5/∞
SET
2/3
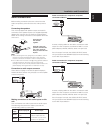
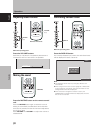
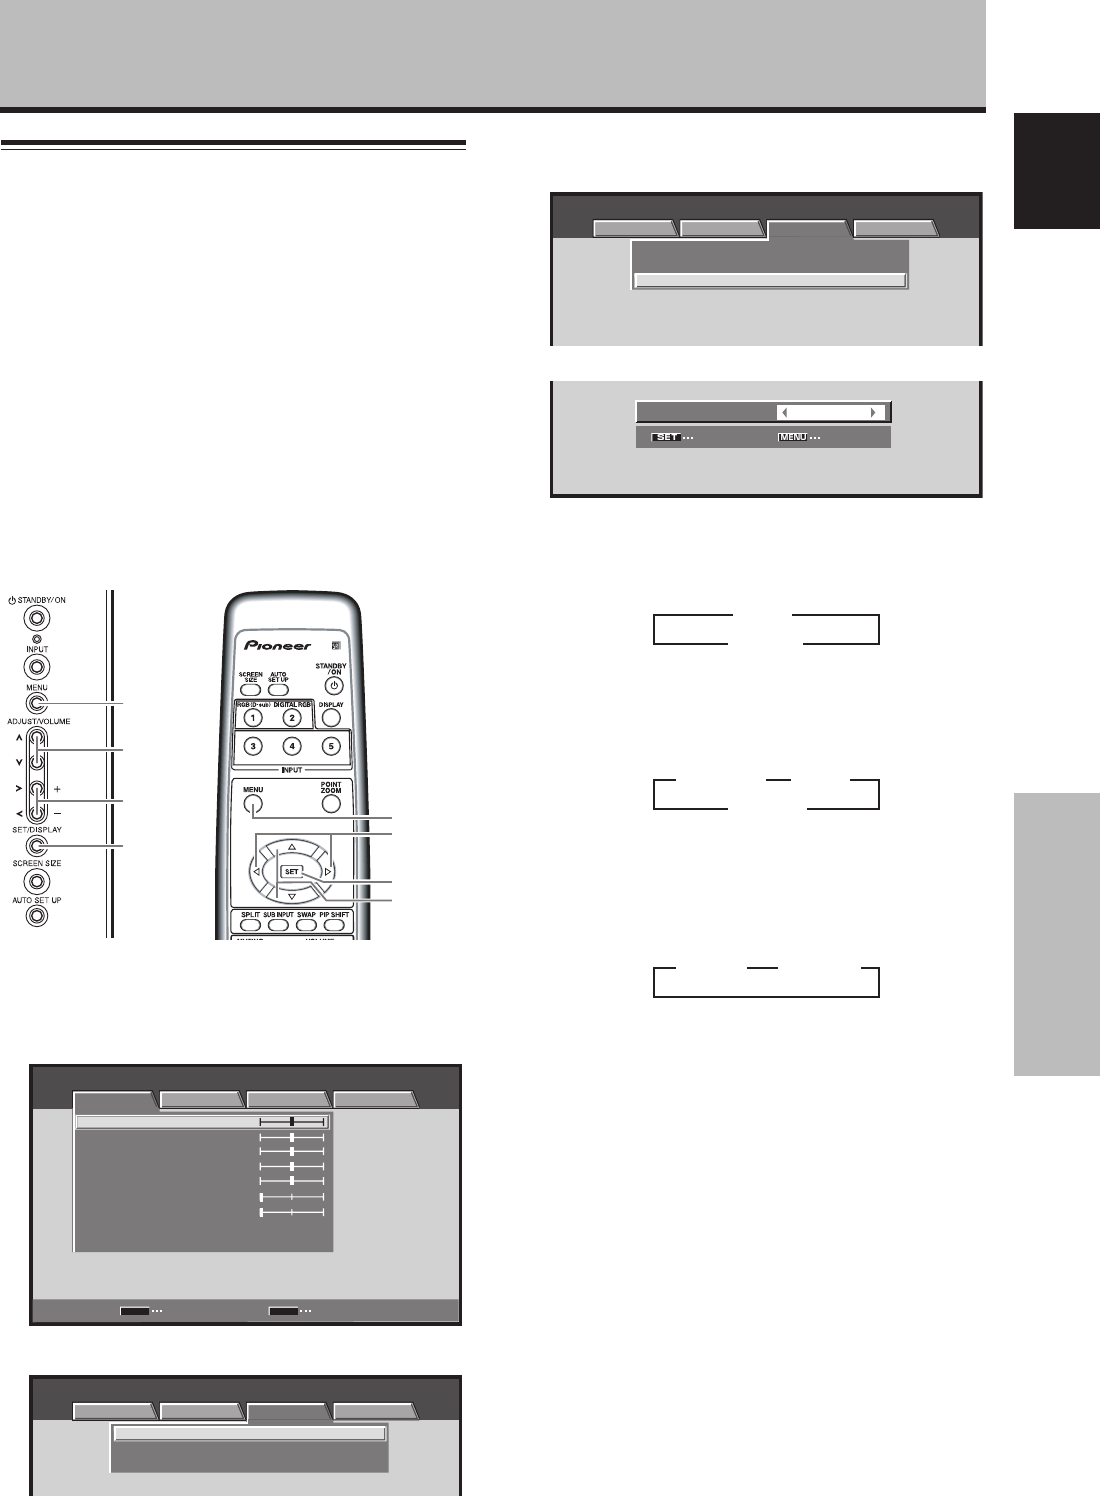
Main unit operating
panel
Remote control unit