13
Playing a DVD
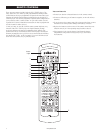
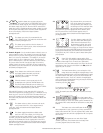
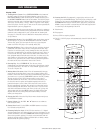
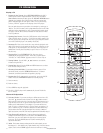
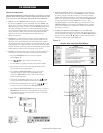
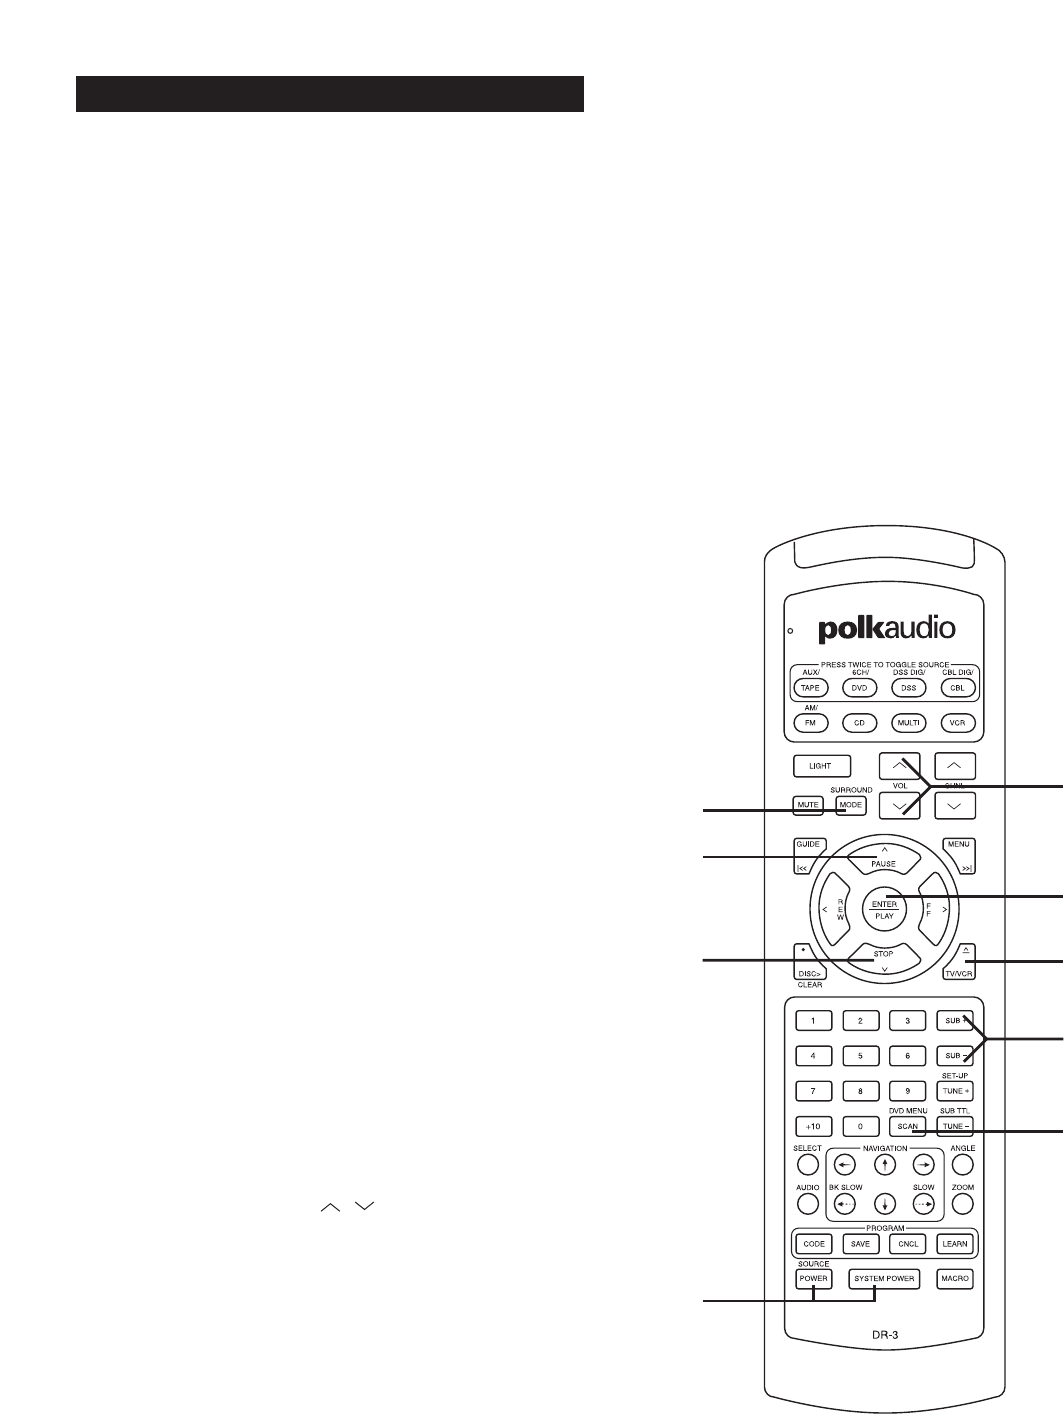
1. Turning On the System. Press SYSTEM POWER on the bottom of
the DR-3 remote to turn on the Digital Solution system. Press the
DVD Source/Device button at the top of the remote and then press
the SOURCE POWER button back at the bottom. The CD/DVD player
will turn on and the power indicator light on the front will turn green.
After a few seconds delay, a cheery “HELLO” appears in the display
of the DVD player. Turn on your TV and select the video input that the
Digital Solution system is plugged into.
Note: You can make the turn-on procedure a lot simpler by setting up
a “Macro.” The DR-3 remote can be programmed to turn on all of the
audio and video components in your system with one button push.
See page 12 of the DR-3 Owner’s Manual for instructions on how to
set up a Macro.
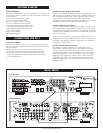
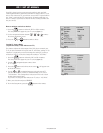
2. Opening Disc Drawer. Press the OPEN button on the front panel of
the DVD player. Or, press the TV/VCR button on the DR-3 remote.
The disc tray opens. You can open the disc tray by pressing this
button even if the DVD player is in standby mode (off).
3. Inserting DVD disc. Place a disc on the disc tray with the playback
(unlabeled) side down. Place the disc in the guide on the disc tray.
If the disc is out of the guide, it may damage the disc and cause the
DVD player to malfunction. Do not place anything except 3" discs or
5" discs on the disc tray. Some DVDs are double sided, that is they
have program material on both sides of the disc. In some cases, one
side contains a 16:9 widescreen (letterbox) version and the other
side has a 4:3 (pan and scan) version. Note the printed ring around
the inside of the disc to determine which side is which.
4. Starting Play. Press ENTER/PLAY. The disc tray closes
automatically and playback begins. If the disc is upside down (and it
is a single sided disc), “NO DISC” or “DISC ERROR” appears on the
TV screen. Flip the disc.
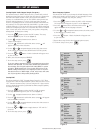
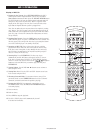
5. Making Menu Selections. Most DVDs will automatically bring up
a title menu screen that allows you to select various features and
functions. If the title menu screen does not automatically appear and
you want to see it, press the DVD MENU button on the DR-3 remote.
You may need to use the DVD’s Menu in order to select the 5.1
Surround audio track on the disc. The DVD menu also allows you
to select the movie’s spoken and subtitle language and select a
particular chapter (scene). Many DVDs also have extras such as
director commentary, outtakes and cast and crew bios that can be
accessed through the title menu. Note: There are a very few DVD’s
with which this button will not work. If this is the case, pick up the
DR-4 remote and press the MENU button. The Earth will become
aligned with the rest of the planets and total harmony will exist
within your living room.
6. Playing the DVD. Select the Play Movie menu selection and press
the ENTER/PLAY button.
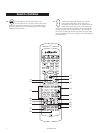
7. Setting Volume. Use the VOL buttons to set volume to
taste using the DR-3.
8. Setting Bass Level. Use the SUB+ and SUB- buttons to set bass
level to taste using the DR-3.
9. Choosing Dolby Pro Logic. If the DVD does not have a 5.1 digital
surround audio track, the audio will play in stereo (assuming it is not
a mono soundtrack). Press the SURROUND button to toggle between
Stereo (two speakers playing), Pro Logic (surround sound with all
speakers playing) and five channel surround (this is mainly a music
mode that has all speakers playing).
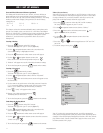
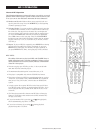
10. Pausing the DVD. To temporarily suspend play and view a still
picture, press the PAUSE button. The DVD player will display a still
picture. Or you can press the STOP button once. When you press
ENTER/PLAY the DVD will resume at the spot where you pressed
STOP. If you press STOP a second time the DVD will stop and will
re-start only at the beginning of the DVD.
11. Watch movie.
12. Eat popcorn.
13. Press STOP to stop the playback.
14. The DP-1 CD/DVD player will automatically shut off if left idle for10
minutes.
DVD OPERATION
7
4
2
5
8
9
10
13
1
Polk Customer Service (800) 377-7655


