


9
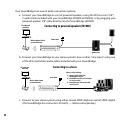
IV. Connecting SoundBridge to AC Power
Plug the power cord into the SoundBridge unit, and
plug the other end into to a wall outlet. M2000 and
M500 users, note that the back of the end cap has a
hole for routing your audio and power cables toward
the back of the unit. Close your end cap by snapping it
securely into place.
Hint: There is no power switch to turn on the
SoundBridge. As soon as you plug in the power,
you should quickly see the welcome message
“Roku SoundBridge.” If not, please stop and ensure
that your power cable is connected properly
on both ends. You will need to see a working
display before moving on to the operation of your
SoundBridge.
Warning for M2000 and M500 users: Do not
operate your SoundBridge with the end caps
removed. Be sure to disconnect SoundBridge from
AC power (by unplugging the power supply from
the wall) before connecting or disconnecting any cables or the CompactFlash Wi-Fi card.
Always be sure to replace the end caps on the unit before plugging in the AC power
supply into the wall, in order to avoid abnormal unit operation due to static discharge.
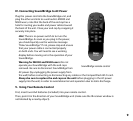
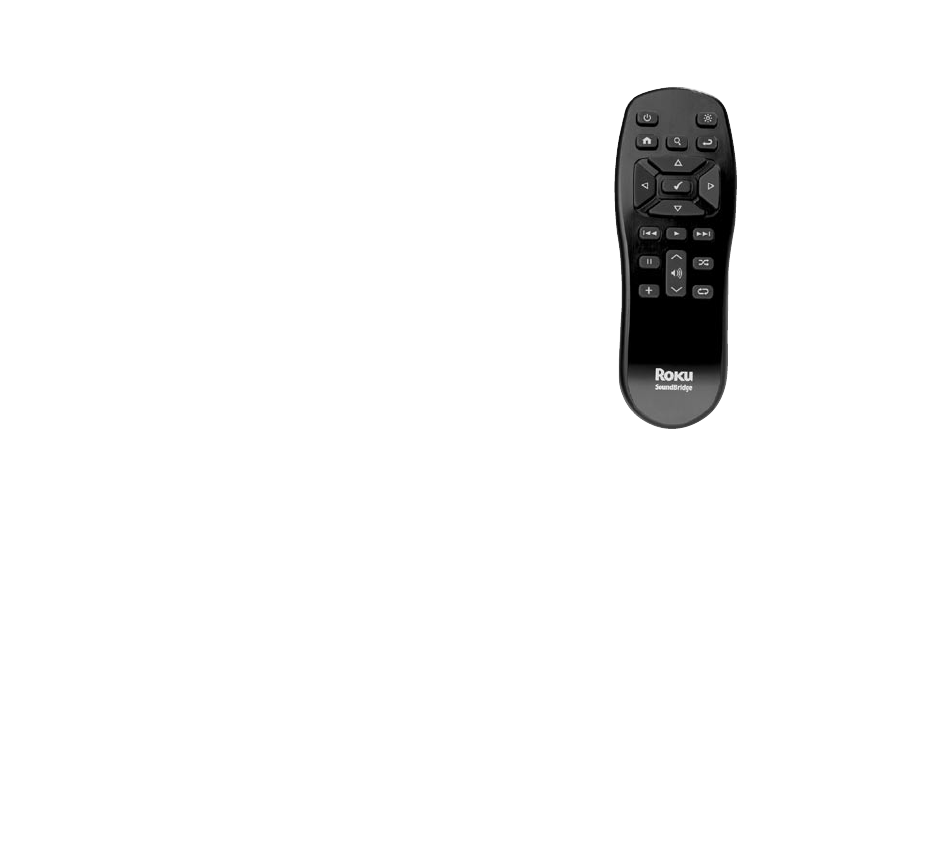
V. Using Your Remote Control
First, insert two AAA batteries (included) into your remote control.
Then, point it in the direction of your SoundBridge unit (make sure the IR receiver window is
not blocked by a nearby object).
SoundBridge remote control