E-49
Maintenance &
Troubleshooting
Replacing the Projection Lamp
1
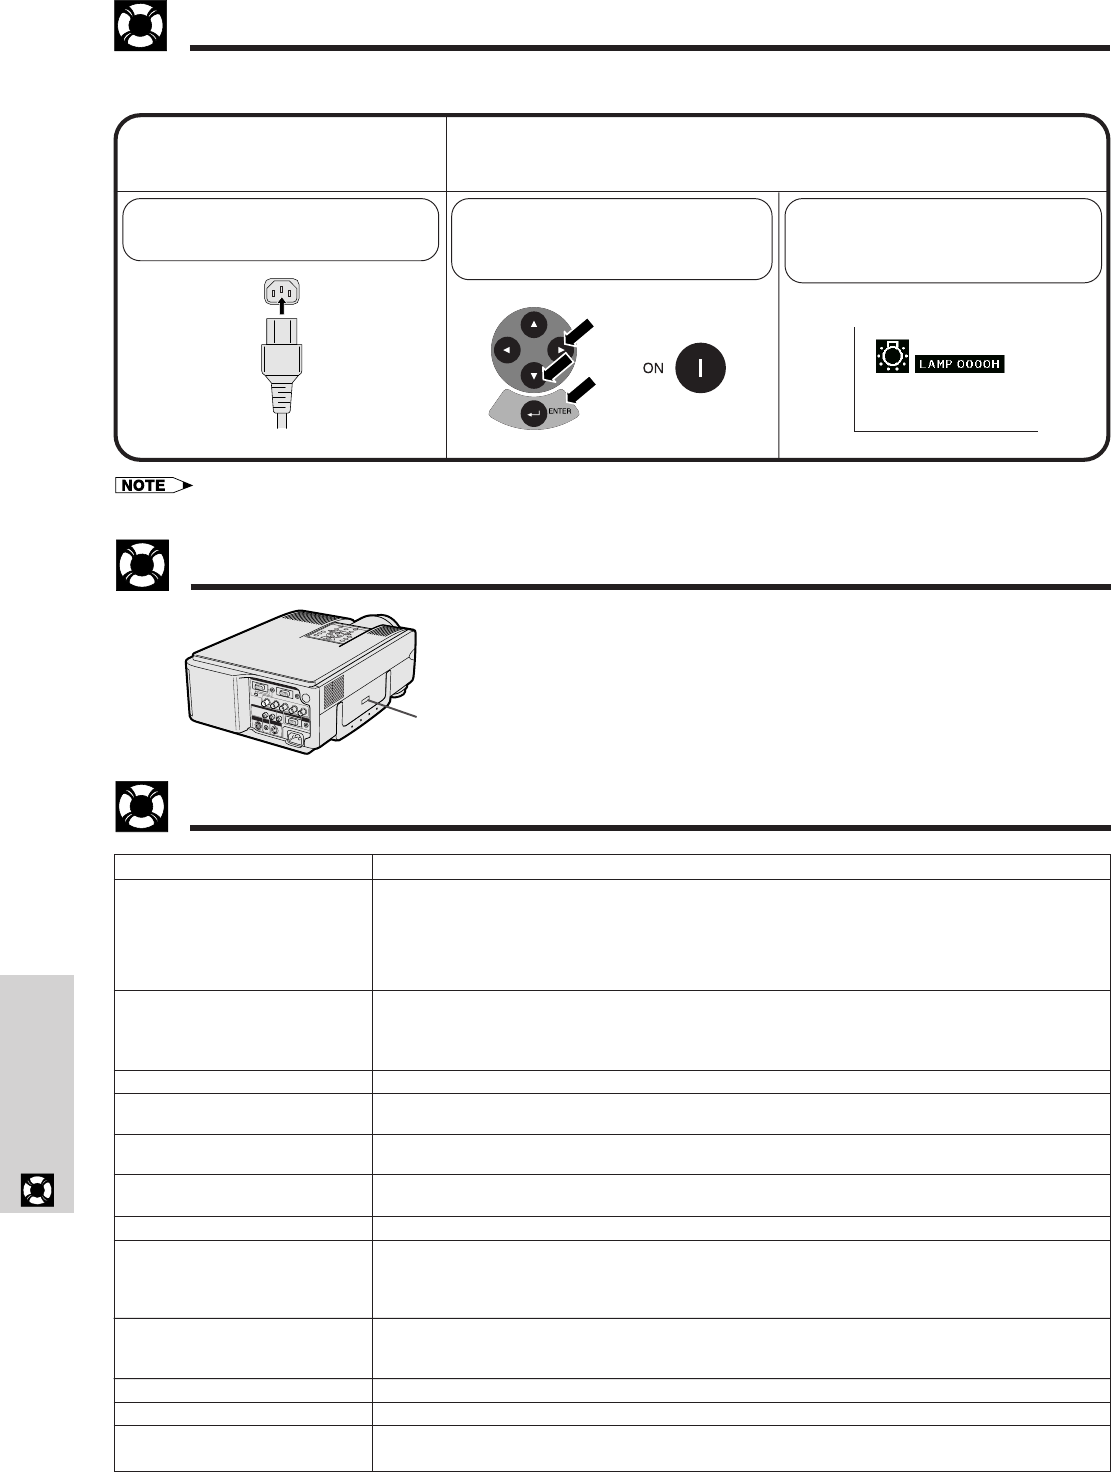
Connect the power
cord.
Reset the lamp timer.
While pressing ƒ, © and
ENTER on the projector, press
POWER ON on the projector.
Plug the power cord into the AC
socket of the projector.
Resetting the lamp timer
Using the Kensington Lock
This projector has a Kensington Security Standard
connector for use with a Kensington MicroSaver Security
System. Refer to the information that came with the
system for instructions on how to use it to secure the
projector.
Kensington Security
Standard connector
• Reset the lamp timer only after replacing the lamp.
Problem
No picture and no sound.
Sound is heard but no picture
appears.
Color is faded or poor.
Picture is blurred.
Picture appears but no sound is
heard.
An unusual sound is occasionally
heard from the cabinet.
Maintenance indicator lights up.
Data cannot be received via
IrCOM.
Picture noise appears.
480P images do not appear.
Color is distorted.
Lens comes off.
Troubleshooting
“LAMP 0000H” is displayed,
indicating that the lamp timer is
reset.
2
Check
• Projector power cord is not plugged into the wall outlet.
• The bottom filter cover is not securely installed.
• Selected input is wrong. (See pages 17.)
• Cables improperly connected to rear panel of the projector. (See pages 11–15.)
• Remote control batteries have run down. (See page 8.)
• Remote control’s MOUSE/ADJUSTMENT switch is set to MOUSE.
• Cables improperly connected to rear panel of the projector. (See pages 11–15.)
• “Contrast” and “Bright” adjustments are set to minimum position. (See page 27.)
• On-screen Display (“BLACK SCREEN”) is turned off and Black Screen function is turned on,
creating a black image. (See page 37.)
• “Color” and “Tint” adjustments are not correct. (See page 27.)
• Adjust the focus. (See page 19.)
• Projection distance is too long or too short to allow for proper focus. (See page 18.)
• Cables improperly connected to rear panel of the projector. (See pages 11–15.)
• Volume is set to minimum. (See page 17.)
• If the picture is normal, the sound is due to cabinet shrinkage caused by temperature changes.
This will not affect operation or performance.
• Refer to “Lamp/Maintenance Indicators” on page 47.
• Distance and angle between the projector and transmitting device are out of the designated range.
(See page 25.)
• Refer to the operation manual of the transmitting device.
• Refer to the section “Troubleshooting” in the operation manual of the supplied software.
• Adjust the phase setting. (See page 29.)
• Noise may appear when used with certain computers. Set the NOISE FILTER to ON using the RS-
232C command. (See pages 52 and 53.)
• Set the resolution mode to 480P. (See page 32.)
• Change the input signal type. (See page 40.)
• Align the mark on the lens with the corresponding mark on the projector, push the lens firmly in
place, and rotate to the right.
Ł


