63Editing
Basic editing
(when recording on this VCR)
Before you start editing
• Turn on your TV and set it to the
video channel.
• Press INPUT SELECT or PROG +/–
to display “L1” or “L2” (or “L3”:
SLV-EZ77AS/EZ77NZ only) in the
display window.
• Press SP/LP (SP/EP)* to select the
tape speed (SP or LP for the PAL
system, and (for SLV-EZ77AS/
EZ77NZ only) SP or EP for the NTSC
system).
* SP/LP for SLV-EZ66AZ
1 Insert a source tape with its safety tab removed into the other
(playback) VCR. Search for the point to start playback and set it to
playback pause.
2 Insert a tape with its safety tab in place into this (recording) VCR.
Search for the point to start recording and press X PAUSE.
3 Press z REC on this VCR and set it to recording pause.
4 To start editing, press the X PAUSE buttons on both VCRs at the same
time.
To stop editing
Press the x STOP buttons on both VCRs.
Tips
• To edit more precisely, press the X PAUSE buttons on the VCRs to release pause.
• To cut out unwanted scenes while editing, press X PAUSE on this VCR when an
unwanted scene begins. When it ends, press X PAUSE again to resume recording.
Note
• If you start recording following the procedure above, the VCR will not start
recording with the APC function. To record a tape with the APC function, press
z REC again during recording pause in step 3 so that the VCR analyses the tape.
Then when you start recording in step 4, press X PAUSE after the APC indicator
stops flashing. If you press X PAUSE before the APC indicator stops flashing, the
APC function is cancelled.
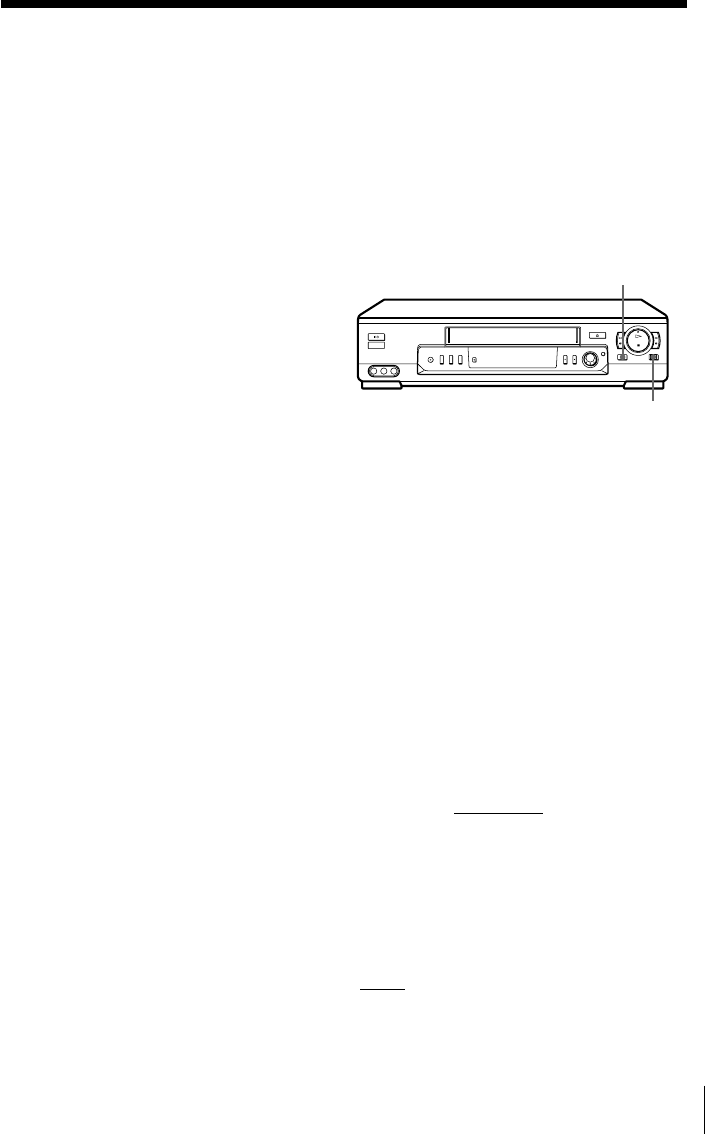
X PAUSE
z REC


