66
b Notes
• The Playlist title calls up data from the original titles for
playback. When an original title is used for a Playlist
title, the original title cannot be erased.
• If a message appears and indicates that the disc’s
control information is full, erase or edit unnecessary
titles.
• Playlist titles containing titles recorded with the “Copy-
Once” copy protection signal cannot be dubbed or
moved (page 73).
You can perform simple edits. Since Video mode
titles are actual recordings on the disc, you cannot
undo any edits you make. The edit functions
available for Video mode titles are:
–Setting protection against erasure (page 66).
–Labelling a title (page 66).
–Erasing a title (page 66).
–Erasing multiple titles (page 68).
–Erasing a section of a title (A-B Erase)
(DVD+RWs only) (page 67).
–Erasing all titles on the disc (page 69).
–Erasing titles to open up disc space (Disc Map)
(DVD+RWs and DVD-RWs (Video mode)
only) (page 69).
b Notes
• When editing a DVD+R or DVD-R, finish all editing
before finalizing the disc. You cannot edit a finalized
disc.
• The available disc space does not increase even when
you erase titles for DVD+Rs and DVD-Rs.
• If a message appears and indicates that the disc’s
control information is full, erase or edit unnecessary
titles.
Erasing and Editing a Title
This section explains the basic edit functions. Note
that editing is irreversible. To edit the HDD or
DVD-RWs (VR mode) without changing the
original recordings, create a Playlist title
(page 70).
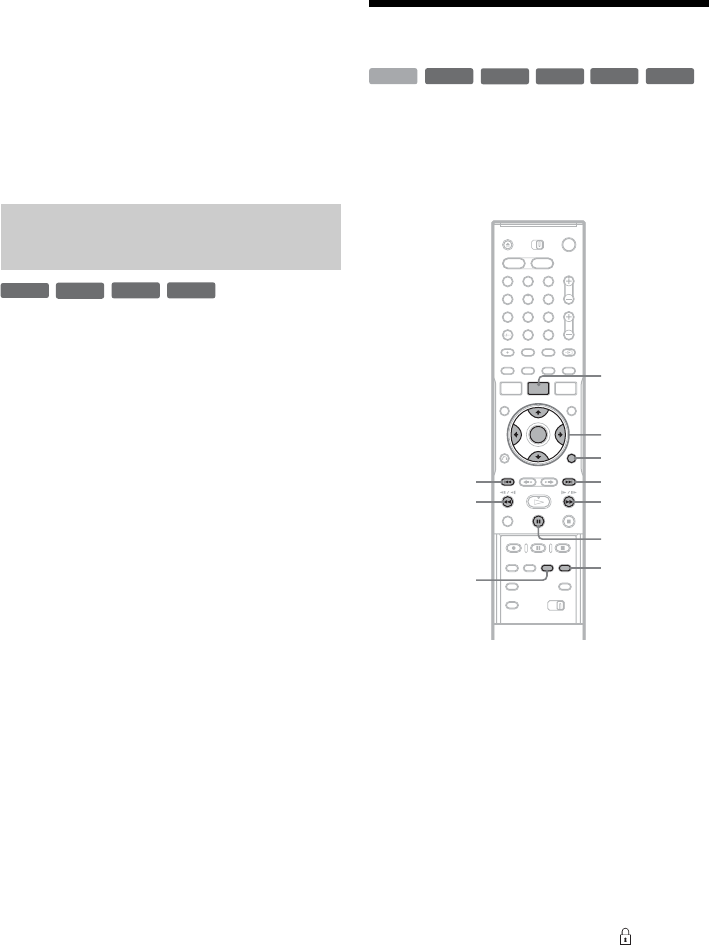
1 Press TITLE LIST.
For HDD titles or DVD-RWs in VR mode,
press TOOLS and select “Original” or
“Playlist” from the TOOLS menu to switch
the Title Lists, if necessary.
2 Select a title, and press ENTER.
The sub-menu appears.
3 Select an option, and press ENTER.
You can make the following edits to the title.
“Erase”: Erases the selected title. Select “OK”
when asked for confirmation.
“Protect”: Protects the title. Select “On” when
the Protection display appears. “ ” appears
next to the protected title. To cancel the
protection, select “Off.”
“Title Name”: Allows you to enter or re-enter
a title name (page 36).
“Set Thumbnail”: Changes the title’s
thumbnail picture that appears in the Title List
(page 34).
Edit options for DVD+RWs/DVD-
RWs (Video mode)/DVD+Rs/DVD-Rs
-
RW
Video
+
RW
-
R
+
R
-
RWVR
-
RW
Video
+
RW
-
R
+
R
HDD
1 2 3
4 6
7 8 9
0
5
</M/m/,,
ENTER
TOOLS
TITLE LIST
.
CHAPTER
MARK ERASE
CHAPTER
MARK
X
>
Mm


