


42
“Rec NR” (noise reduction): Reduces
noise contained in the video signal.
“Rec Video Equalizer”: Adjusts the
picture in greater detail.
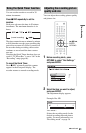
Press M/m to select the item you want to
adjust, then press ENTER.
• Contrast: Changes the contrast.
• Brightness: Changes the overall
brightness.
• Colour: Makes the colours deeper or
lighter.
3 Adjust the setting using </M/m/,,
and press ENTER.
The default setting is underlined.
“Rec NR”: (weak) Off 1 ~ 2
~ 3
(strong)
“Rec Video Equalizer”:
• Contrast: (weak) –3 ~ 0
~ 3 (strong)
• Brightness: (dark) –3 ~ 0
~ 3 (bright)
• Colour: (light) –3 ~ 0
~ 3 (deep)
Repeat steps 2 and 3 to adjust any other
items.
b Notes
• The recorded picture size is fixed at 4:3.
• Remnants of images may appear on your screen
when using “Rec NR.”
• “Rec Video Equalizer” does not work with RGB
signals.
The recorder can automatically divide a
recording (a title) into chapters by inserting
chapter marks at approximately 6 minute
intervals during recording. To disable this
function, set “Auto Chapter” in the
“Recording” setup to “Off” (page 66).
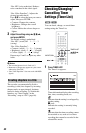
Checking/Changing/
Cancelling Timer
Settings (Timer List)
You can check, change, or cancel timer
settings using the Timer List.
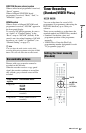
1 Press TIMER LIST.
The Timer List appears.
Timer information displays the recording
date, time, recording mode, etc.
:
Indicates that the setting is overlapped by
another setting.
z
(red):
Indicates the setting is currently being
recorded.
:
Indicates that the timer recording cannot
be recorded as set, such as for a timer
recording that cannot be recorded in the
selected Rec mode.
Creating chapters in a title
+
R
+
RW
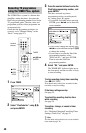
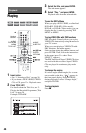
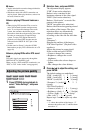
</M/m/,,
ENTER
O
RETURN
TIMER LIST
/