20
Step 6: Easy Setup
Make the basic adjustments by following the
on-screen instructions in “Easy Setup.”
1 Turn on the recorder and your TV.
Then switch the input selector on your
TV so that the signal from the recorder
appears on your TV screen.
The initial settings message appears.
• If this message does not appear, select
“Easy Setup” from “SETUP” in the
System Menu (“Settings and
Adjustments” on page 87).
2 Press ENTER.
Follow the on-screen instructions to
make the following settings.
Easy Setup - Auto Tune
The recorder will automatically capture
and store the available TV and Radio
channels.
Easy Setup - Clock
The recorder will automatically search
for a clock signal. If a clock signal cannot
be found, set the clock manually using
</M/m/,, and press ENTER.
Easy Setup - TV Type (page 92)
If you have a wide-screen TV, select
“16:9.” If you have a standard TV, select
either “4:3 Letter Box” (shrink to fit) or
“4:3 Pan Scan” (stretch to fit). This will
determine how “wide-screen” images are
displayed on your TV.
Easy Setup - Component Out
If you are using the COMPONENT
VIDEO OUT jack, select “On.”
Easy Setup - Line1 Output
To output video signals, select “Video.”
To output S video signals, select “S
Video.”
To output RGB signals, select “RGB.”
Select “Video” to enjoy the
SMARTLINK features.
• If you set “Easy Setup - Component
Out” to “On,” you cannot select
“RGB.”
Easy Setup - Audio Connection
If you connected an AV amplifier
(receiver) using a coaxial cord, select
“Yes : DIGITAL OUT” and set the
digital output signal (page 95).
3 Press ENTER when “Finish” appears.
“Easy Setup” is finished.
To return to the previous step
Press O RETURN.
z Hints
• If your AV amplifier (receiver) has an MPEG
audio decoder, set “MPEG” to “MPEG”
(page 95).
• If you want to run “Easy Setup” again, select
“Easy Setup” from “SETUP” in the System Menu
(page 101).
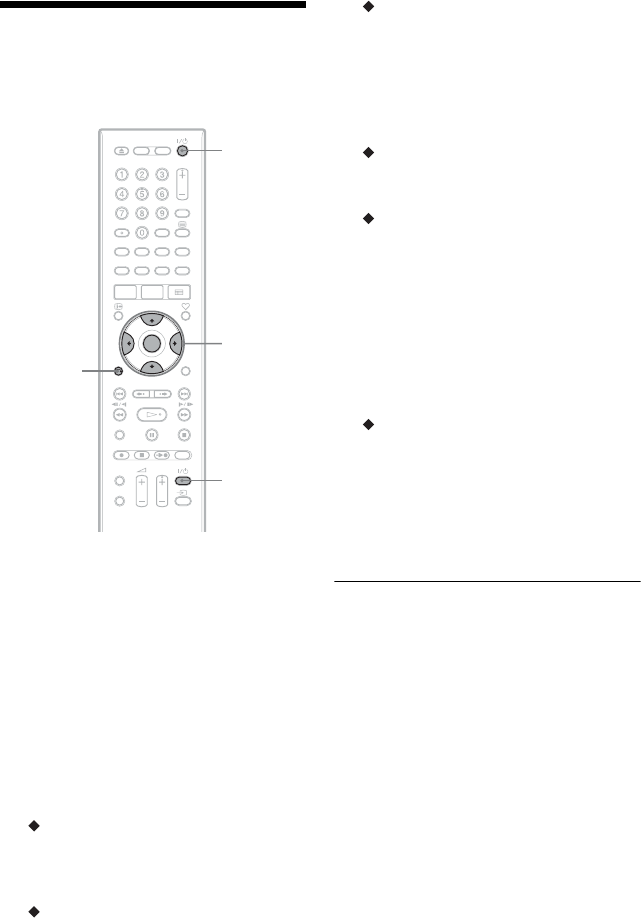
[/1
</M/m/,,
ENTER
O
RETURN
TV [/1


