


C:\2886042111HXD860CEK\01GB-
HXD860CEK\070REC.fm
master page=right
specdef 20060621
RDR-HXD860
2-886-042-11(1)
57
Timer Recording
Recording From
Connected Equipment
You can set the recorder to automatically
record programmes from connected
equipment that has a timer function (such as
a satellite tuner). Connect the equipment to
the LINE 3 jack of the recorder (page 24).
When the connected equipment turns on, the
recorder starts recording a programme from
the LINE 3 jack.
1 Before recording, select HDD or DVD.
If you select DVD, insert a recordable
DVD (see “1. Inserting a Disc” on
page 25).
2 Set “Synchro Rec.” to “Record to
HDD” or “Record to DVD” in the
“Recording” setup (page 101).
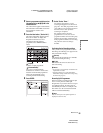
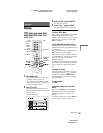
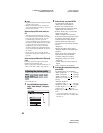
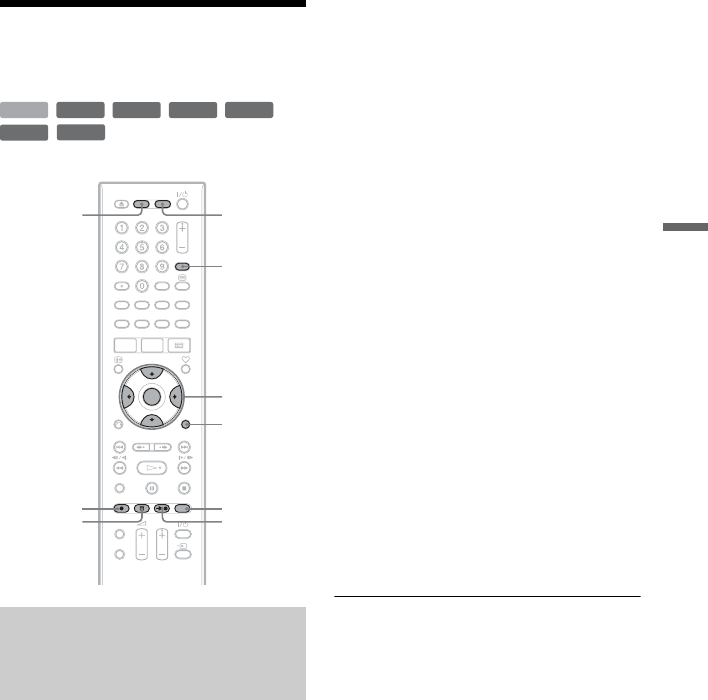
3 Press INPUT SELECT repeatedly to
select “L3.”
4 Select the desired audio signal when
recording a bilingual programme to
the HDD or DVD-RWs/DVD-Rs (VR
mode).
Press OPTIONS to select “Line Audio
Input,” and press ENTER. Then select
“Bilingual,” and press ENTER.
5 Press REC MODE repeatedly to select
the recording mode.
For details about the recording mode, see
page 45.
6 Set the timer on the connected
equipment to the time of the
programme you want to record, and
turn it off.
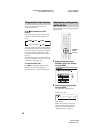
7 Press c z SYNCHRO REC.
The SYNCHRO REC indicator lights up
on the front panel. The recorder is ready
to start Synchro-Recording.
The recorder automatically starts
recording when it receives an input
signal from the connected equipment.
The recorder stops recording when the
connected equipment turns off.
To stop recording
Press x REC STOP or c z SYNCHRO
REC.
To cancel Synchro Rec
Press c z SYNCHRO REC.
The SYNCHRO REC indicator on the
recorder turns off.
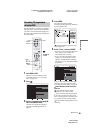
Recording from connected
equipment with a timer
(Synchro Rec)
+
RW
-
RWVR
-
RW
Video
-
RVR
+
R
HDD
-
R
Video
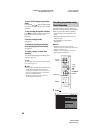
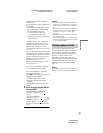
</M/m/,,
ENTER
INPUT
SELECT
OPTIONS
REC MODE
z REC
x REC
STOP
c z
SYNCHRO
REC
DVDHDD
,continued