12
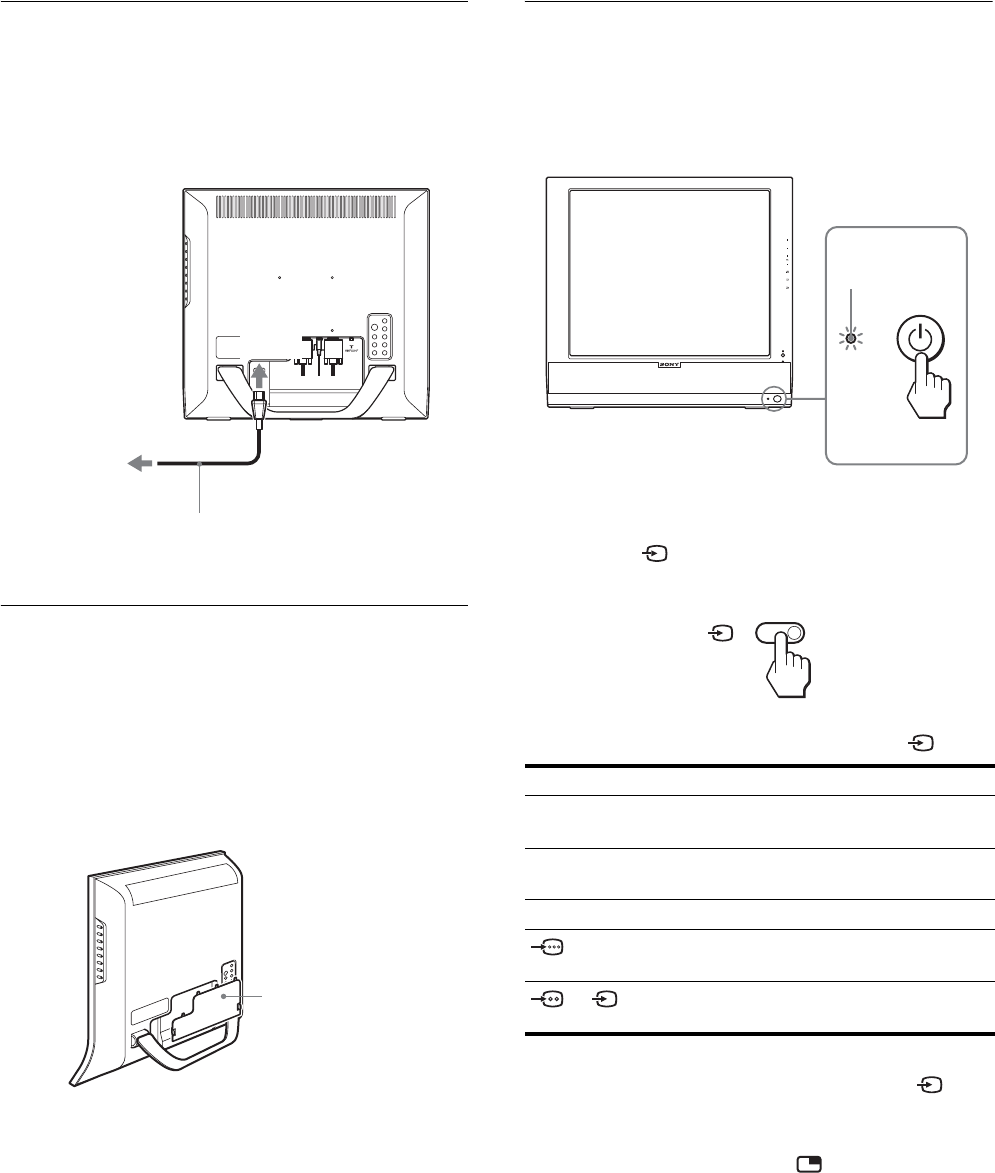
Setup 3:Connect the power cord
1 Connect the supplied power cord securely to the
display’s AC IN connector.
2 Connect the other end securely to a power outlet.
Setup 4:Replace the connector
cover
While pressing the hooks, push the connector cover
onto the display until it clicks.
Setup 5:Turn on the display and
other equipment
1 Press the 1 (power) switch on the front of the
display.
The 1 (power) indicator lights up in green.
2 Turn on the computer or other video equipment.
3 Press the button to select the desired input
signal.
The input signal will change each time you press the button.
Note
When using the PIP function, if you switch the input using the button
or input select buttons, the PIP function may be released. If it happens, the
input source that you have selected fills the entire screen. To use the PIP
function again, set the “PIP Setting” menu to “PIP On” using the menu
system or select “PIP On” by pressing the button (pages 15, 30).
Tips
• You can also select the inputs using the input select buttons on the
remote control.
• When you select the TV input, the number of the selected channel is
displayed in the upper right corner of the screen.
• When using the PIP function, use “Sub” in the “PIP” menu in the
“Option” menu to select the input source for sub picture (page 30). If
the TV input is selected for sub picture, you can change the channel
using the CH +/– buttons.
2
power cord (supplied)
to the power outlet
1
to
AC IN
connector cover
On-screen message Input signal configuration
DVI-D: PC 1 DVI-D input connector (digital
RGB) for PC 1
HD15: PC 2 HD15 input connector
(analog RGB) for PC 2
TV channels TV
: VIDEO 1
Y/P
B
/P
R
Component Video
input jacks for VIDEO 1
or : VIDEO 2
Composite/S video input jacks
for VIDEO 2
CH
lights in green
