


5
Installing the User Control Panel
1 Insert the supplied CD-ROM into the CD-ROM drive of the
personal computer.
Open the User Control Panel folder.
Double-click the Setup icon.
2 The User Control Panel installation screen appears.
3 When the screen [Welcome to the User Control Panel
installation program] appears, click OK.
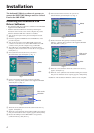
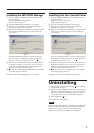
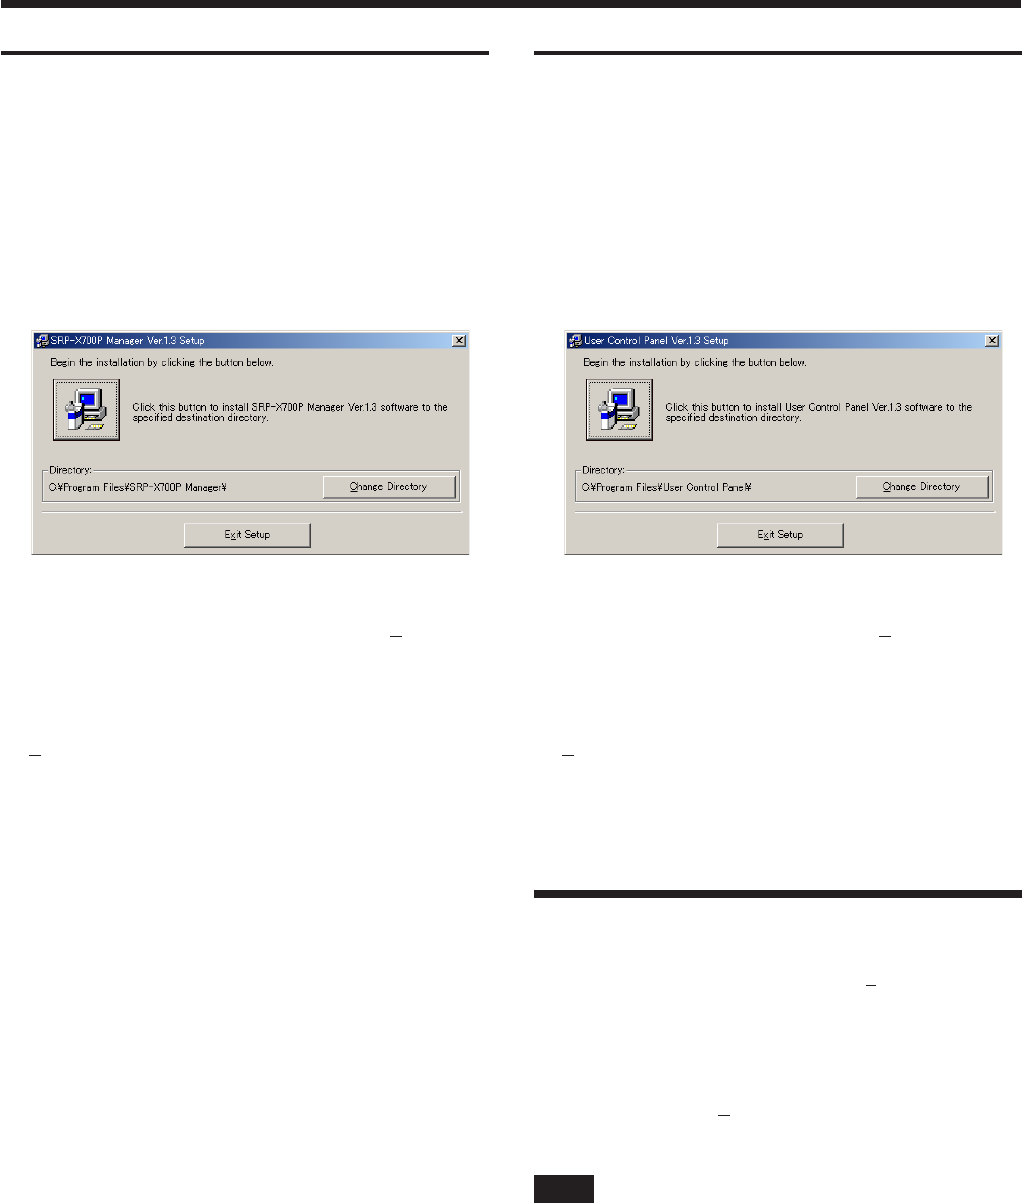
4 When the screen [Begin the installation by clicking the button
below] appears, click the Setup icon on the top left of the
screen. (Fig. 2)
The User Control Panel folder is created in C:\Program Files.
To change the installation destination, click Change Directory
on the bottom right of the screen.
5 When the screen [Setup will add items to the group shown in
the Program Group box. You can enter a new group name or
select one from the Existing Groups LIST] appears, click
Continue on the bottom left of the screen.
6 When the screen [User Control Panel Setup was completed
successfully] appears, click OK.
Installation of the User Control Panel is now completed.
Uninstalling
1 Click the Start menu and select [Settings (S)]. Then click the
[Control Panel] to open it.
2 Double-click the [Add/Remove Programs] icon and select the
application “SRP-X700P Manager” or “User Control Panel”
and the driver software “SRP-X700P USB Driver” that you
want to delete from the list of the [Install/Uninstall] tab.
3 Click [Add/Remove (R)...].
This completes the uninstallation.
Note
When using Microsoft
®
Windows
®
2000 Professional, Microsoft
®
Windows
®
XP Professional or Microsoft
®
Windows
®
XP Home
Edition, be sure to log on as the user having administrator
authority, then perform the installation or uninstallation.
Fig. 1 Fig. 2
Installing the SRP-X700P Manager
1 Insert the supplied CD-ROM into the CD-ROM drive of the
personal computer.
Open the SRP-X700P Manager folder.
Double-click the Setup icon.
2 The SRP-X700P Manager installation screen appears.
3 When the screen [Welcome to the SRP-X700P Manager
installation program] appears, click OK.
4 When the screen [Begin the installation by clicking the button
below] appears, click the Setup icon on the top left of the
screen. (Fig. 1)
The SRP-X700P Manager folder is created in C:\Program
Files. To change the installation destination, click Change
Directory on the bottom right of the screen.
5 When the screen [Setup will add items to the group shown in
the Program Group box. You can enter a new group name or
select one from the Existing Groups LIST] appears, click
Continue on the bottom left of the screen.
6 When the screen [SRP-X700P Manager Setup was completed
successfully] appears, click OK.
Installation of the SRP-X700P Manager is now complete.