


67
PAN / TILT / ZOOM OVERVIEW
The PTZ controls within the IPR software allow for powerful control over the network devices. This can be extremely beneficial by
increasing the usefulness of the recorded video. Using the PTZ controls you can create custom preset configurations that can
continuously sweep across large areas.
SETTING UP A PTZ NETWORK DEVICE
Setting up a PTZ enabled Network Device is simple. The NVR Software comes equipped with PTZ control features which need simply
be enabled to control the PTZ functions of the Network Device.
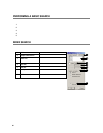
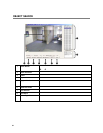
Enable the PTZ Settings
1. Select the Setup Button from the Main Display Menu
2. Select Camera Setup from the Setup Menu
3. Select the camera channel from the drop down menu to enable PTZ functionality
4. Select the Enable Network Device PTZ Box
CREATING AND VIEWING PRESET POSITIONS
A Preset Position is a user-defined location where the camera can be pointed, zoomed in, and focused. Preset positions can be
defined and labeled if the network device supports this.
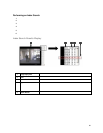
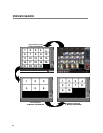
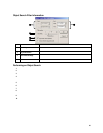
Creating a Preset
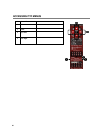
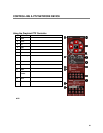
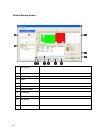
1. From the Main Display Screen select the PTZ Button to open the graphical controller.
2. Select the appropriate network device on the Main Display Screen.
3. Move the selected network device to the desired position using the Pan/Tilt/Zoom/Focus controls.
4. Assign a number by clicking a Preset (1-10) in the advanced menu on the graphical controller Buttons and click the Set Button
to save.
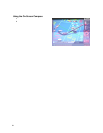
Viewing a Preset
1. From the Main Display Screen select the PTZ network device by clicking on it.
2. Using the keyboard, click the number keys corresponding with the Preset Positions. The network device will move to the saved
preset position.