4
14
Adjusting the Player's Settings
Your player is preset to work with most setups out of the box, but if you would like
to adjust any of the player’s settings, you can use the on-screen menu to do so.
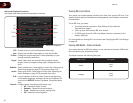
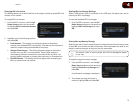
The Settings menu is divided into these parts:
• Display
• Audio
• Language
• BD-Live
• QuickSetup
• Parental
• System
• Network
• Info
Adjusting the Display Settings
From the Display menu, you can adjust the way the player displays your video.
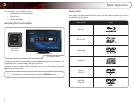
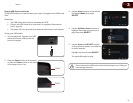
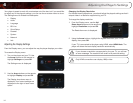
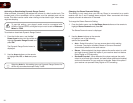
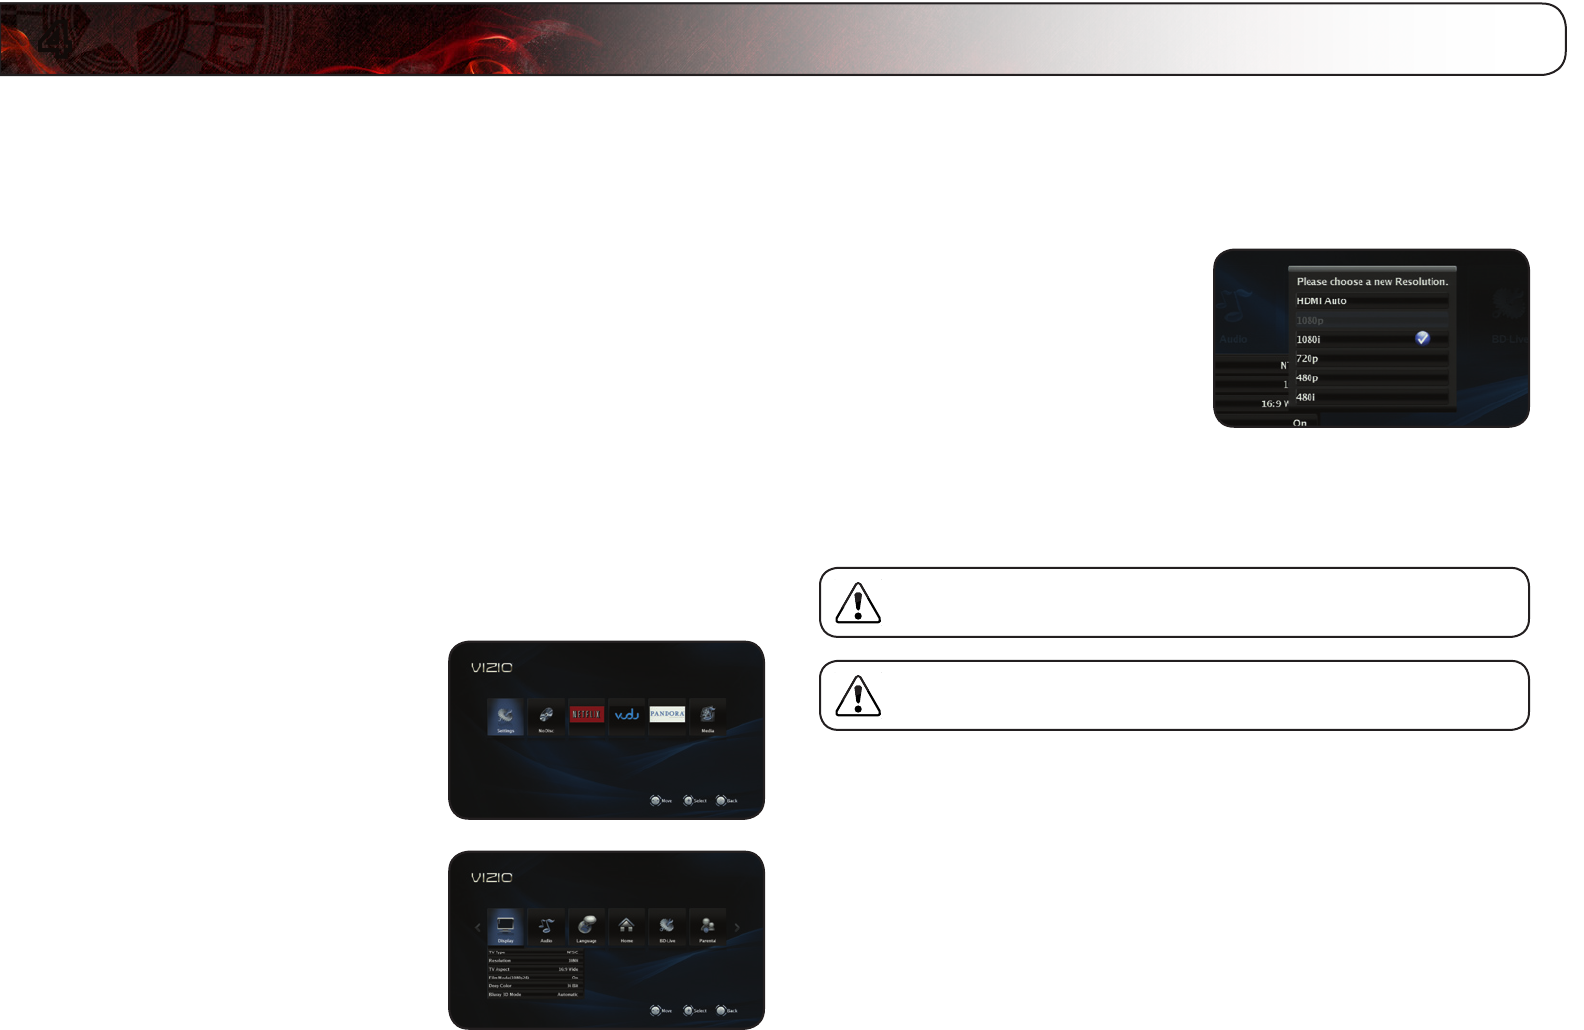
To access the Display menu:
1. Turn on the player and your TV. Use
the Arrow buttons on the remote to
highlight Settings and press OK.
The Settings menu is displayed.
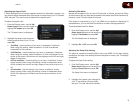
2. Use the Arrow buttons on the remote
to highlight Display and press OK.
The Display drop-down menu is
displayed. Your current settings are
displayed to the right of each menu
option.
Changing the Display Resolution
For the best viewing experience, you should adjust the player’s settings so that it
outputs video in a resolution supported by your TV.
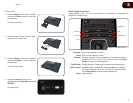
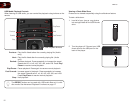
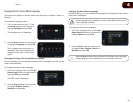
To change the display resolution:
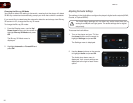
1. From the Display menu, use the Up/
Down Arrow buttons on the remote to
highlight Resolution and press OK.
The Resolution menu is displayed.
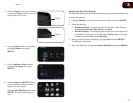
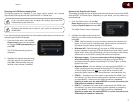
2. Using the Arrow buttons, highlight the highest resolution your TV can
display, then press OK.
If your TV is connected to the player using HDMI, select HDMI Auto. The
player will detect the best display resolution automatically.
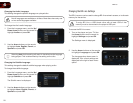
If you choose a resolution unsupported by the your TV, you will see
an error message. The resolution will revert to its previous setting.
Only HDMI connections can display 1080p video.


