16 Installation
MAN0406 (Rev.9/7/2007)
Remove Backhoe from Tractor
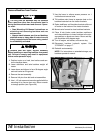
The only time the backhoe may be operated
from a position other than the operator seat is
during backhoe attachment and removal. Opera-
tor must:
• Read Mounting Kit Manual instructions on
attaching and removing backhoe and use
extreme care.
• Always stand between rear tire and backhoe
stabilizer arms or along side of tractor to avoid
being trapped should the boom swing control
be accidentally activated.
Remove seat and upper support assembly
before installing or removing backhoe from power
unit. Failure to comply may result in equipment
failure and/or personal injury.
1. Position tractor on a hard, level surface and cen-
ter the backhoe boom.
2. Lower stabilizers and take backhoe weight off
tractor.
3. Lower boom and dipper to form 90-degree angle
and rest bucket on the ground.
4. Remove the seat assembly.
5. Remove klik pins from bolt and nut assemblies.
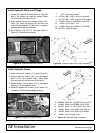
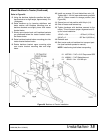
6. Use 1-1/2 inch open end wrench supplied with the
mounting kit to remove hex nuts. Return wrench
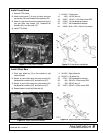
to storage position (see Figure 26).
7. Use the boom to relieve excess pressure on 1
inch bolts and remove bolts.
8. Tilt backhoe main frame to separate slots on the
backhoe brackets from the tractor brackets.
9. Raise stabilizers until backhoe brackets slide out
of hooks on the bottom of the tractor brackets.
10. Move tractor forward to clear backhoe brackets.
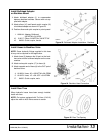
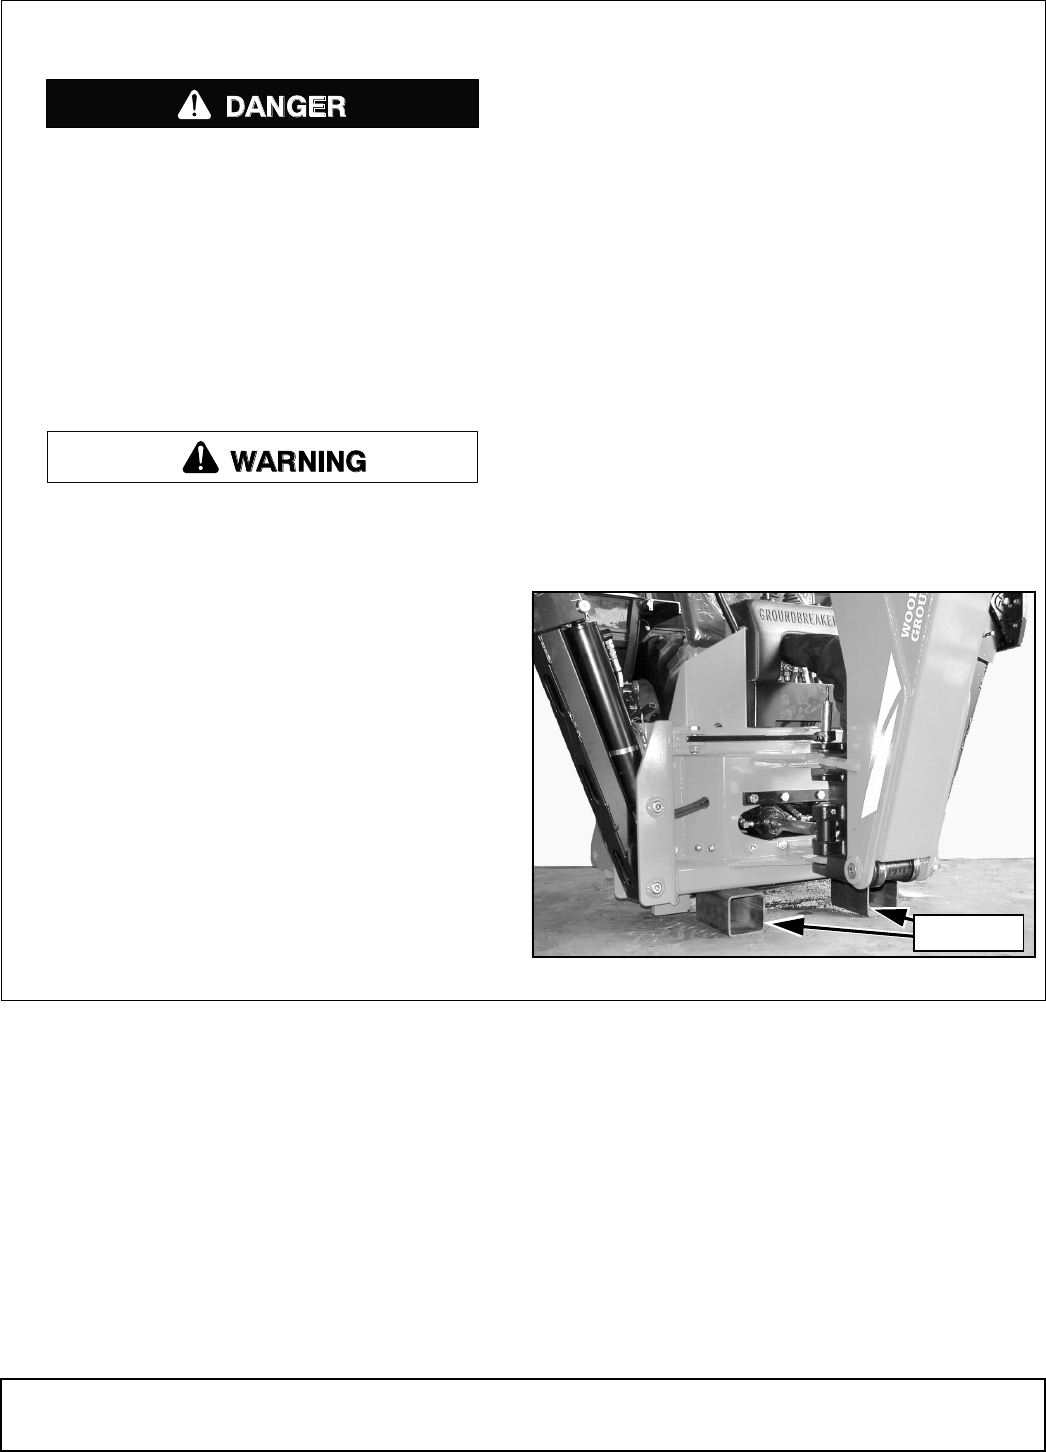
11. Place 6 inch blocks under backhoe mainframe
and raise stabilizers to lower backhoe to the stor-
age position on blocks as shown. Boom and dip-
per should be at 90-degree angle.
12. Turn off engine, set brakes, and remove key.
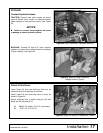
13. Disconnect backhoe hydraulic system. See
“STORAGE” on page 17.
13. Reinstall seat assembly.
NOTE: For instructions on extended storage, see
backhoe operator’s manual.
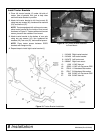
Figure 27. Backhoe Storage Position
6" Blocks
BH1


